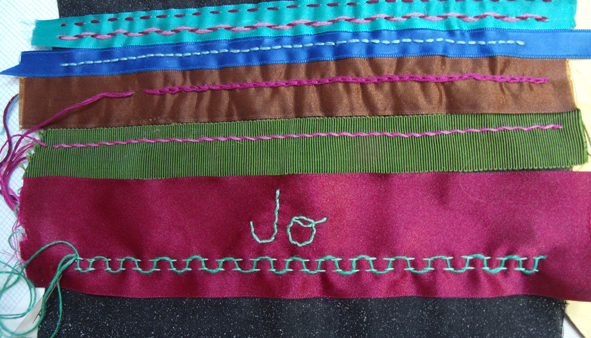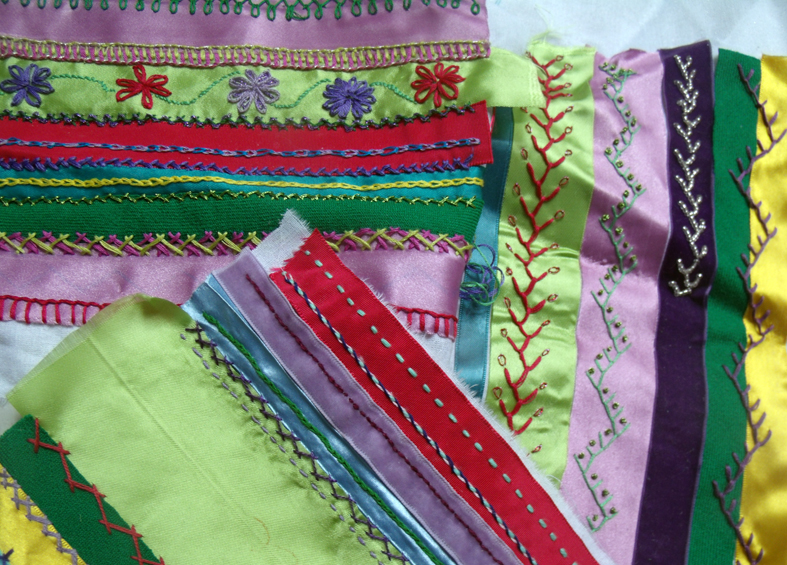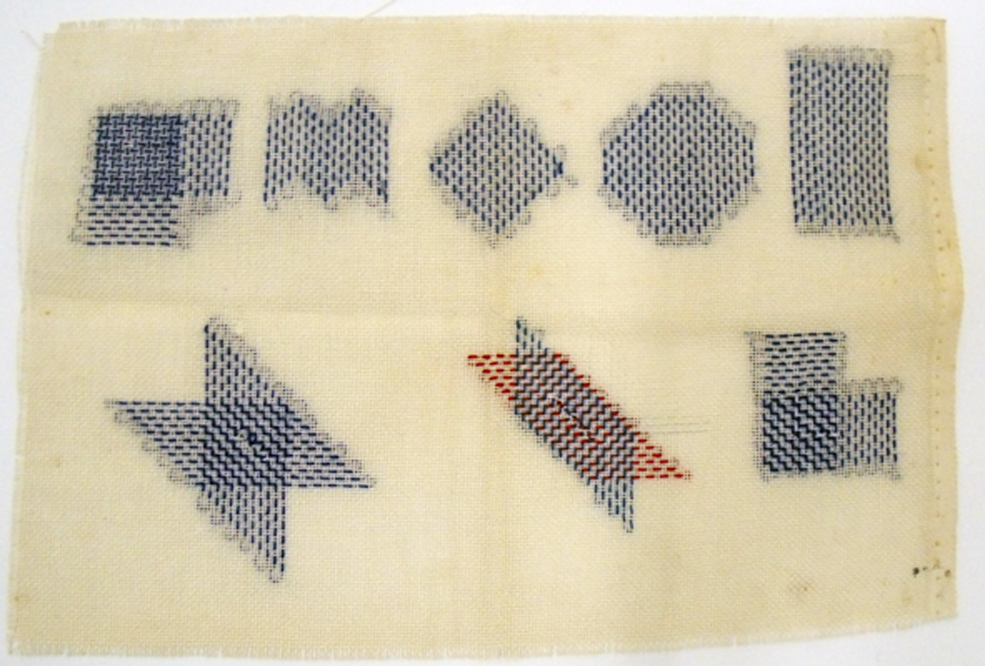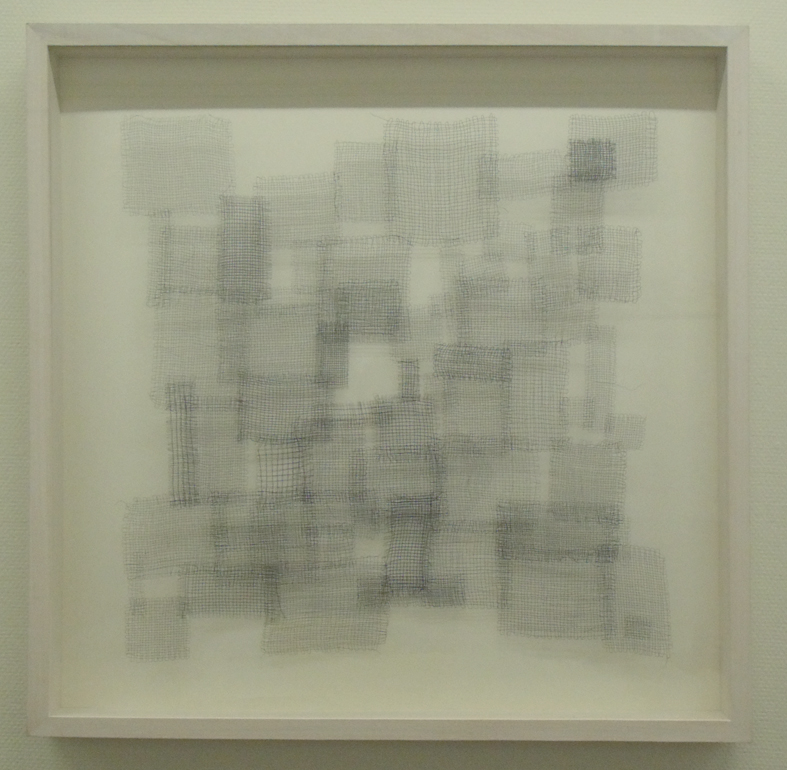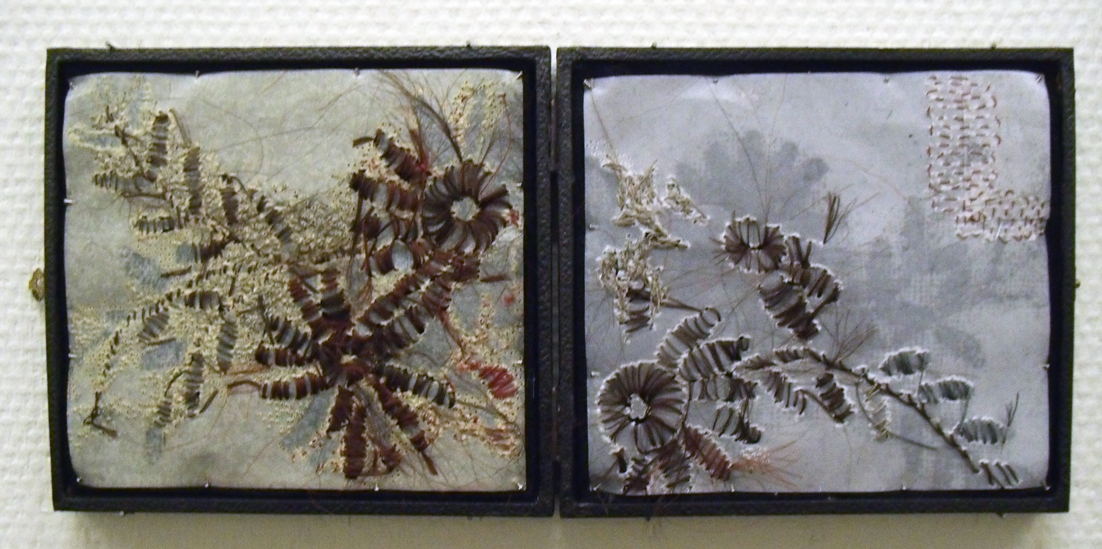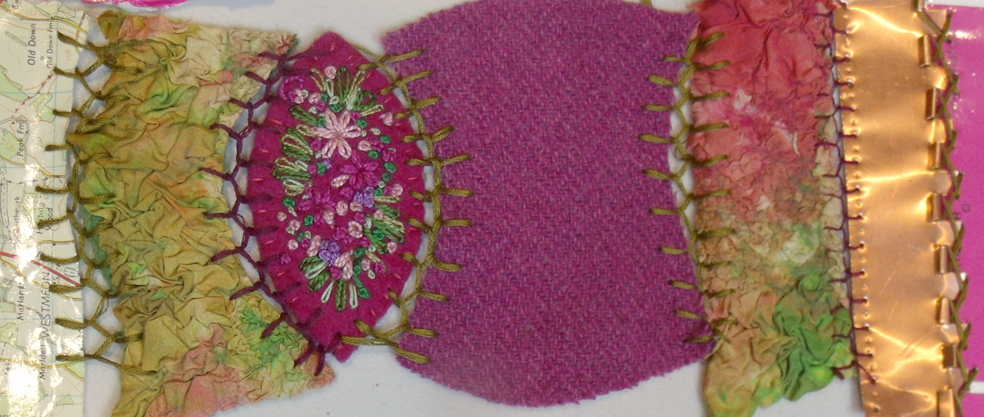
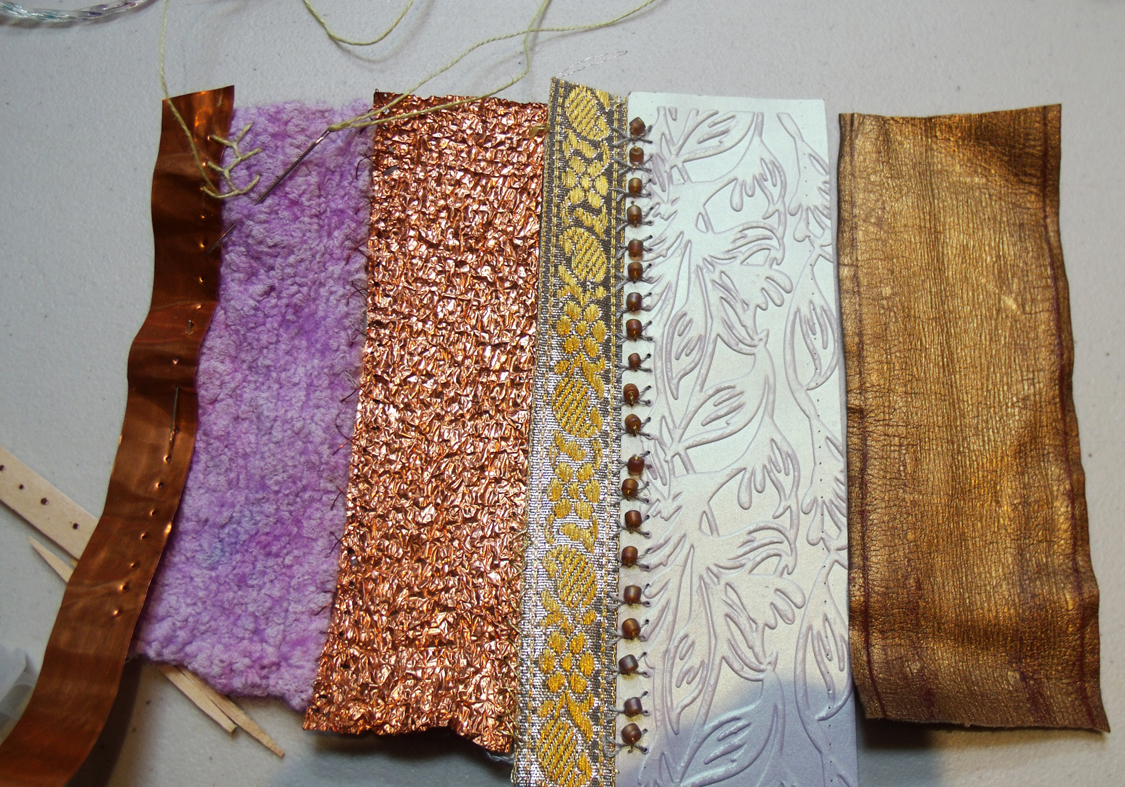
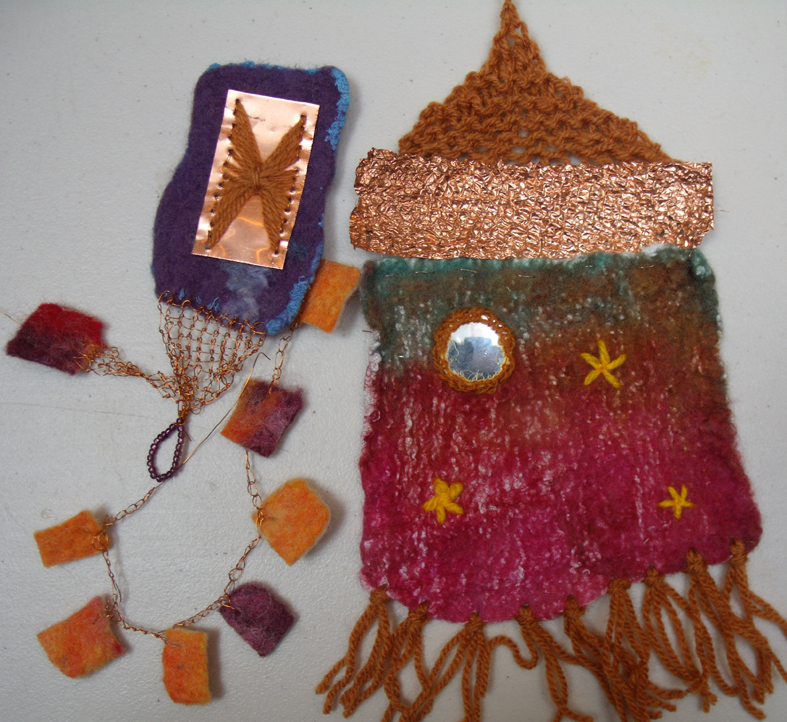
strip sampler of tweed, embroidery, nuno felt copper and paper- Kirsten Hill-Nixon
I am interested in developing a set of workshop using mixed media at Heart Space, think leathers, metals, ceramics, fabrics, glass and wood….. so I thought I could try the idea out on the people who work with us, all expert in their own field and up for a challenge.
And as Crazy Patchwork samplers have been such a success at Heart Space Studios that I decided to run an Away Day for the tutors and staff to enjoy time making together. I asked everyone who could attend, to bring their own favourite materials and their tools. Each person would make either a strip sampler or a crazy square sampler by using decorative embroidery stitches to join the materials together.

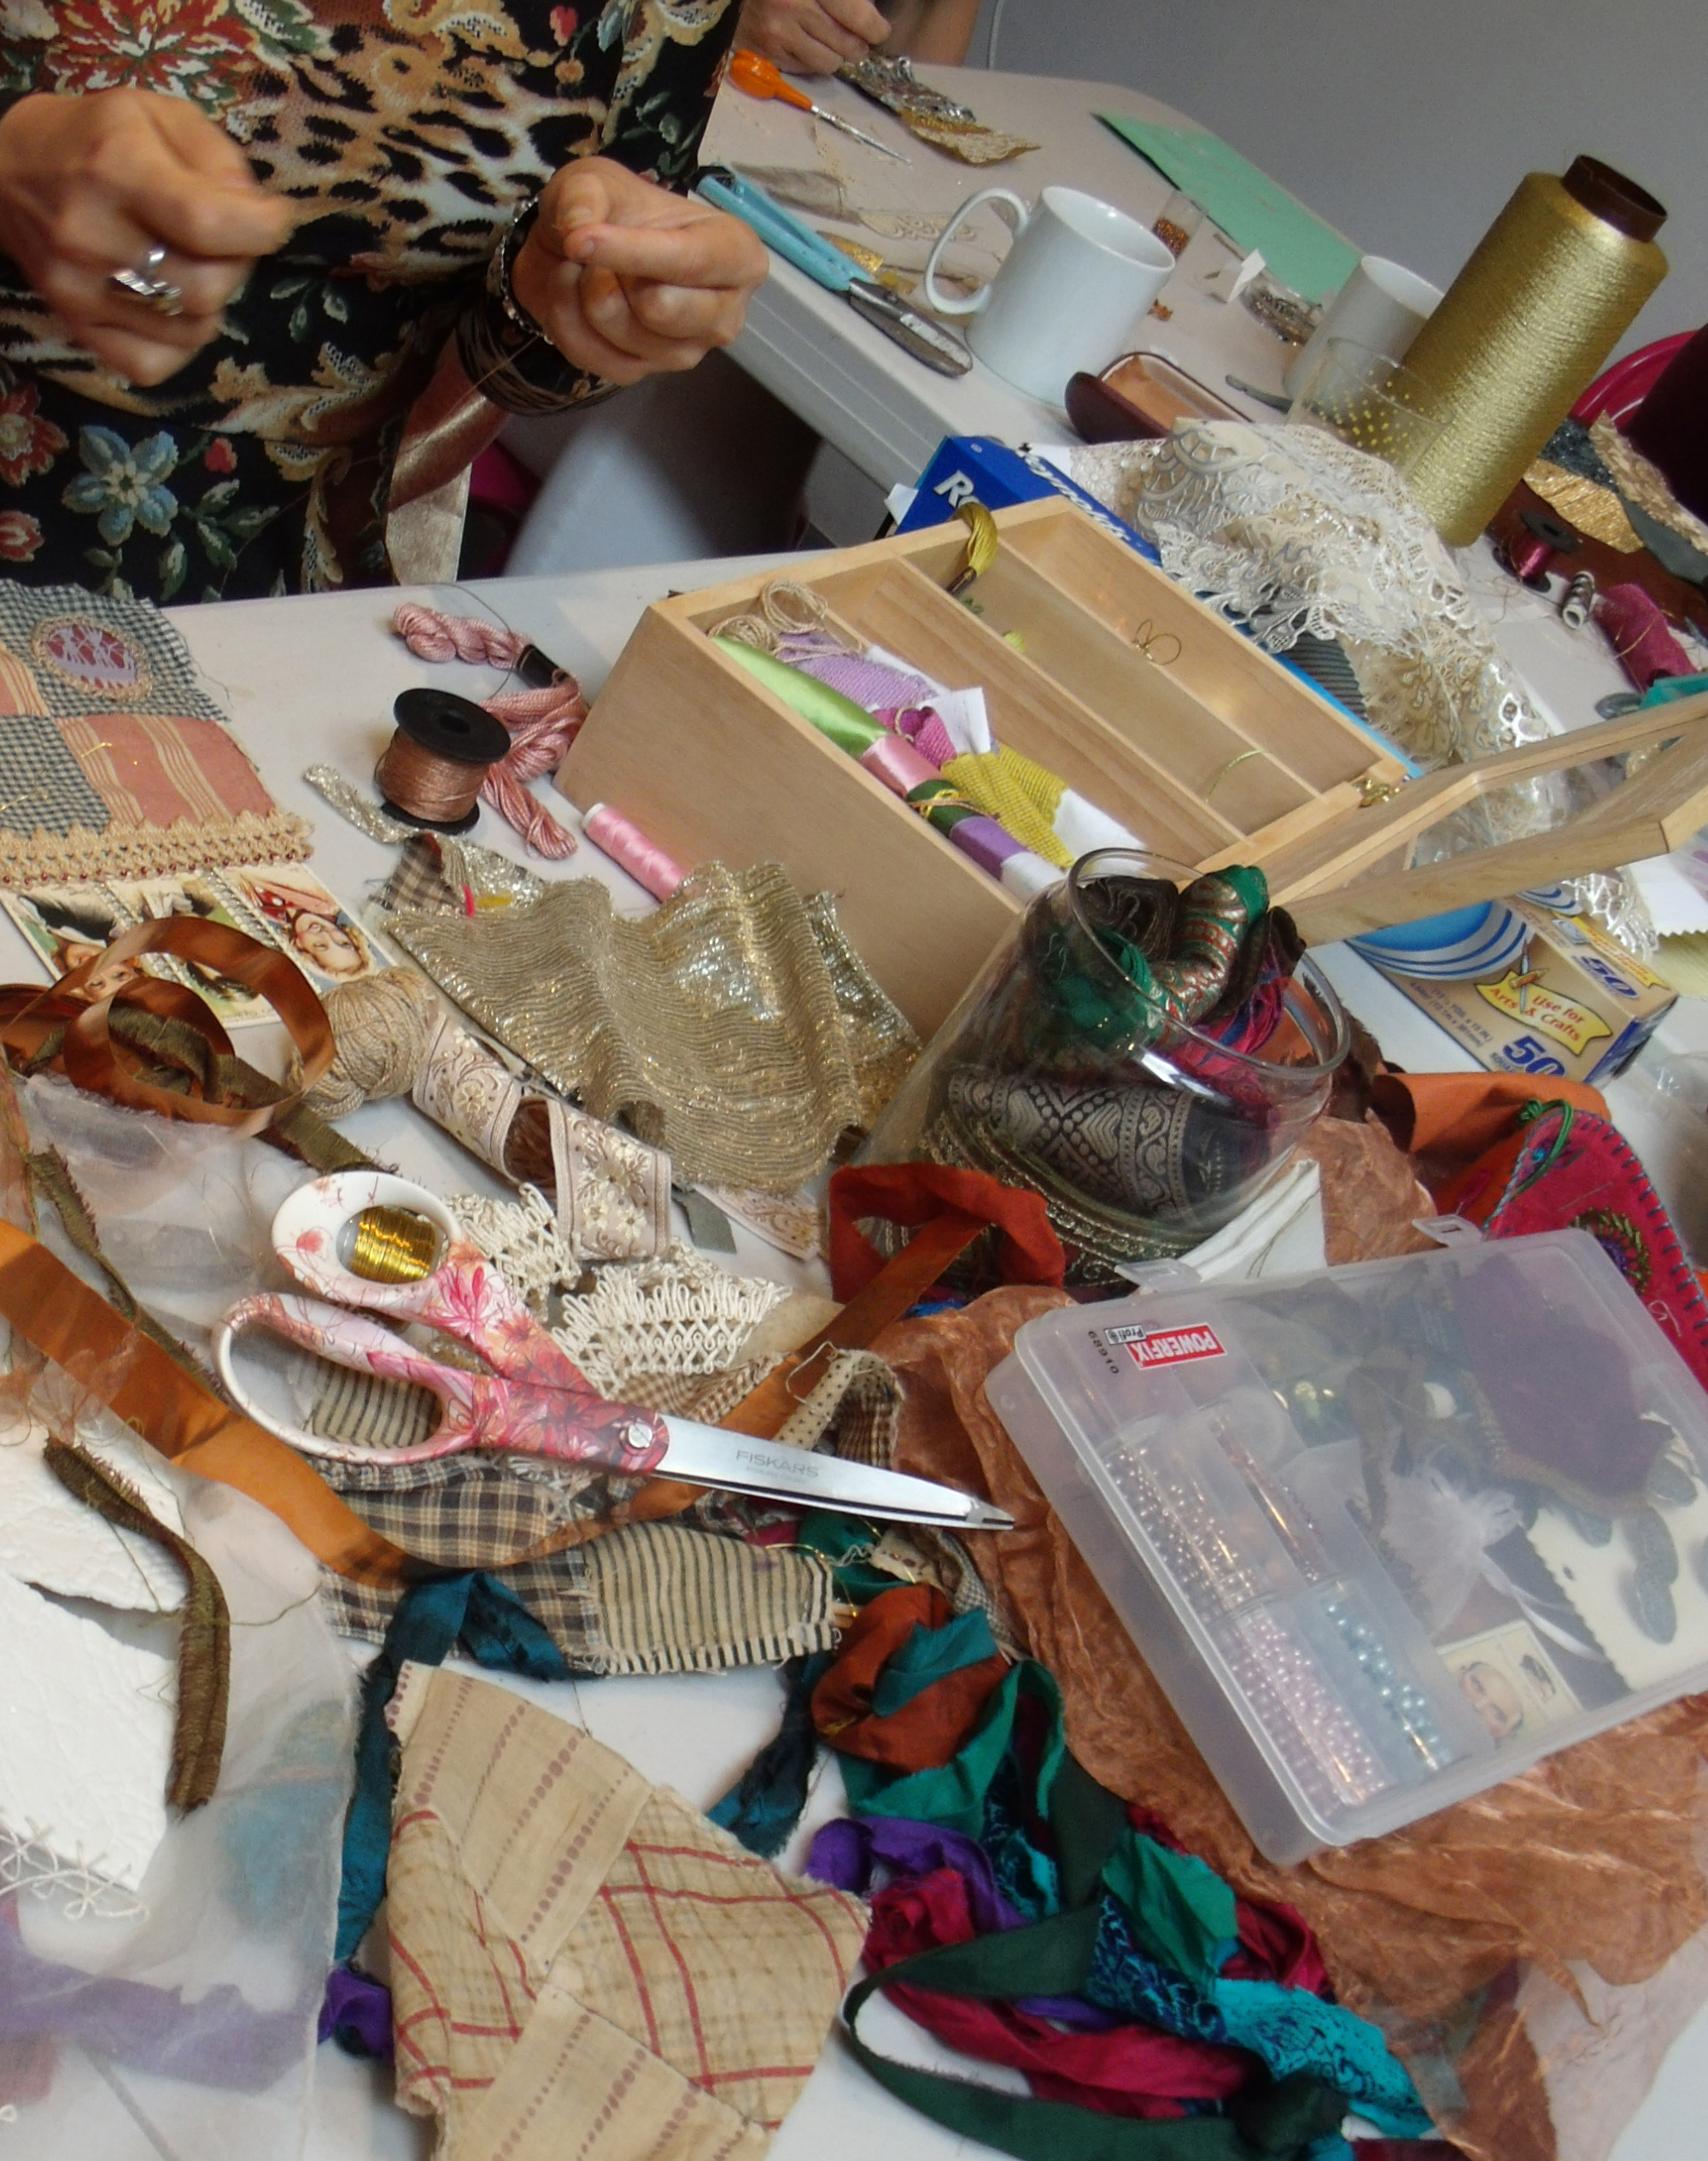
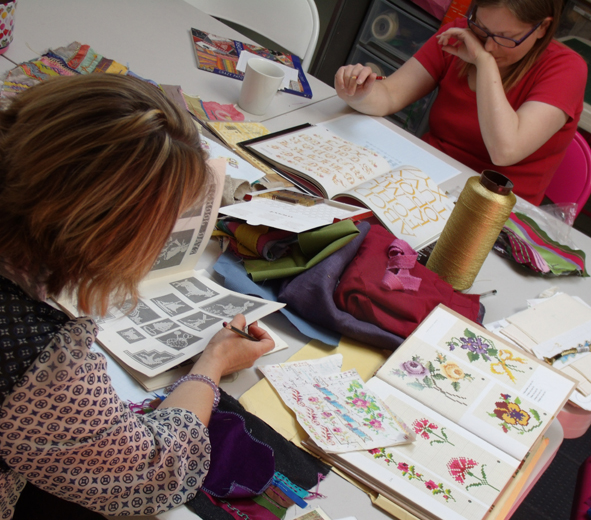
Most people brought their own stuff to share between the group, I am always impressed by the generosity of makers in workshops like this. The group dynamic is encouraged so that people really want to help one another. What is also an added bonus is finding a shared love of a particular technique or material, even makers of different ages and styles come together when they find they both appreciate a particular aspect of their chosen discipline.
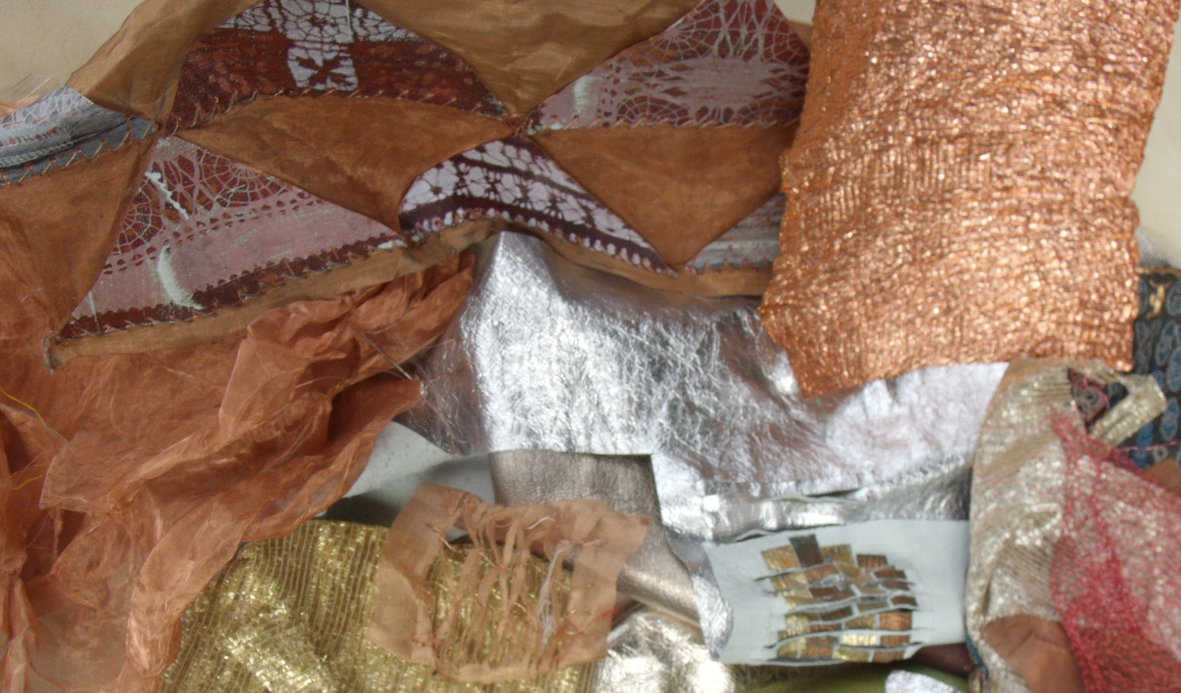
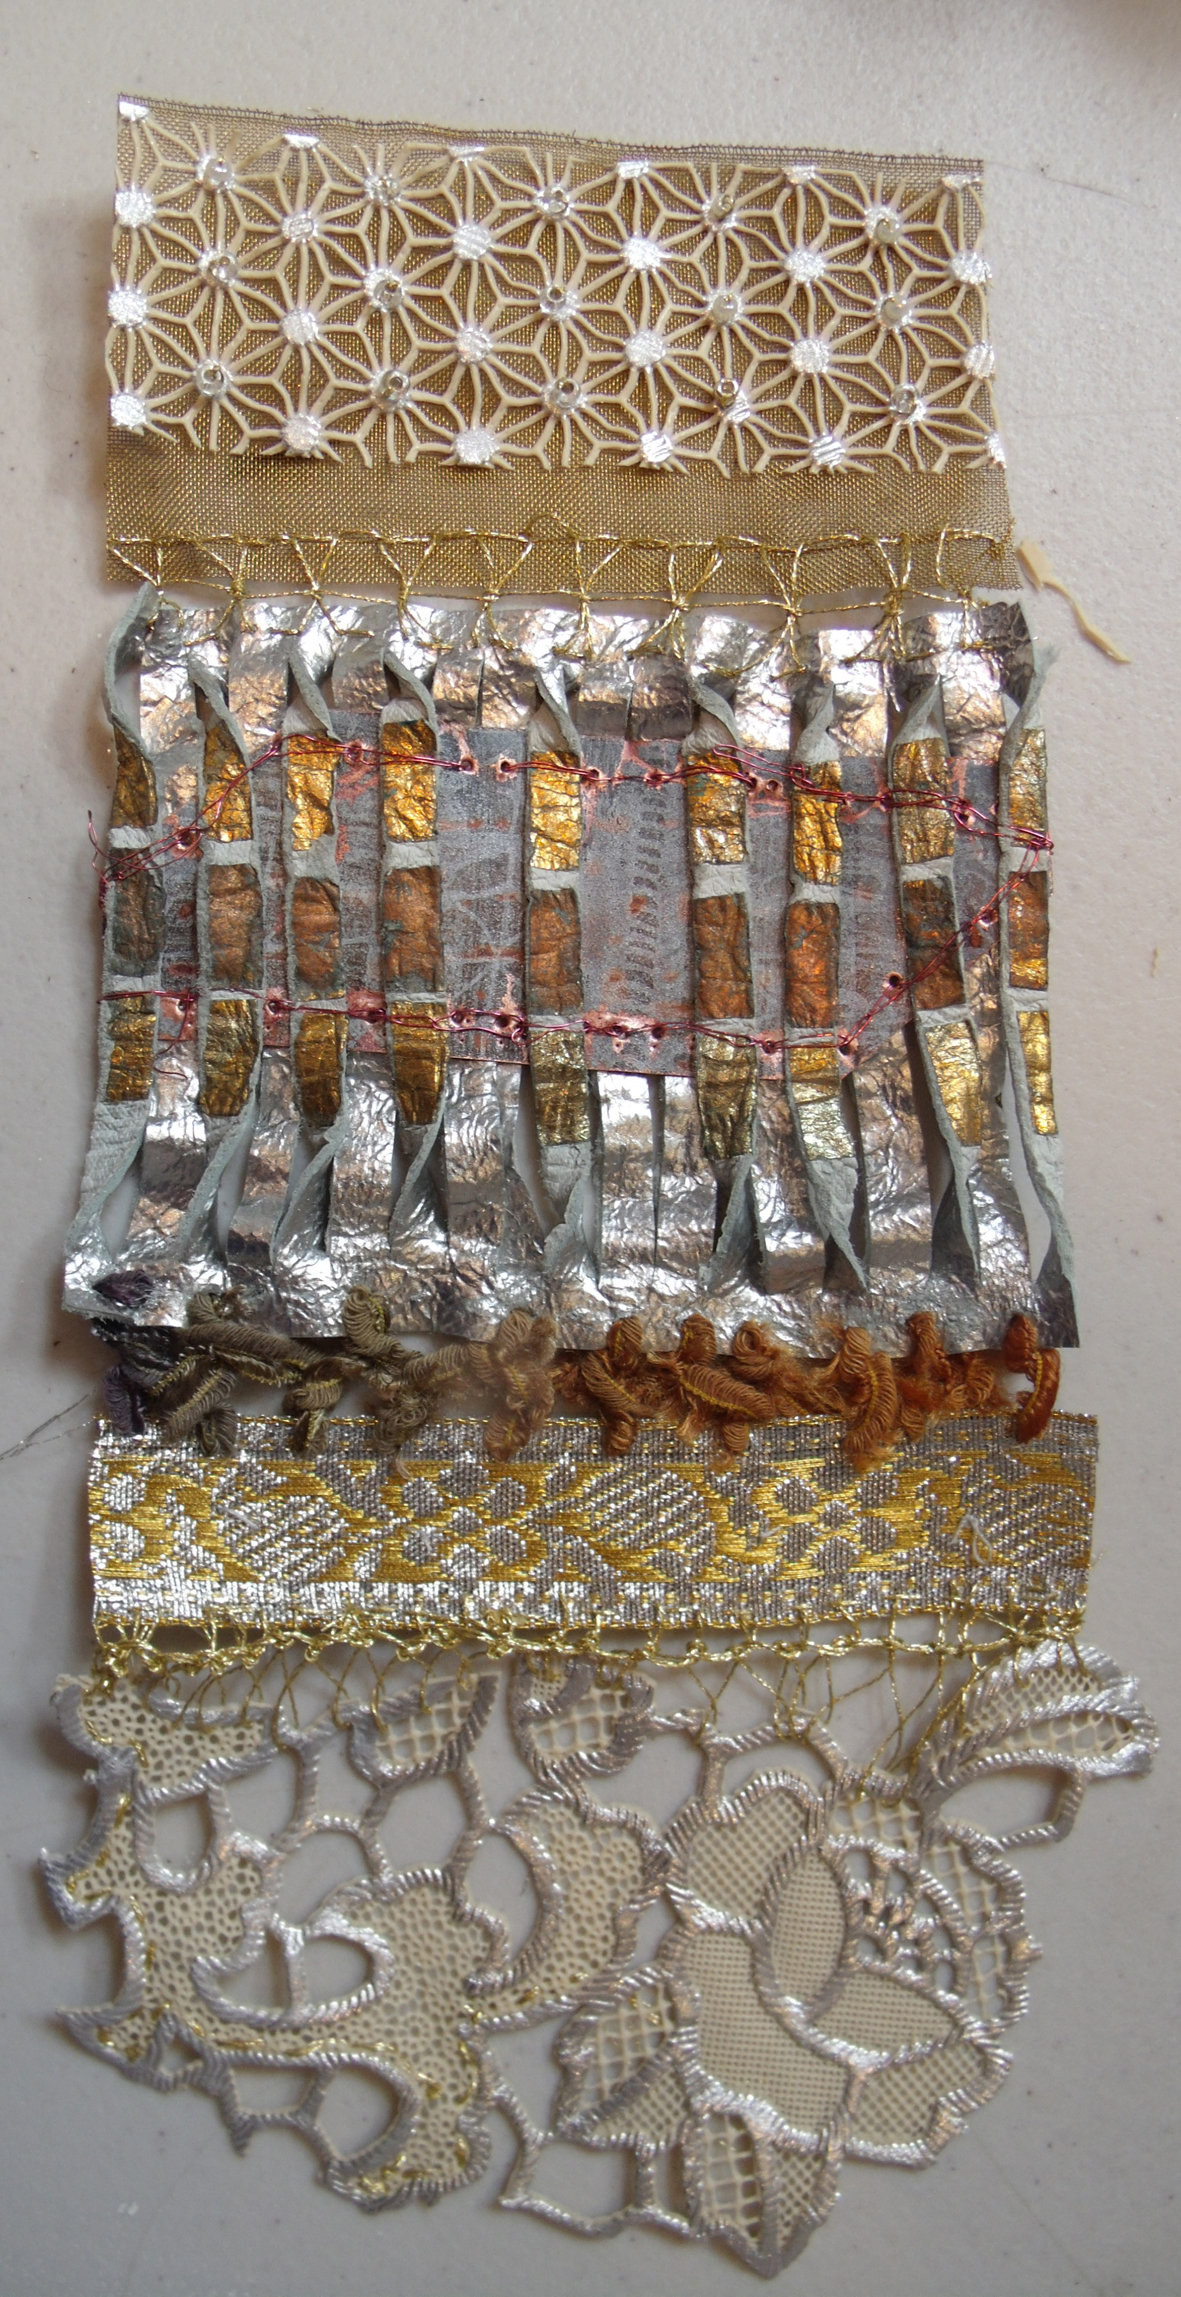
I also brought a large selection of materials from my home-based studios, all kinds of things: woven metal fabrics, stencilled enamels on copper, leathers, plastic lace, metallic damasks and other fabrics – and also the tools to drill stitch and manipulate them.
one of the best things about attending any materials based workshop is the abundance of new and unusual stuff that is introduced by people who are experienced in working with it – this can save days of researching.
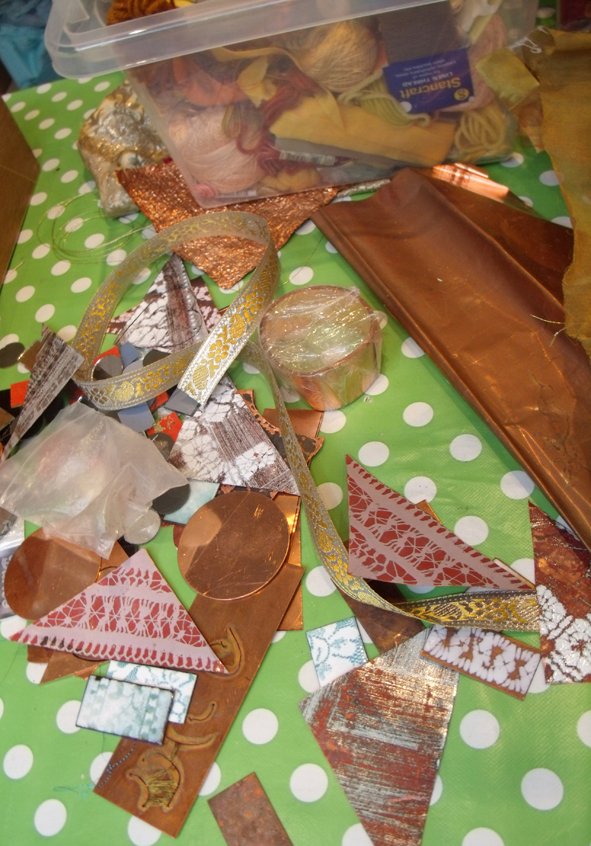
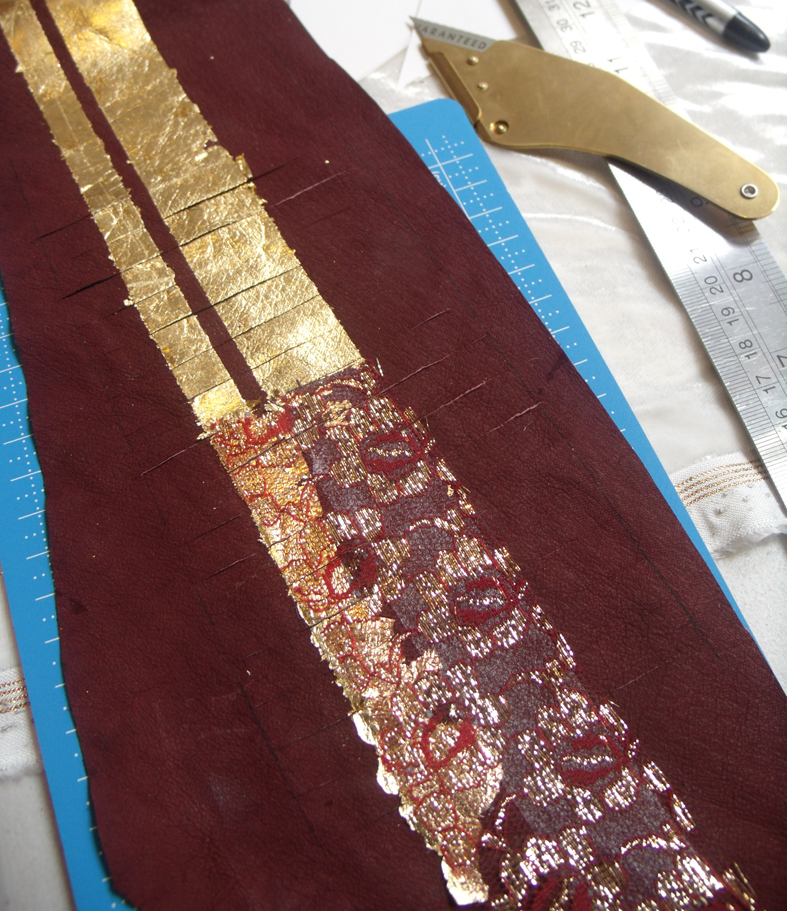
I particularly like metallic leathers and fabrics, so I brought lots of these in for everyone to sample, as well as scraps of thin copper, some patterned with vitreous enamel. such a shame I had no time to experiment with the other tutors’ materials for this research session.
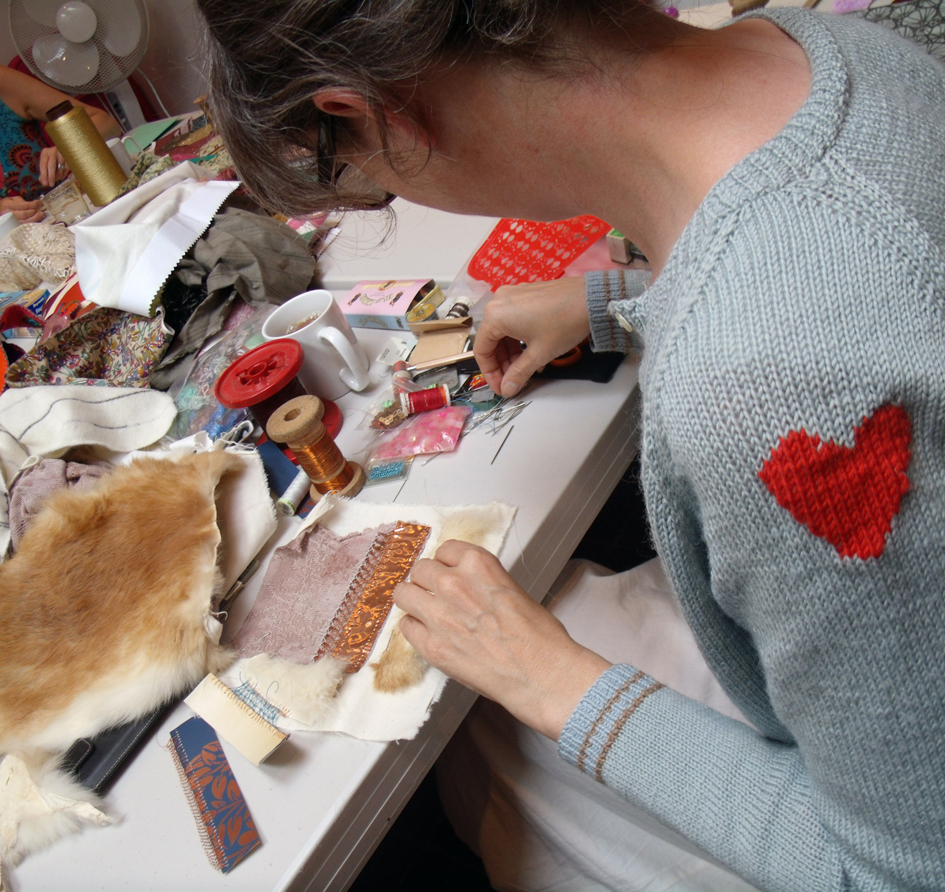
The task for the morning was to choose 3 different materials and join them together using their own preferred techniques or I would teach anyone various embroidery stitches and techniques. As the group comprised experts in knitting, stitching, crochet, felting, print as well as display, administration and even a drama student (a daughter on a flying visit), it proved to be a mixed bag of talents, attitudes and experiences. Perfect for generating new ideas and enthusiasms
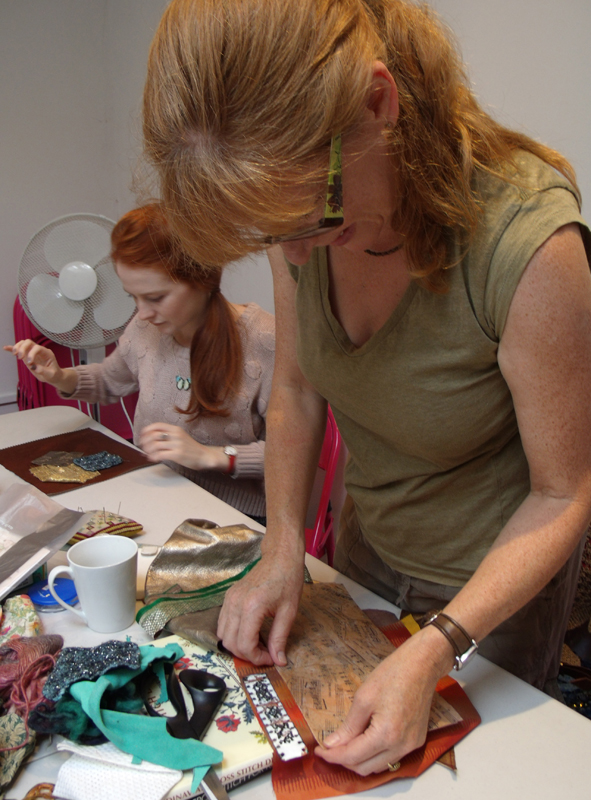
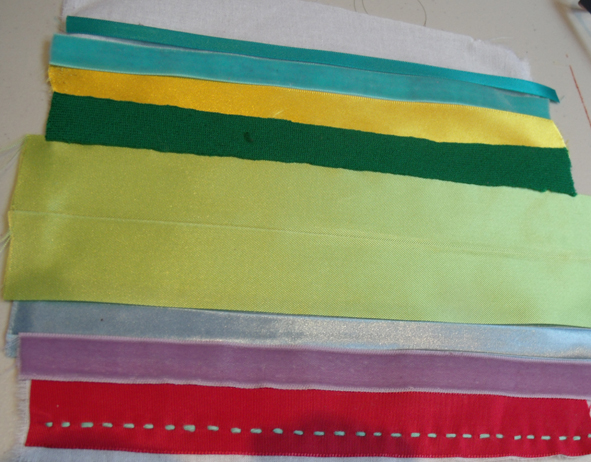
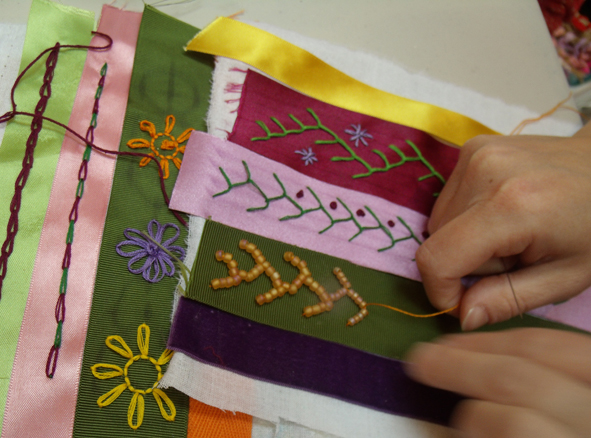
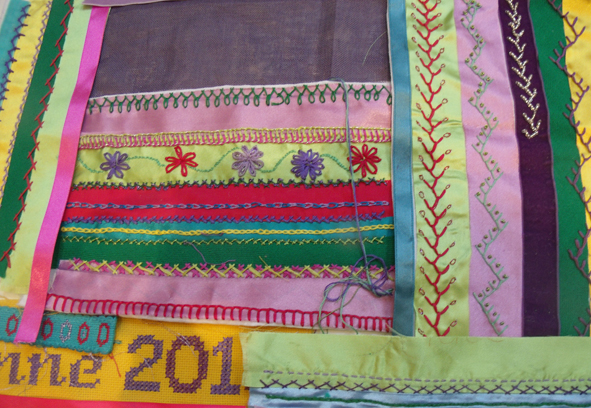
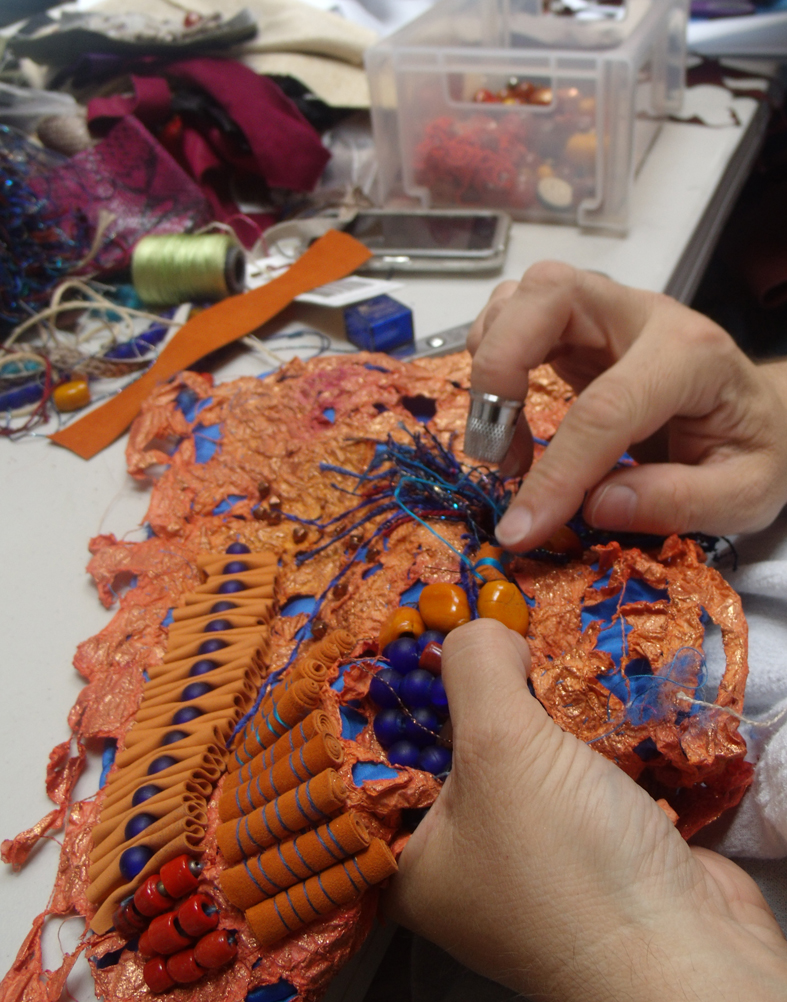
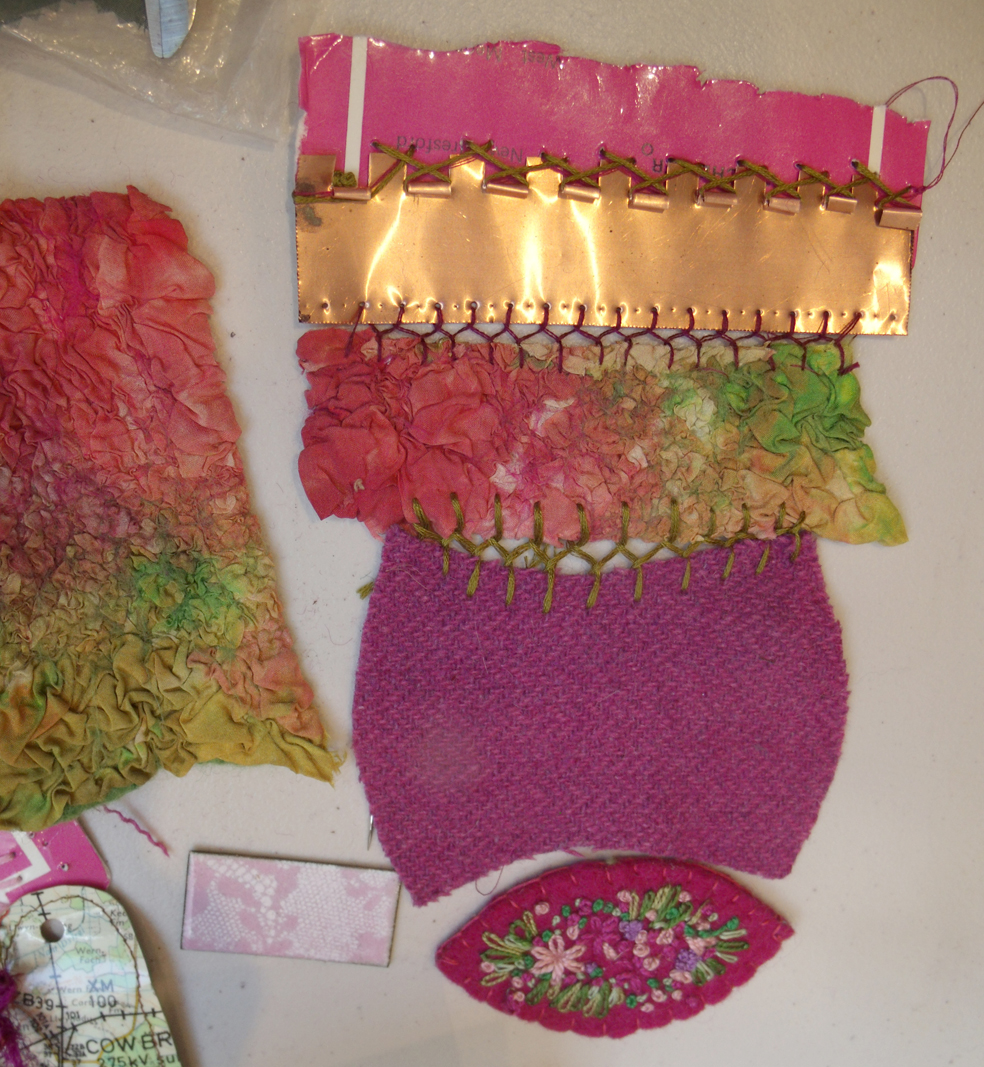
Everyone set to work choosing their 3 materials and laying them out, the strip sampler proved to be the most popular as it is the easiest to co-ordinate; odd crazy shapes take a lot longer to set up.For the task of joining two of the disparate materials together – colour, surface texture, weight of each material has to be considered as well as the selecting the technique.
I showed everyone how to make regular holes in various surfaces, involving textile techniques – a tracing wheel, an old darning needle and a hammer! It works for me every time…..and off they went with mixed but interesting results.

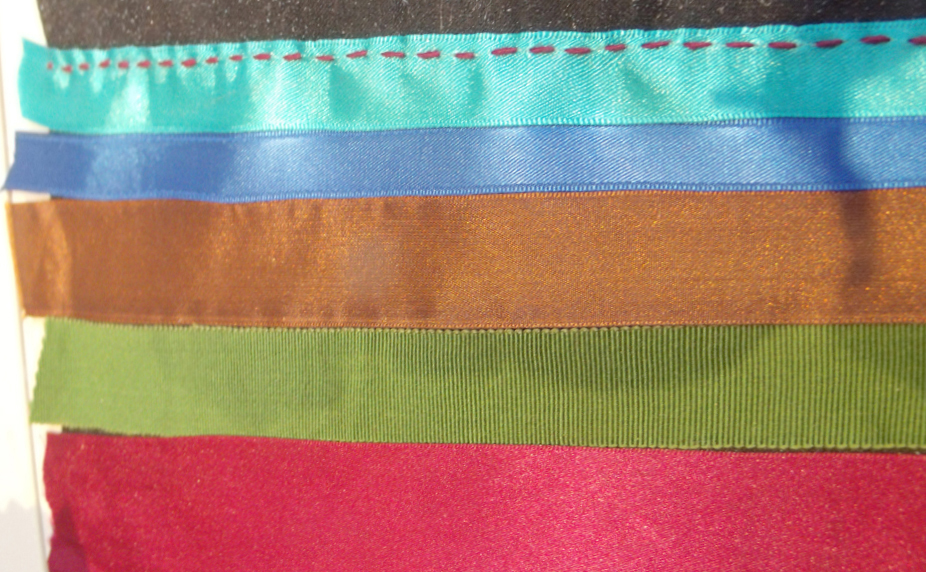
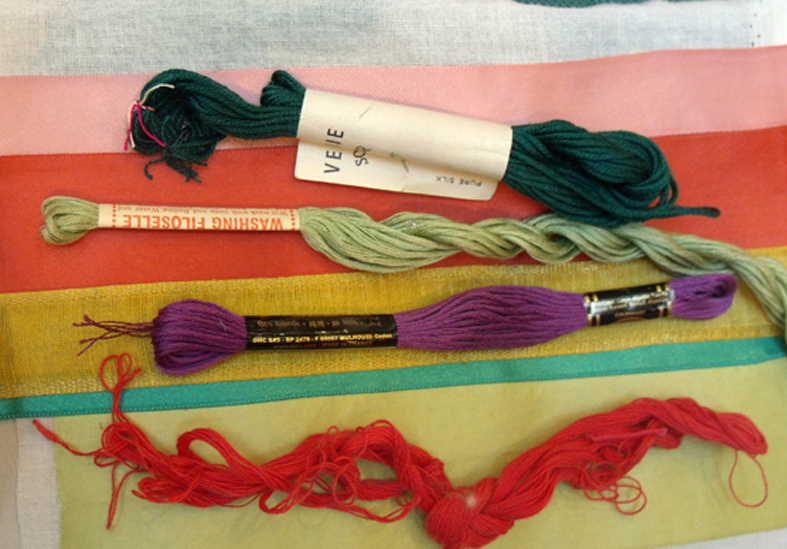
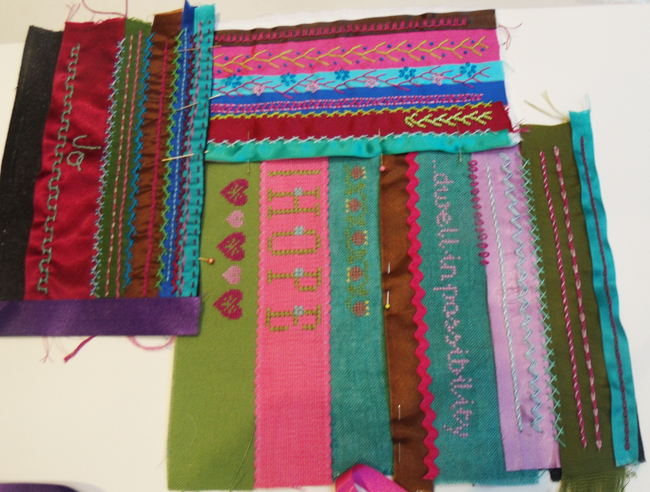
At first everyone just chose a colour co-ordinated or used an unusual type of thread to work with…
only to find that when stitched it looked very different than imagined. after a relaxed start the makers’ critical faculties began to kick in!
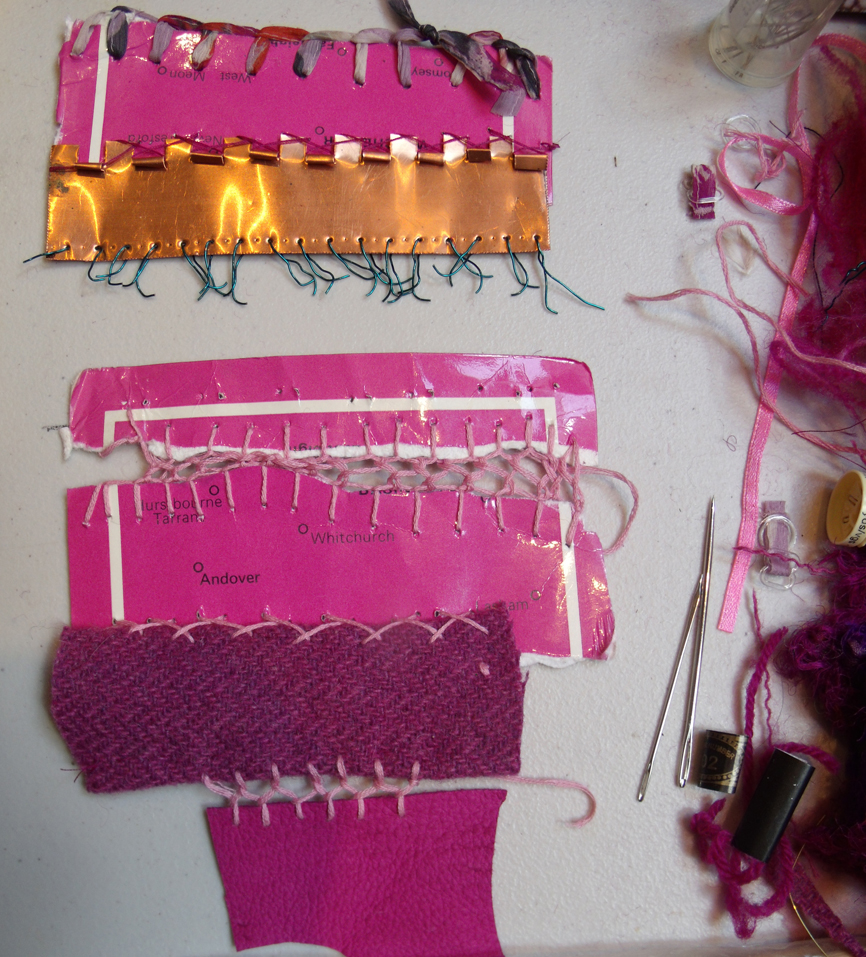
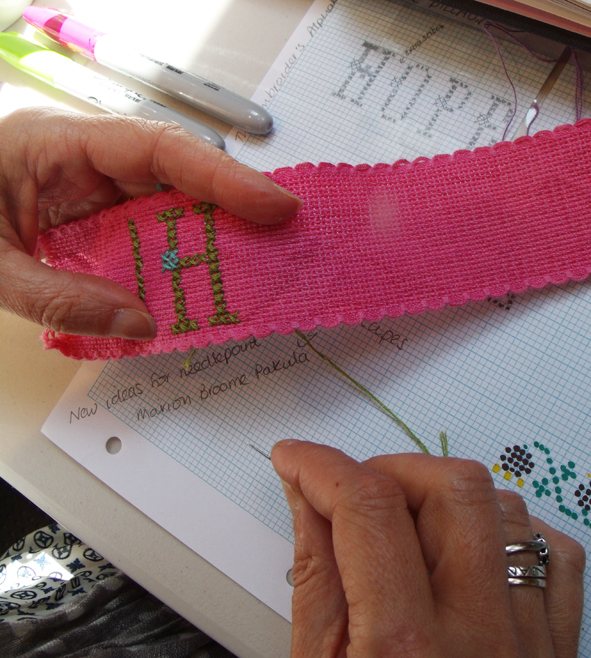
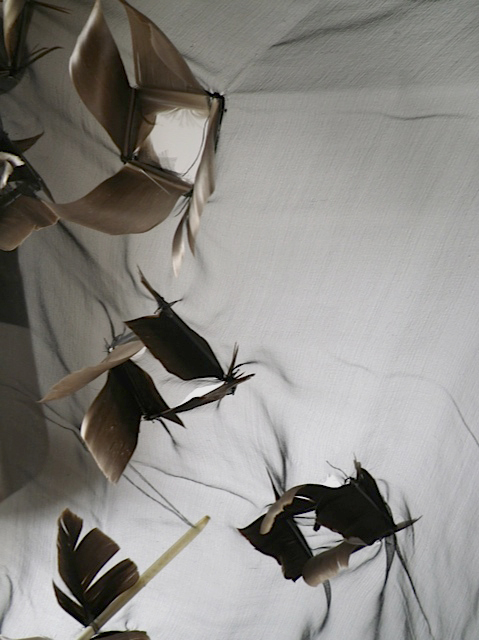
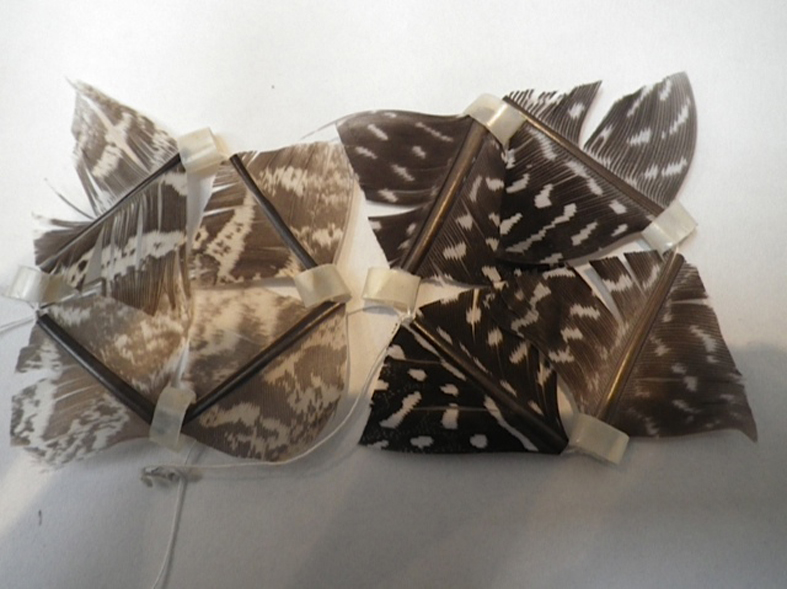
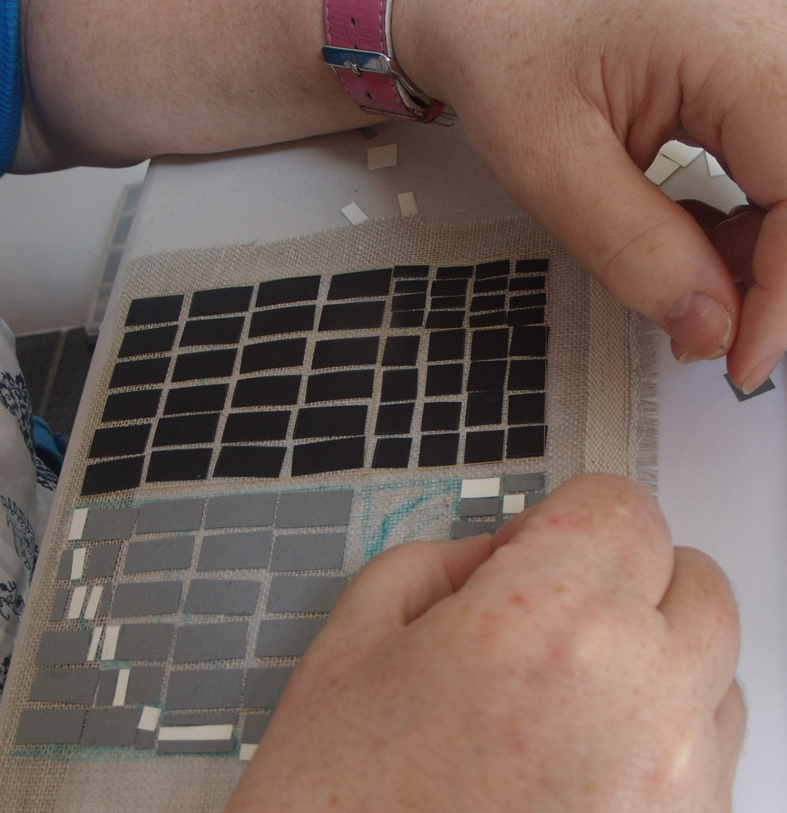
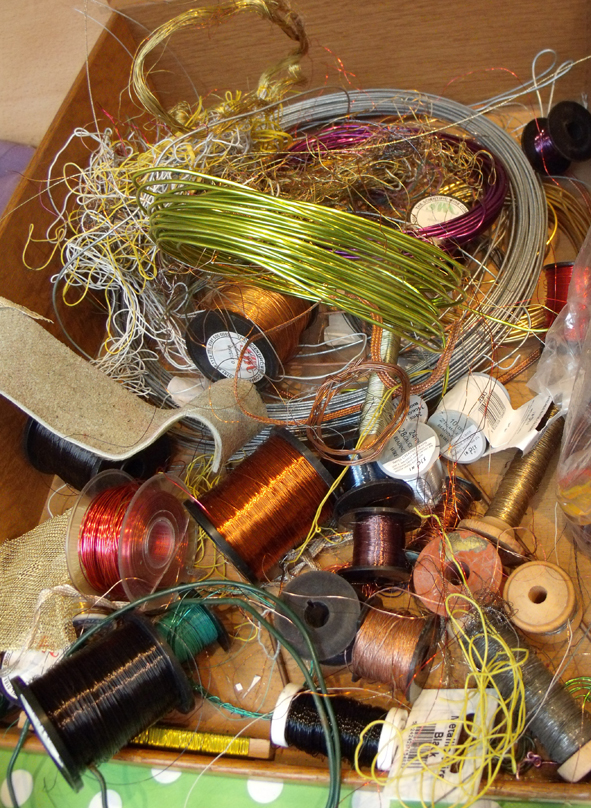
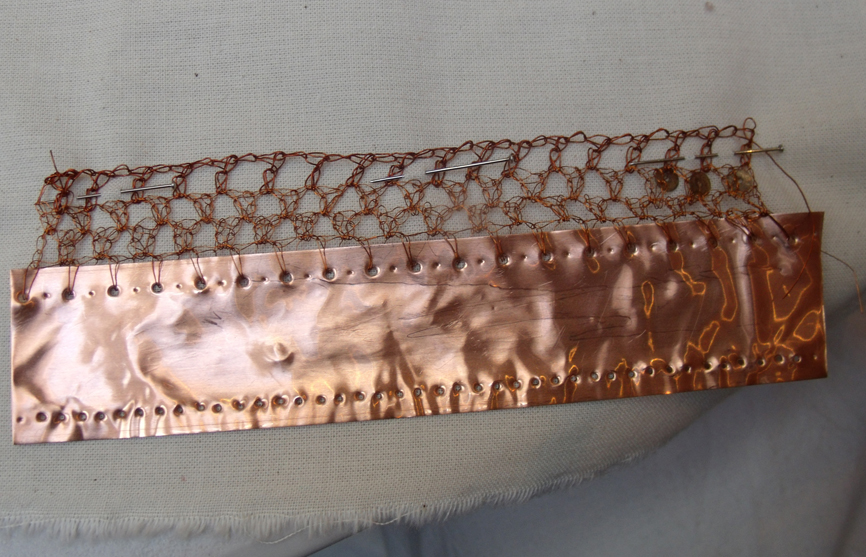
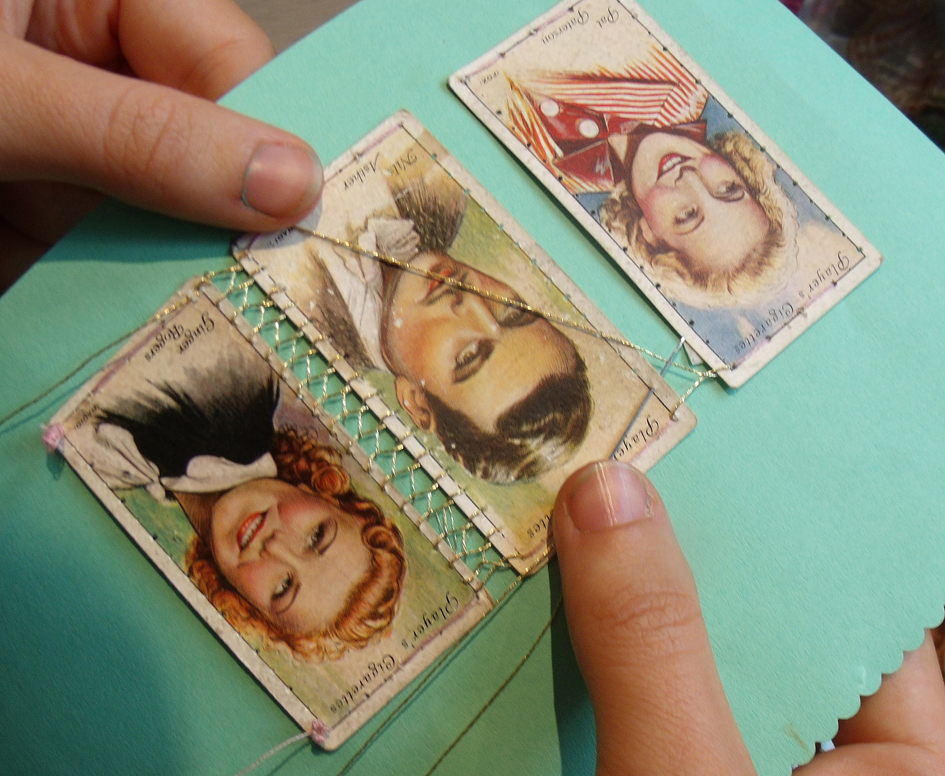
I noticed that the knitters worked completely differently from the stitchers; they immediately made a start by adding a linking system to one edge of a piece of material either using crochet or knit to form an edge ready to accept the next piece of material – this gave them much more contemplation time for what comes next – the stitchers are able to join 2 pieces together simultaneously. Why had I not appreciated this before? However working the wire into fine leather was a fiddly affair – see below right.


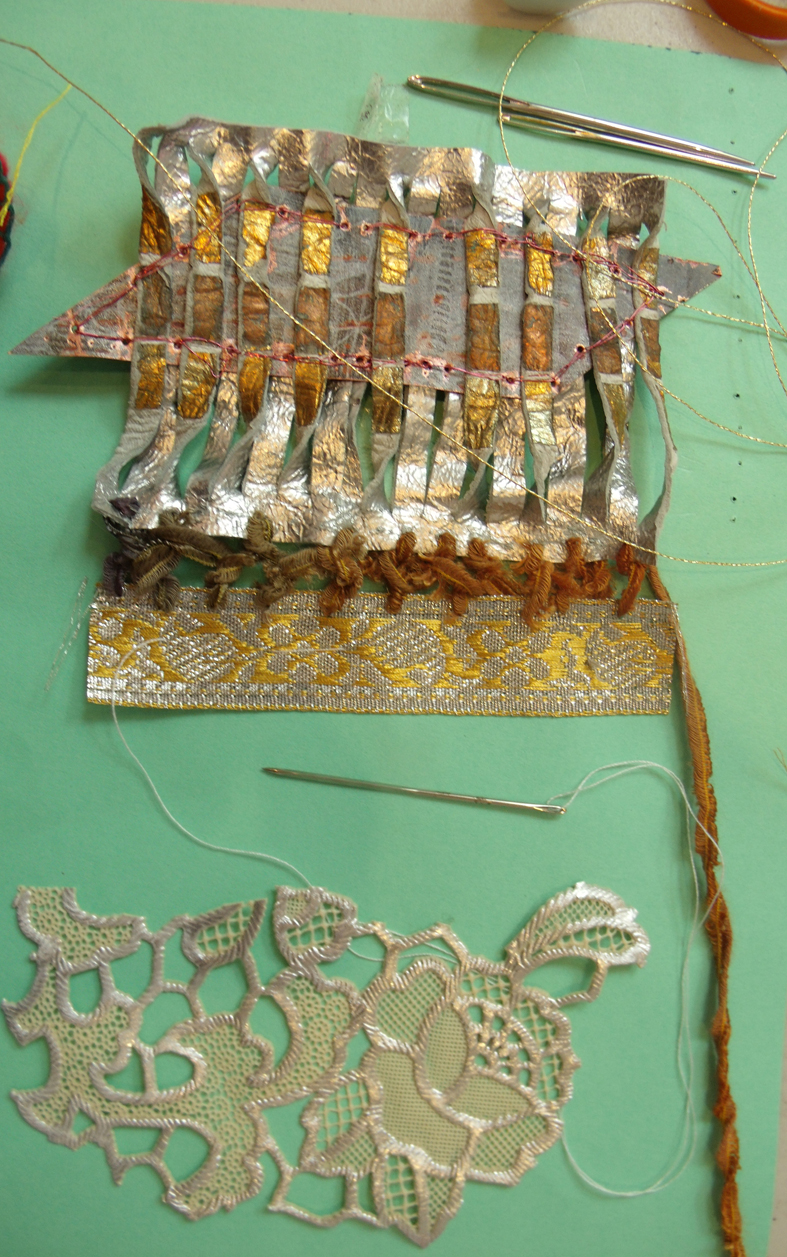
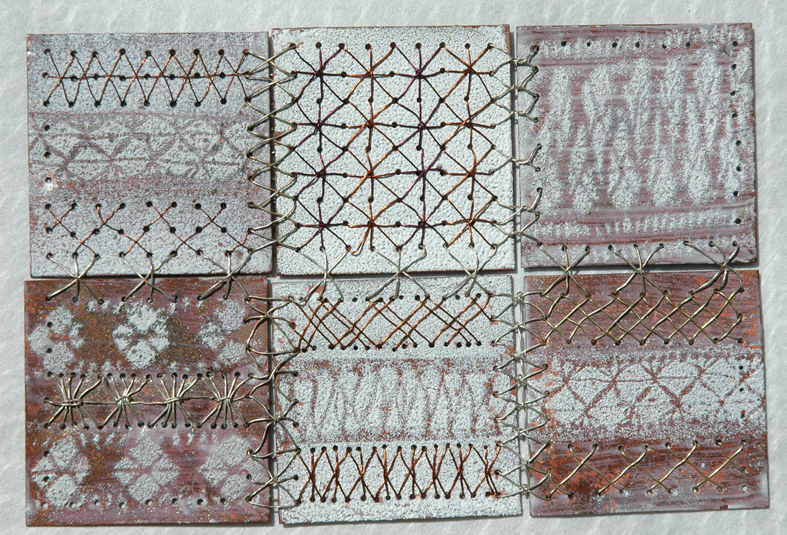
Now I really must get the knitters to teach how to do this technique. When I first attempted to join metal together using my own stitching techniques I used a different system – making rows of simple cross stitches between the strips of vitreous enamelled copper pieces, so joining each at the same time. It took me some time to try the different insertion stitches. In fact it was an aversion to drilling all the holes that put me off developing this technique for a long time – but now I happily drill rows of holes for hours at a time – well not exactly ‘happily’….maybe I will get to like crochet after all.
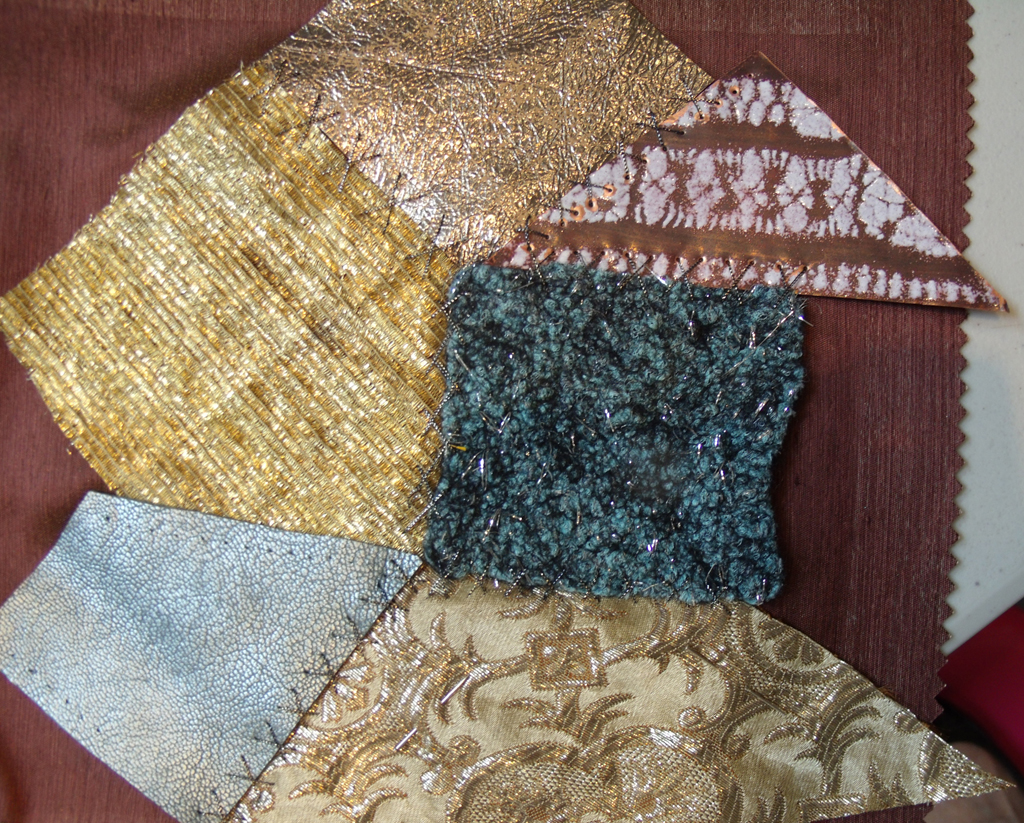
When the crochet wire was worked into some copper strips it was very successful…the strong steady base really helps achieve an even texture and the structure gives the metal wire movement and elasticity which is much more compatible to work into fabric.
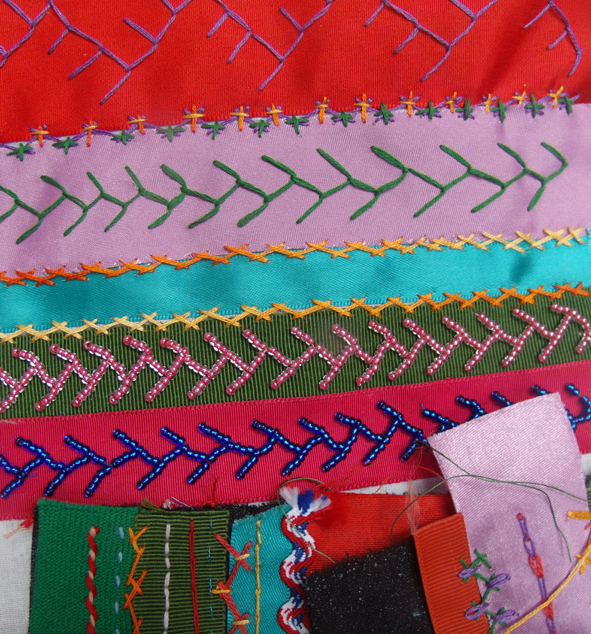
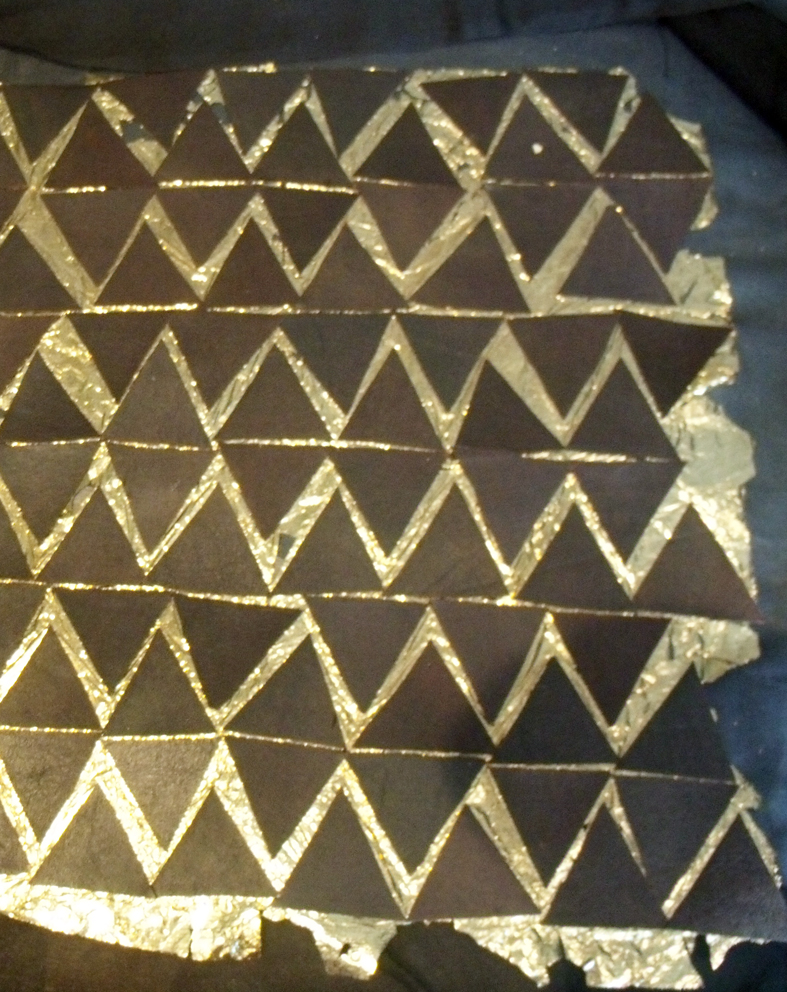
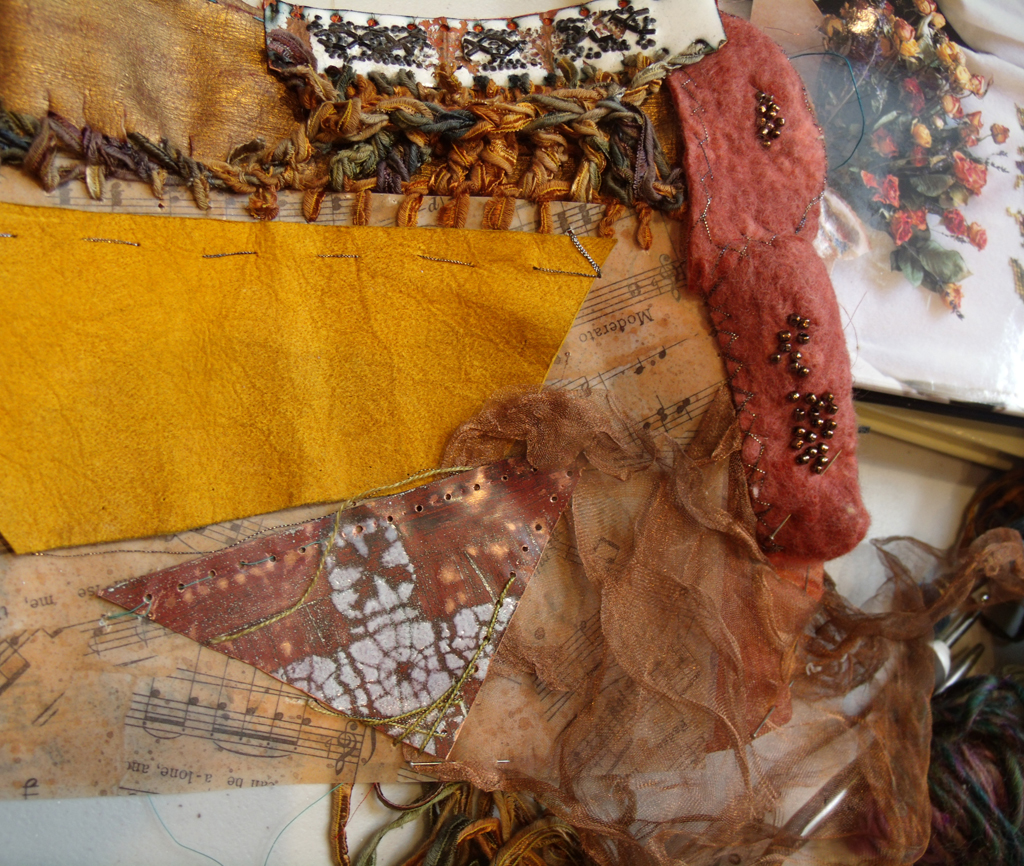
now the strips of materials are starting to look like they belong together
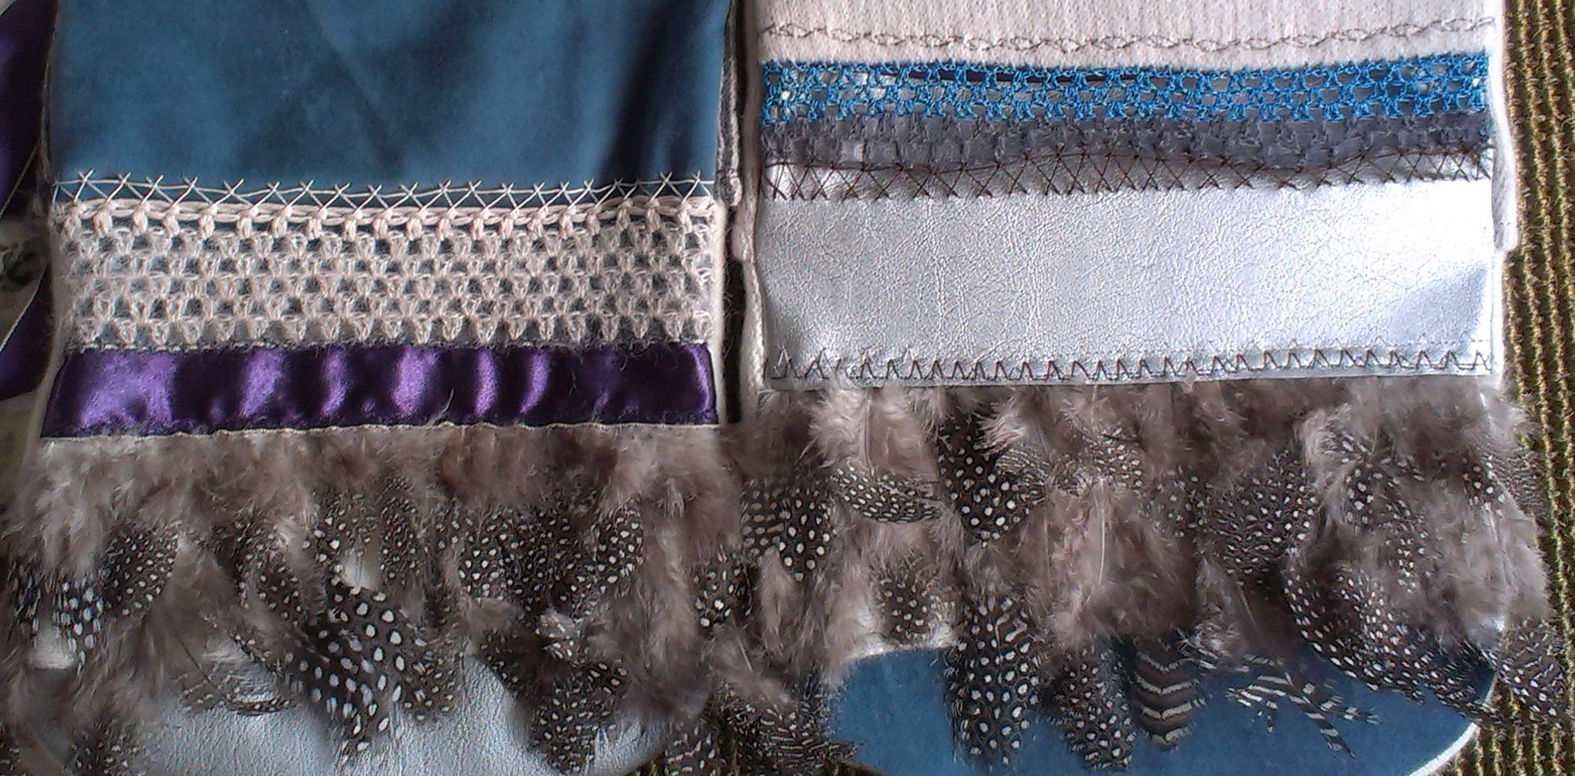
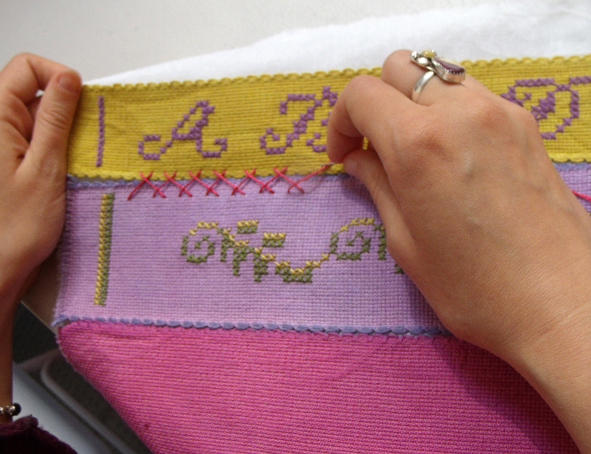
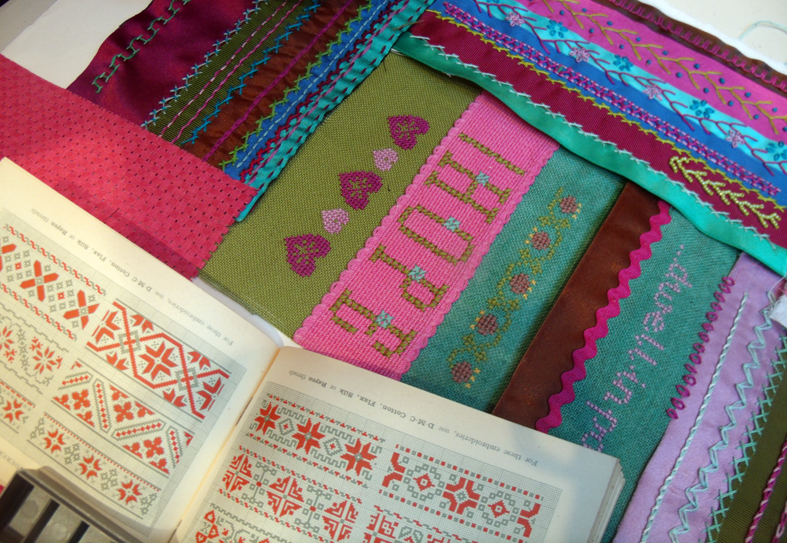
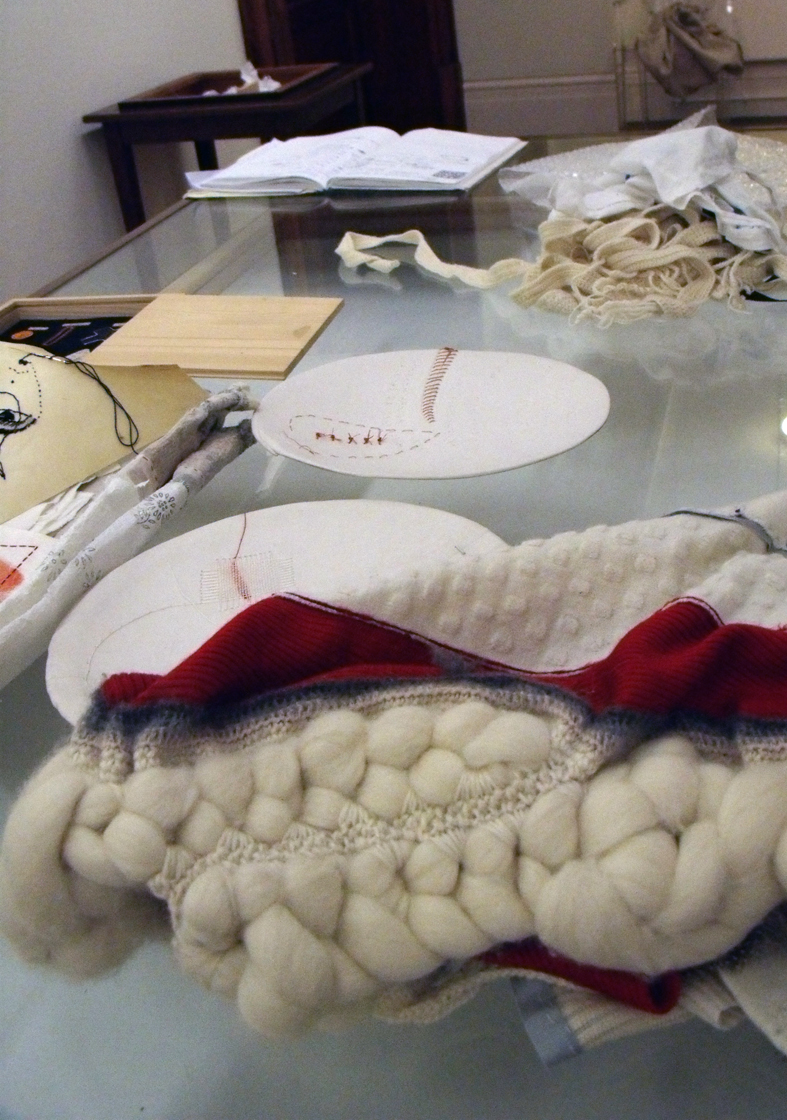
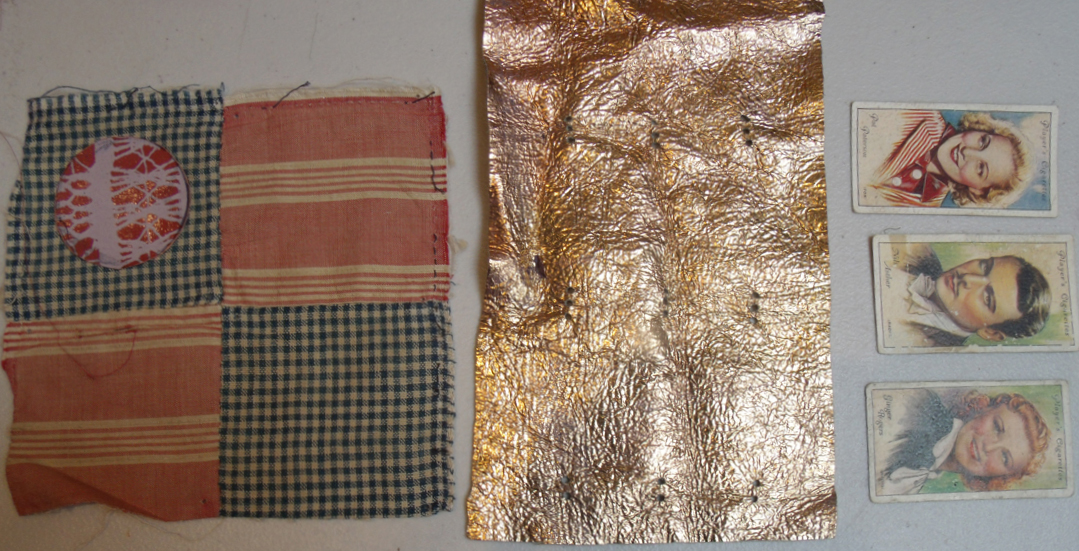
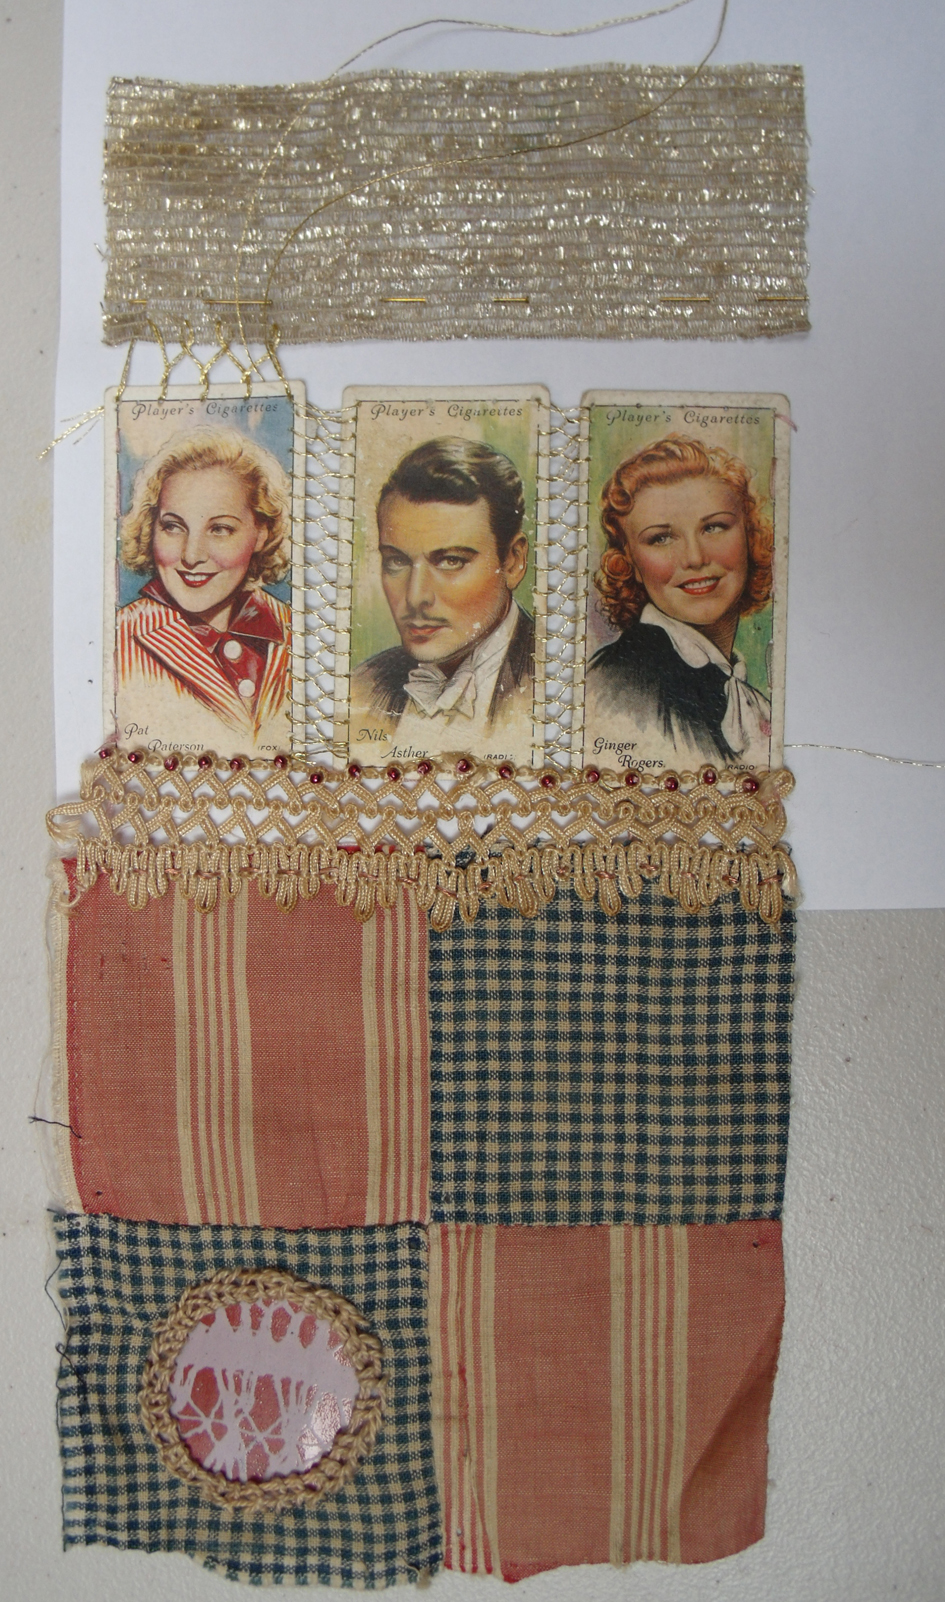
I showed several people how to embroider simple insertion stitches for a lace-like join…securing the fabric to a piece of card first to steady the gap between the pieces, a traditional technique found in my old embroidery manuals for white work.
Now the invention started to kick in…


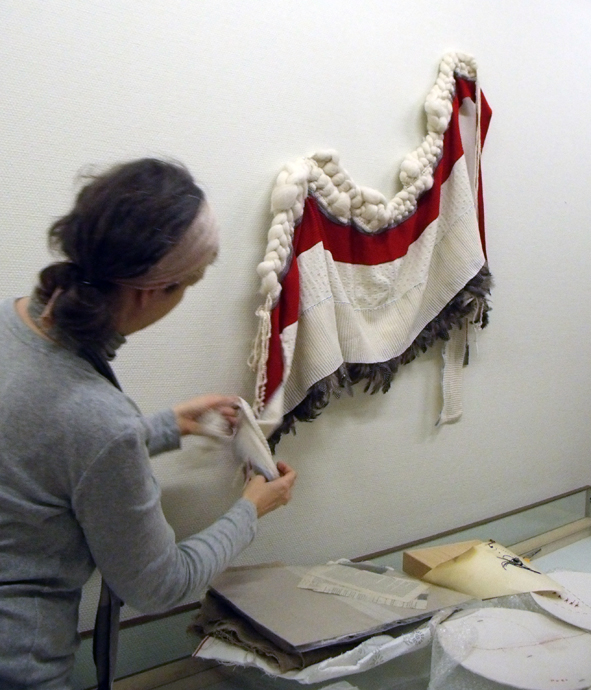
And to prove that sampling really does inspire people here is new work from Steph – the day after the workshop she added some of the sampled techniques and materials to her range of knitted hot-water bottle-covers.