Over the past few years I have been intending to start selling giclee printed versions of my personal stitched work. The latest pigment prints available are unbelievably faithful in reproducing my finely stitched work…but where to start? Flowers – where else? I determined to develop some new flower embroideries for this venture.


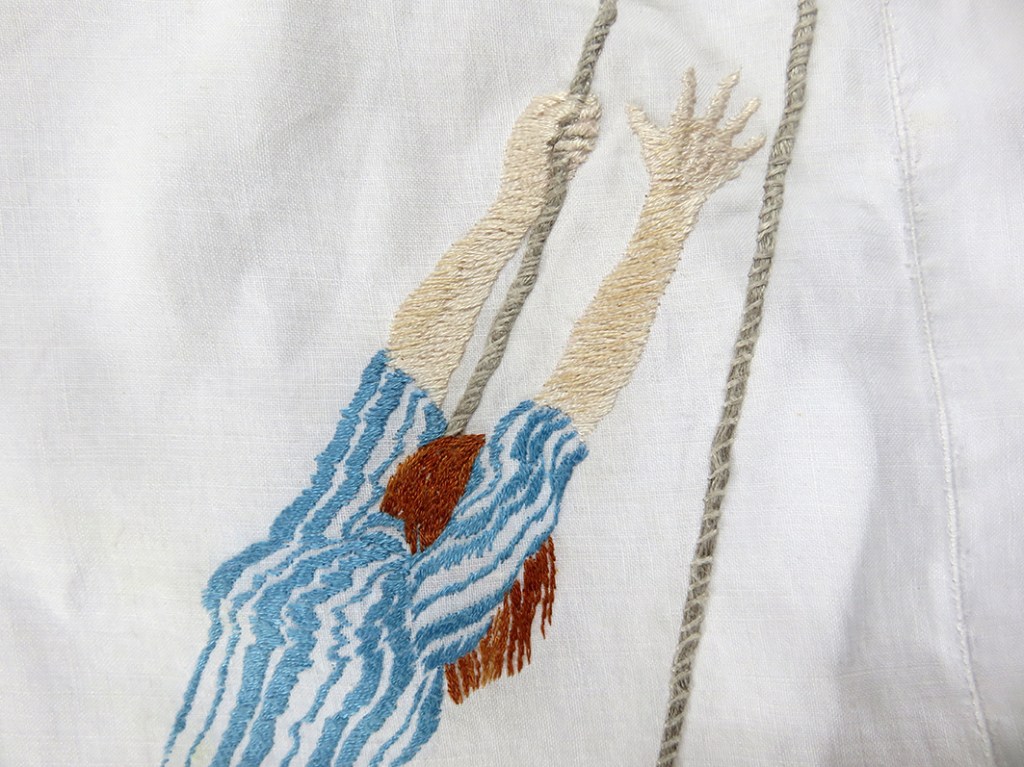
Following on from revisiting my old research books and past work, I decided incorporate the flower embroideries with the Kantha stitched skies as in After Winifred. I took a beautiful bunch of dahlias and held them against a large scale Kantha Stitched sky in progress on my studio wall. I had been brought the flowers by Helen Reed, who owns Court House Farm and runs a seasonal cutting garden amongst other ventures. And where I hold drawing sessions in the summer months.


I also eventually started to work on an idea taken from a rare photograph of my garden Hellebores in a vase and in front of my scarf design of Hellebore flower heads. What is odd is that while Hellebores are one of my most favourite flowers, am not keen on Dahlias and did find myself reluctantly stitching them onto a small version of the Kantha sky. Below are the first 2 prints in the series Flowers For Our Times, on the left is Dahlias, on right, Hellebores


Reflecting on the Dahlias and Hellebore pieces (made between winter 2021 to early 2022) I felt as if I had made a definite link between my old and new work in order to make the really vivid giclee prints, available soon at Heart Space Editions. But although technically demanding, using the new Inktense dyes from Derwent, I decided that this was not the way forward that I had imagined it would be.


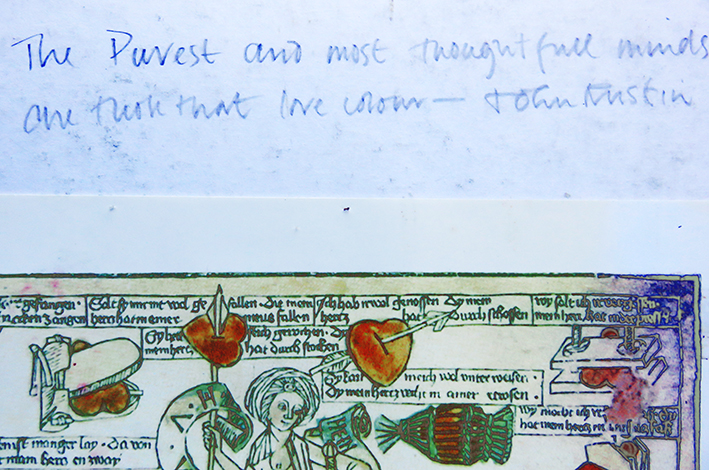
I returned again to my early flower work and re-read the catalogue of my exhibition of Flora’s Legacy, held in Bath in 2000 ( yes – so many years ago!!!!!) and realised exactly what was missing – symbolism – or the half hidden messages often contained within these earlier works.The centre-piece from the exhibition, Flora – the Roman goddess of flowers, had what was missing from my new works…the hidden meanings and humour – here some blackish, bawdy humour.
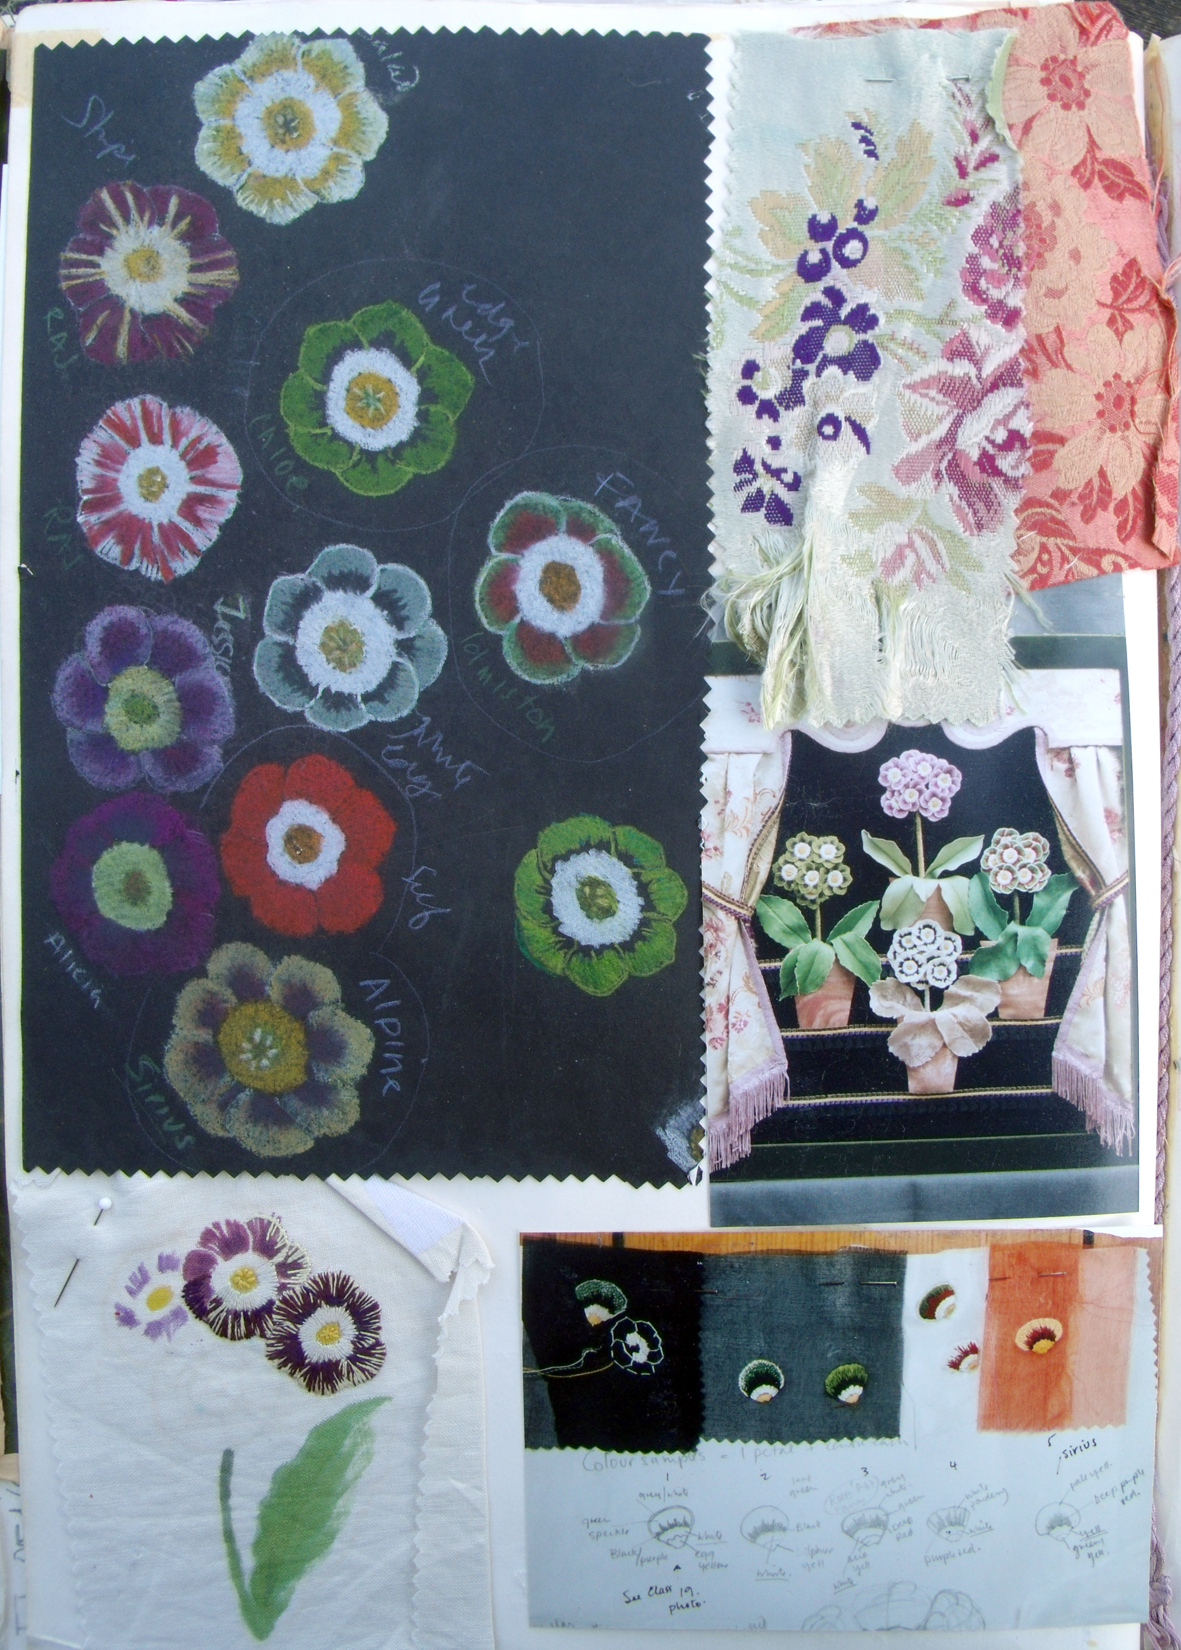
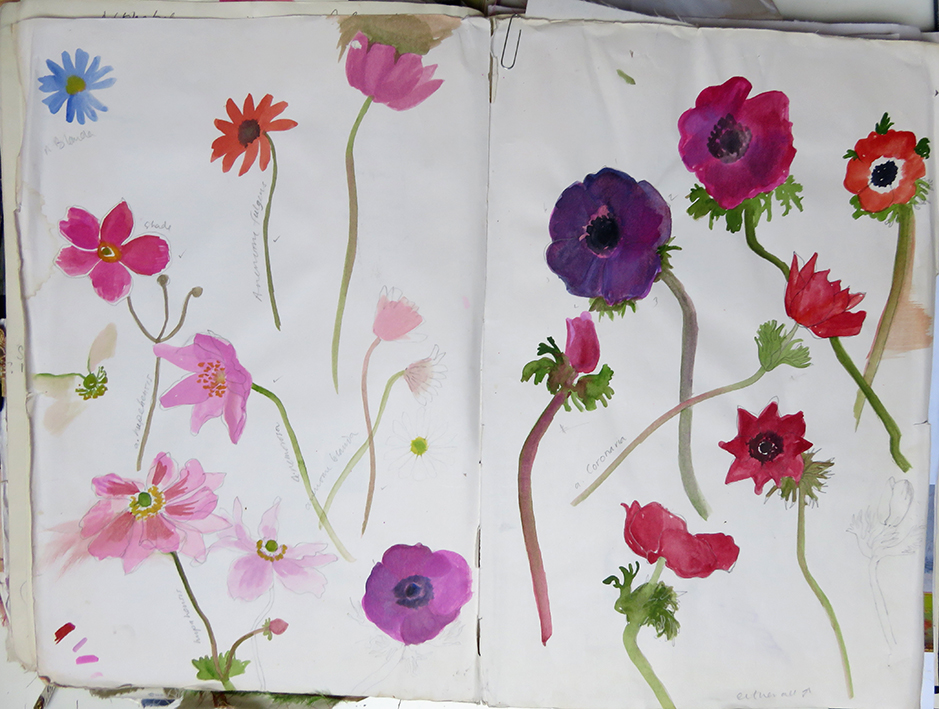
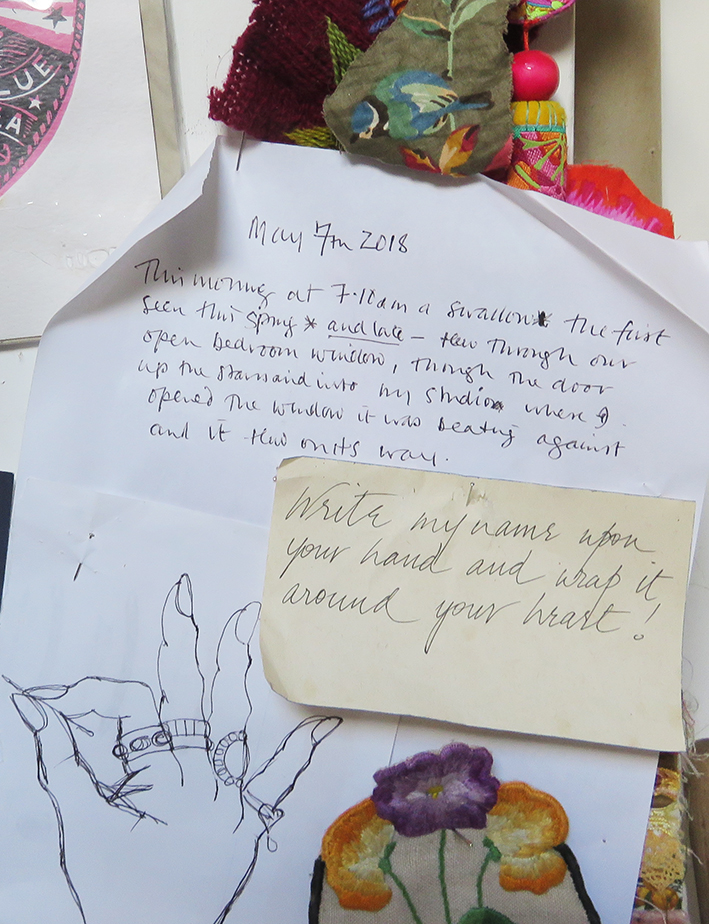
Turning to the many and various dictionaries of symbols I keep in the studio library I thought I would invent a bunch of flowers instead. The meanings of plants and flowers are universal and every culture has its own beliefs, sometimes conflicting – sometimes they are entirely in agreement: a poisonous plant is a poisonous plant. Out of curiosity I checked what the 2 bunches meant adding, the meanings to my original studies…..


I must admit that I was shocked, relieved, delighted and then excited to find that I had embroidered War, Scandal, Uncertainty, Instability and Sickness within 2 pretty bunches of flowers. But everyone else around me was spooked. So – they asked – where did I get this information from? Well in my books of symbolism, the most curious and confusing is The Language of Flowers – but oh the possibilities that it offers for mixed messages and hidden warnings amuse me enough to keep going with this theme.


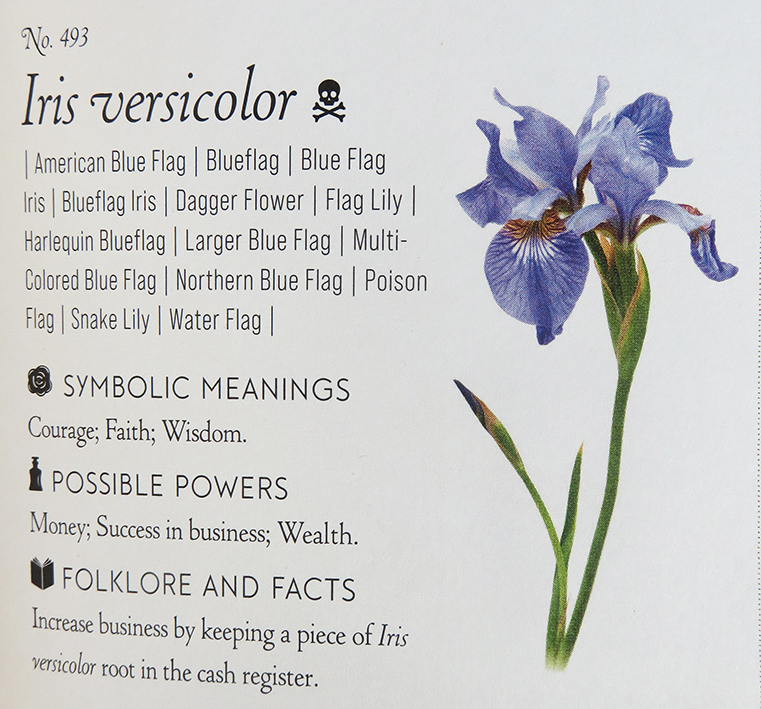
Using just my old folders and Victorian books of flower meanings lead me to a brand new fully comprehensive dictionary by S. Theresa Dietz – published by Wellfleet Press, and the here I discovered far more arcane information than I had gleaned from my all my original sources.
So now what to do next – can you guess?


check the gallery section to see more outcomes of this ongoing project