my totally moth eaten cashmere cardigan – but with darning still intact!
This is a sad story with a happy ending. My favourite cardigan that was included in my first ever post, Make Do and Mend, where I proudly showed the careful darning that I wore with pride, sadly, got lost. When I eventually found it pushed to the bottom of my laundry basket (don’t ask) it was totally ruined even beyond my restorative darning powers.
I decided to felt it by boiling it twice. The colours are so vibrant that I just had to try to find a use for it and I found the perfect solution when designing with some lovely felted woolen blanket flowers that Kirsten Hill-Nixon had brought along as a new idea for a class at Heart Space Studios.
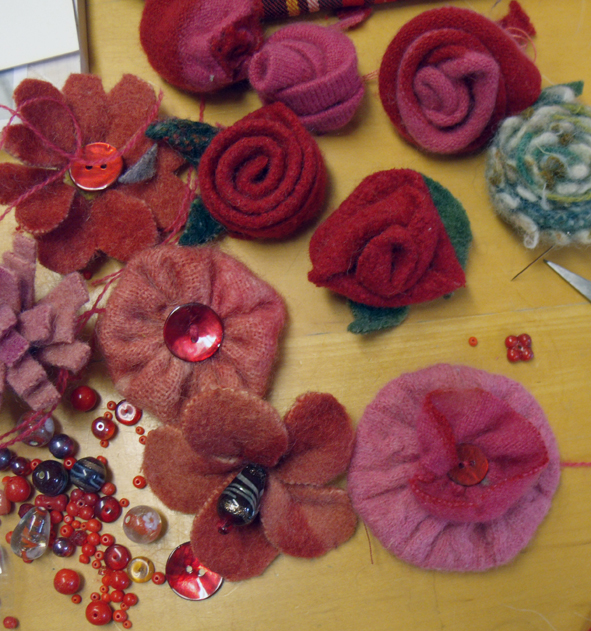
the reds and pink selection- I really like the tartan rose.
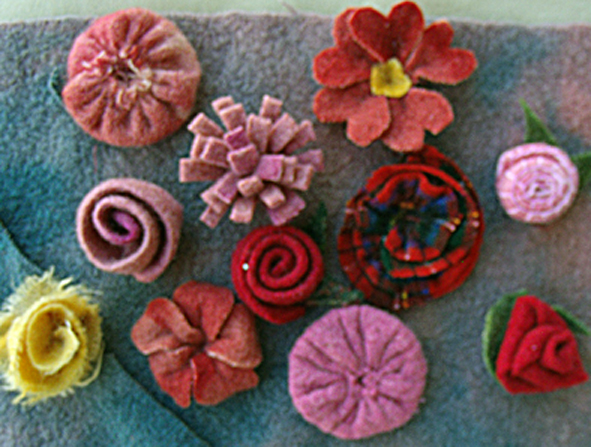
the neutral colour selection
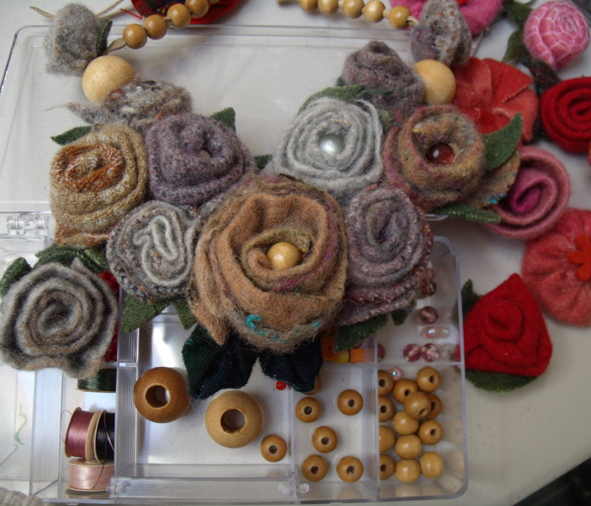
Kirsten will make the flowers in the morning class and I will develop the design and make session with them in the afternoon…but first I had to design something with what she had brought me, and she had brought me a whole selection of disparate flower heads – just as I has asked her to.
I made 2 colour sets of flowers. the neutrals were really soft and wooly, very tactile and I thought first to just make a heart out of them – well I would wouldn’t I? and in fact this is a really nice idea I may go back to…..
sewing on some beaded and buttoned centres
But then I imagined them as adorning a woolly winter jumper or cardigan, they aren’t heavy but they are bulky and a brooch seemed better than stitching them to a piece of clothing. But I had been given so many flowers that I soon decided on a necklace….
Kirsten’s red flowers arranged as necklace
I set to work but when stitching them together without a backing fabric, soon realized that I needed just a few more roses….then I remembered my old ruined cardigan. I cut the sleeves into ribbons of different coloured stripes and stared to stitch the rose buds by simply rolling and folding the strips to suggest overlapping rose petals.
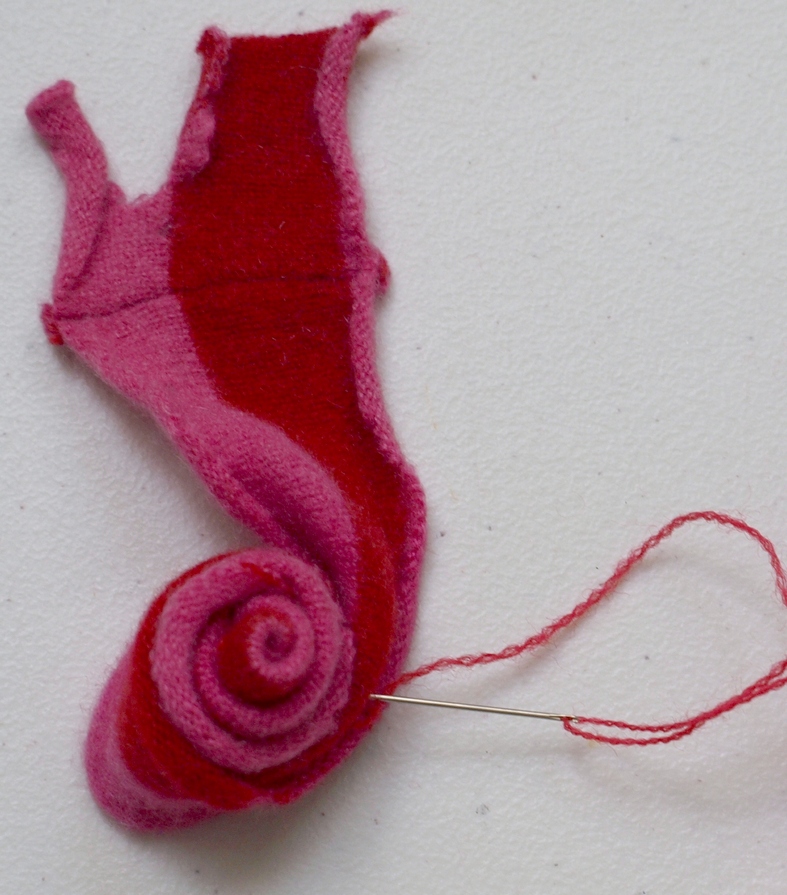
cut strips of sleeve being curled to start roses
stitching the rolled rose securely with matching fine wool thread
I had used this system many times as it is so easy – you just need to stitch as you go and control the folded edge, I found the way to do it in a vintage dressmaking manual from the 1930’s; the natural affinity to roll for cut knitting really helps the rose petal effect. I was starting to see a new life for all my old felted woolens.
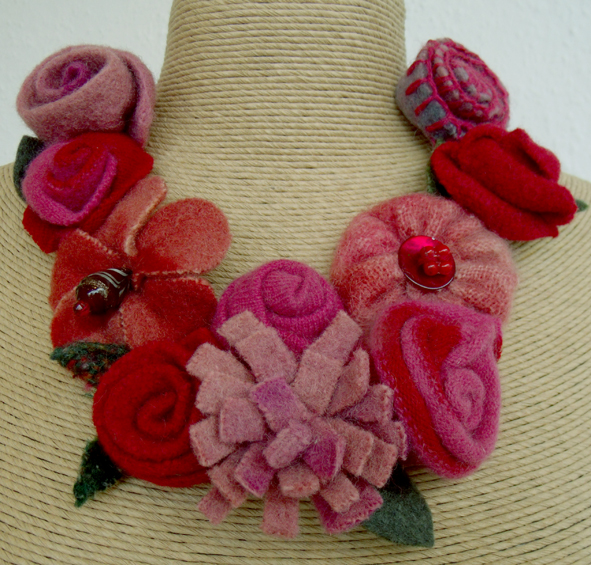
the finished necklace –
I inserted my knitted roses between Kirsten’s more substantial felt blanket ones, ( I really like her use of the blanket stitched edge for a fat rolled rose). She had provided leaves as well so they helped make the reds even stronger. Then I simply stitched 2 suede strips for ties onto the last roses and there it is – now for the neutral necklace.
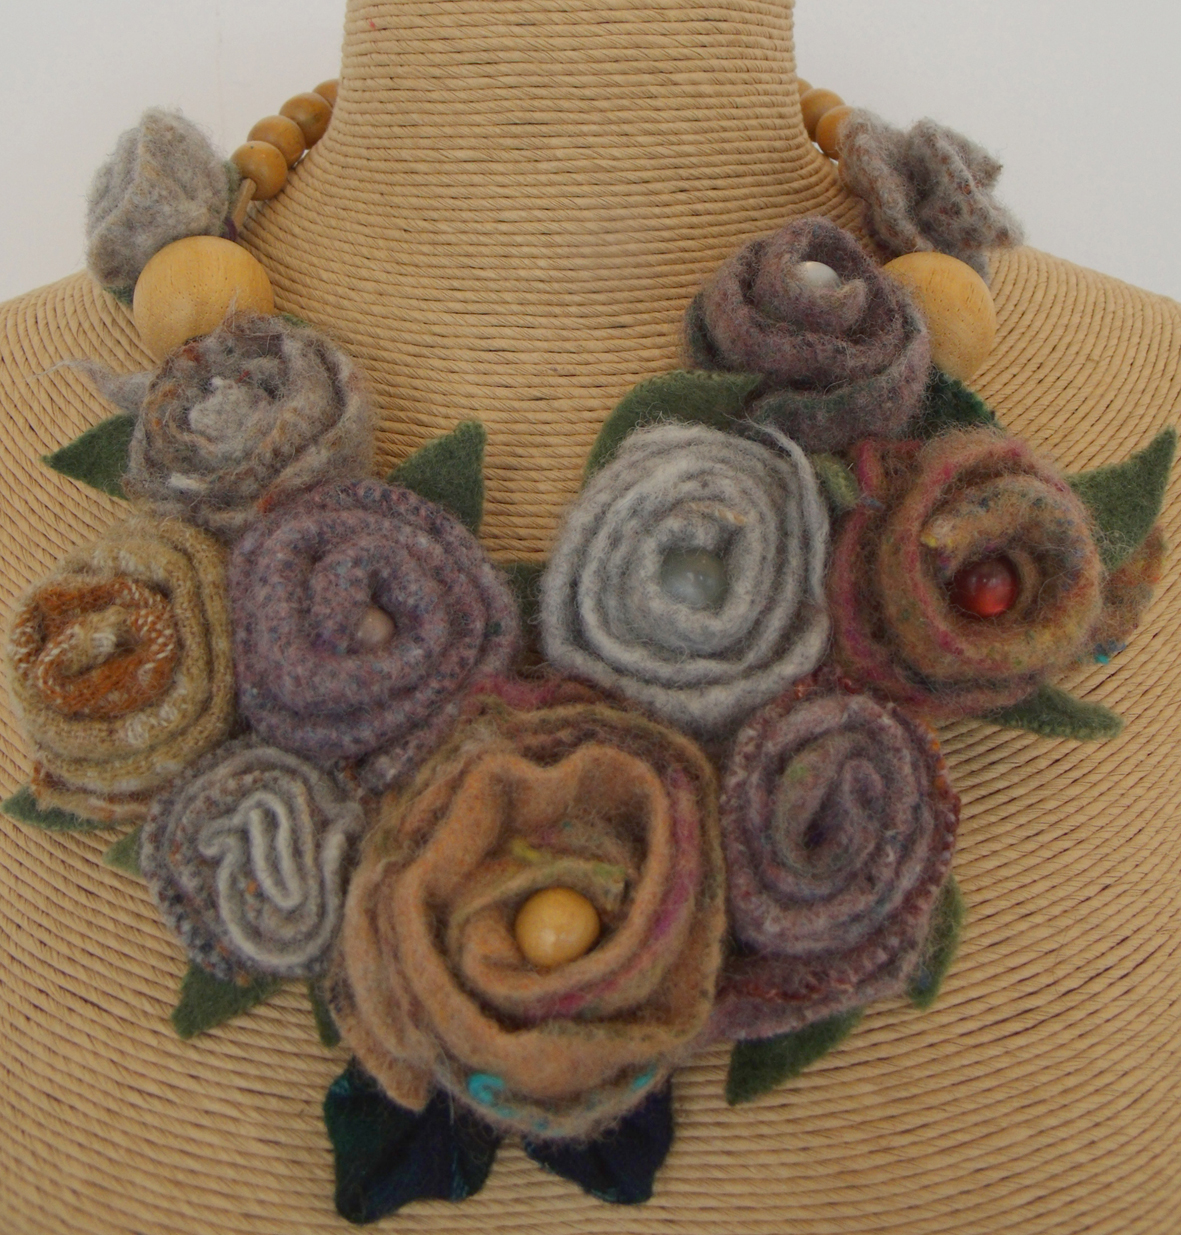
the neutral necklace made of different blankets and added wooden beads.
this time I added wooden beads by threading them onto the leather strips to make a more decorative finish. Kirsten had filled some of the centres of the flowers with soft glowing beads so I added some wooden ones as well, the soft tones and texture of the wood feels just right for this sort of fabric.
finished felted blanket necklace
I was really getting into my stride, and now I just want to make more of these simple flowers pieces and I didn’t use the lively red tartan rose – so now I need to pluck up courage to felt my tartans and paisley scraps to use with my old washed out jumpers……
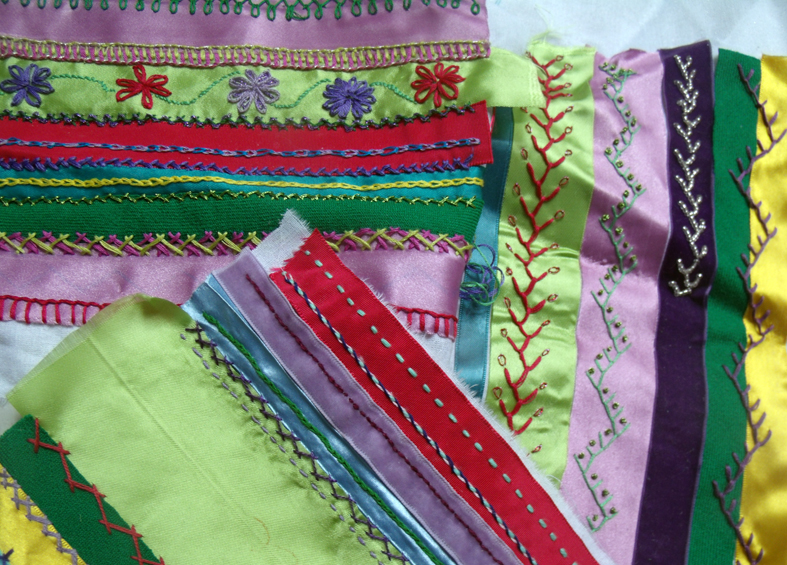
Crazy stitching on a Crazy Patchwork by Naomi Clarke from a recent workshop at Heart Space Studios
Crazy Patchwork classes have always been popular at Heart Space Studios and several people asked me to teach them more hand embroidery stitches, so I started a course called Crazy Patchwork Sampler. The course is built around the sampler that I made for my book, Crazy Patchwork, published in 1998 by Collins and Brown – it seems what goes around comes around……
my book of Crazy Patchwork ideas and designs.
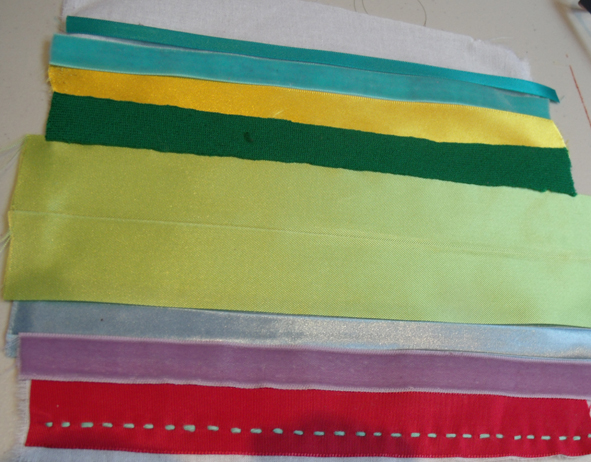
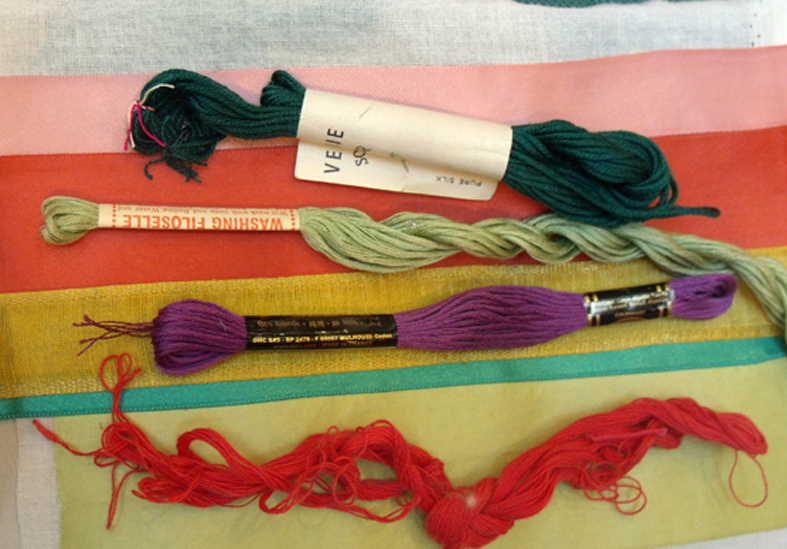
For the FIRST WORKSHOP I started off with the absolute basics, first we chose the colour scheme – I supplied various ribbons and fabrics for people to choose a small group of their favourite colours: this takes longer than anyone imagines it can and causes a lot of negative ideas to flow as people are usually very nervous about using colour, but I have learnt that this choosing is really important as eventually by using the same set of colours in various patterns and proportions the finished piece can be made harmonious.
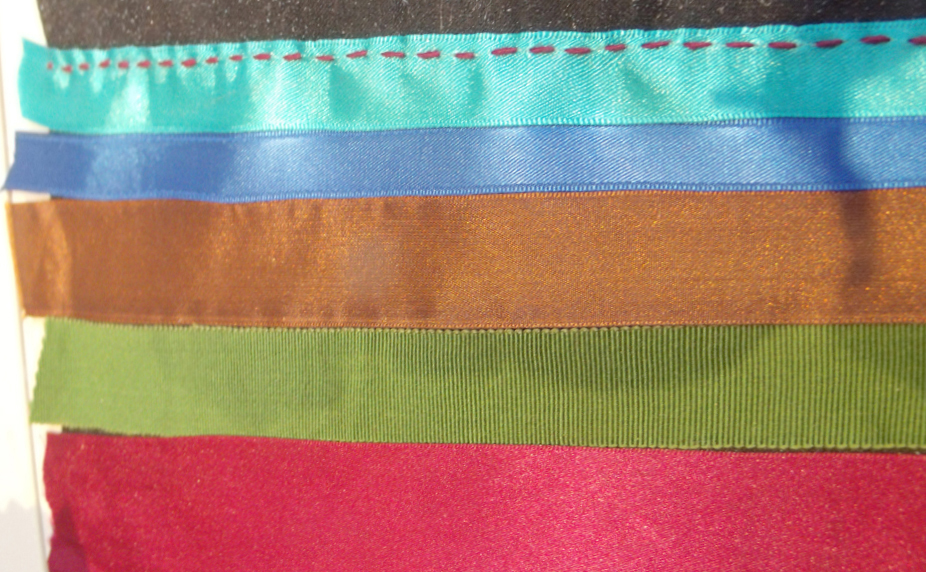
strips of ribbon ironed on to backing fabric
first chosen coloured ribbons
Most people, to their own surprise, choose colours similar to what they are wearing. The next choice to be made is the threads – I ask them to choose similar colours to the fabrics but to stitch in complementary coloured threads – so that the stitching will show up.
choosing complementary coloured threads
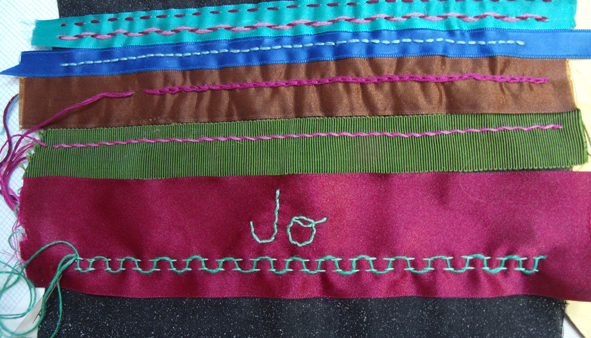
The first sampled stitches are the straight ones – running, back and all the variations, easy does it….but it also includes writing a name…very simple but very effective for the first workshop. There are various methods of writing onto fabric so that it can be embroidered and we start with the simplest by using a water-soluble pen or the old-fashioned transfer paper still used by dressmakers.
the maker’s name worked in back-stitch over water-soluble pen.
The SECOND WORKSHOPsession was cross stitch, counted and herringbone – which is the main stitch I use for joining the patches together. The group was still concerned about colours, but I assured everyone that we had a long way to go and plenty of opportunity to make the whole sampler work in harmony – I was delighted that they had all done ‘homework’ and had finished the first workshop’s ‘patch’ and found more variations to add to the straight stitches.
finished patch from first week being decorated with herringbone stitch
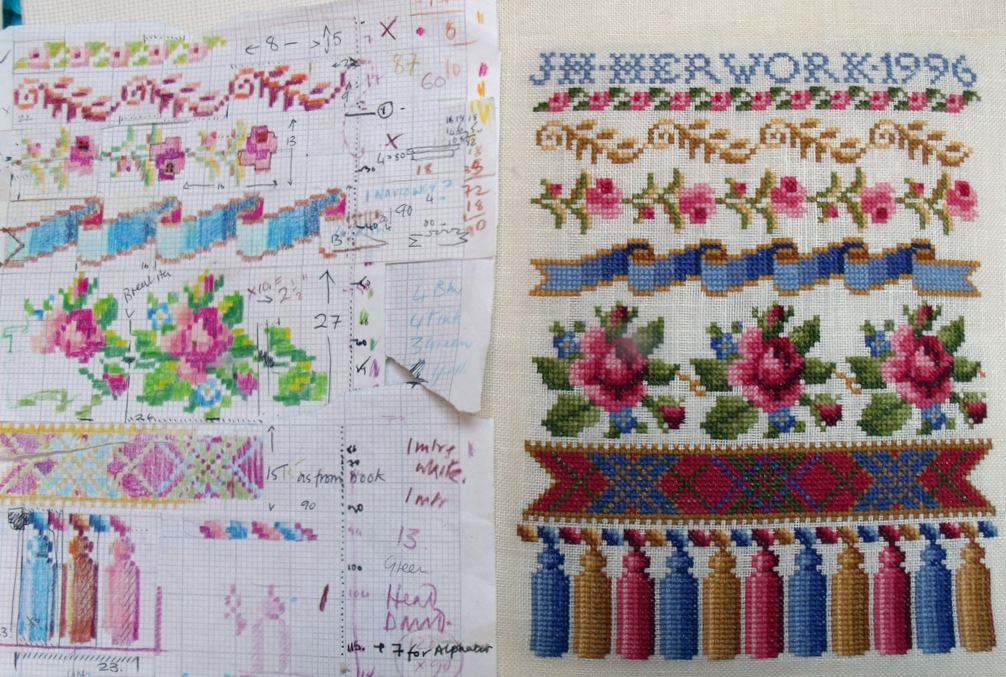
Counted cross stitch is another way of embroidering letters and numerals……
my working chart of cross stitch motifs for the accompanying sampler
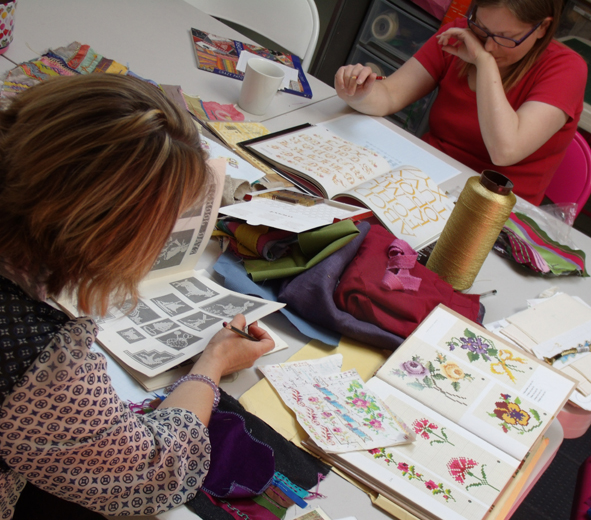
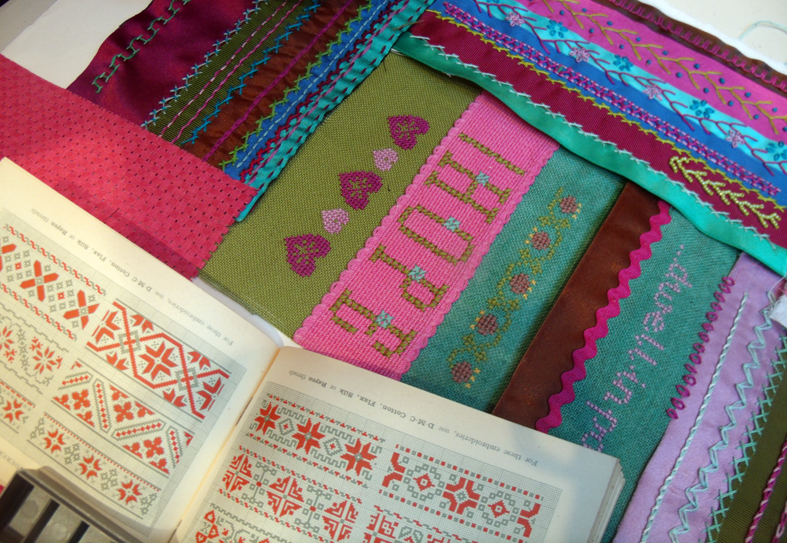
There is a whole world of cross stitch motifs and I like using the traditional ones – to illustrate the technique of charting for cross stitch I showed them some old work of mine that was designed from vintage needlework manuals. I still work as a freelance designer for a canvas embroidery company, Ehrman Tapestry, where I sometimes use similar charting for some of my designs, even though the stitch for tapestry is tent or half crass stitch. So I have lots of reference material and the group spent an hour of the 3 hour session looking at all my books and notes before they began charting their own designs.
Jo and Helen choosing cross stitch motifs and alphabets from my reference book
The task for this second session was to chart a name and date as well as a small multi-coloured motif and to stitch it onto the counted thread fabrics.
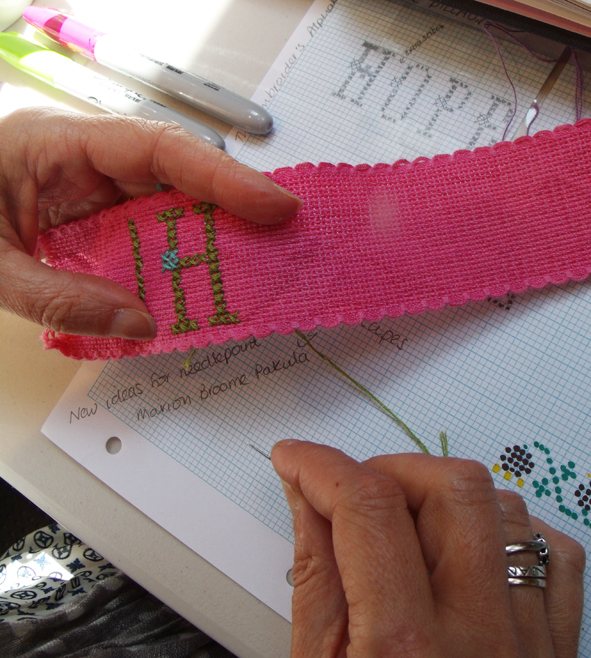
Jo decides to chart and stitch HOPE – she s going for an aspirational crazy sampler.
choosing the colours from a limited range of counted thread fabrics involves creative use of colour
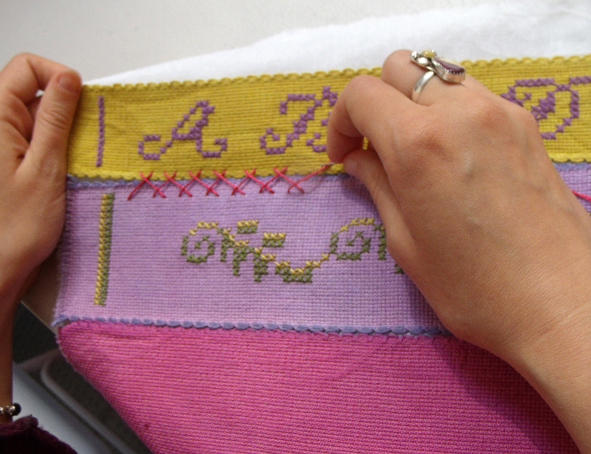
Helen uses a shaded red thread creatively to harmonise her cross stitch samples with her first straight stitch patch
it is interesting how the maker’s character soon emerges from their choice of colour and letter forms, above Helen’s looks strong and directional while Sophie has chosen elegant letter forms and motifs ; the colour combinations are similar but the proportions are very different
cross stitched bands being cross stitched together
By the THIRD WORKSHOP the patchworks are starting to look very rich and there is less uncertainty about colour choices, everyone seems to be enthralled by this process and are bringing in finished pieces that they have developed at home alone….everyone comments on how good it is to just stop for a time and concentrate on their stitching.
2 finished ribbon patches with 3rd ready to be embroidered
The third week is supposed to be looped stitches – chains and lazy daisies and feather, but we have to spend some time catching up on herringbone as the counted cross stitch took up most of the last class at the studio.
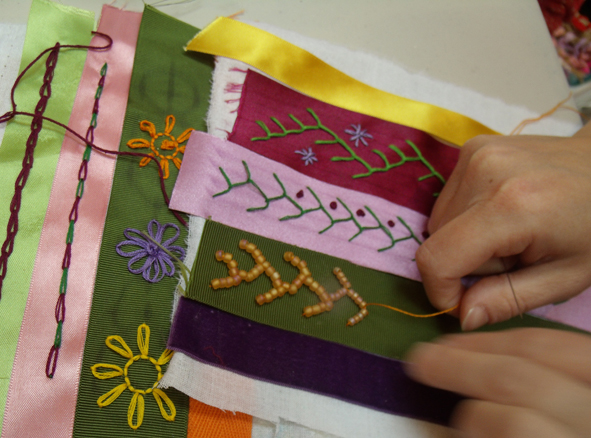
looped stitch patch of chain, lazy – daisies with feather variation being worked in beads
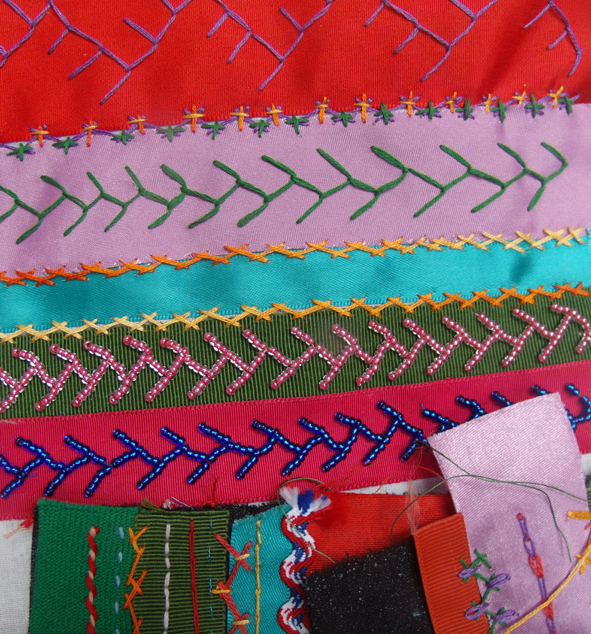
The patches are now starting to harmonise together by careful use of colour; everyone really enjoys the frivolity of stitching with multi-coloured threads to make up the herringbone variations
herringbone stitch variations plus feather stitch rows that are beaded
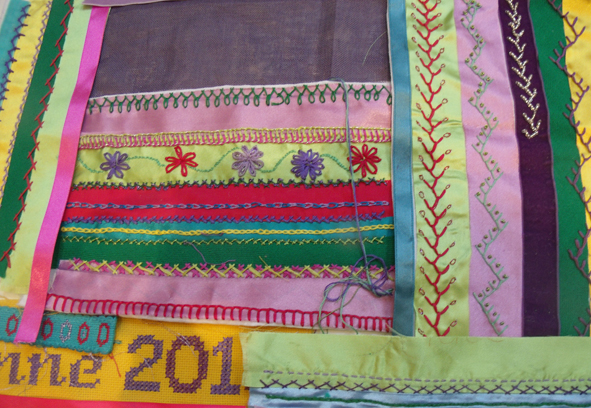
By the LAST WORKSHOP we have got a small range of patches ready to be worked into a whole square.
Anne’s collection of patches ready to stitch together.
The piecing together of the patches for the last class was easier because of the colour co-ordination of the embroideries, but the strict oblong patches made for geometric patterns for the final piece. Maybe for the next session of this class I will give each person a triangle as well as oblongs and squares of fabrics to apply the embroidered ribbons on.
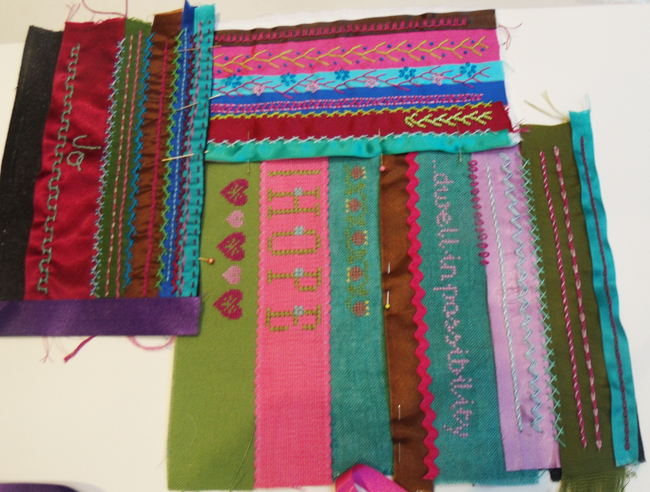
geometric patterned patchwork for final piecing
I just didn’t have the heart to ask them to cut up their embroideries to look like a more authentic crazy, even so each person had completely different patchworks –
the inspirational crazy patchwork sampler is pinned together
This group of students want to learn more stitches and techniques so I am running an advanced course for them – and other more experienced embroiderers can drop in for single sessions. Considering that this group had only 5 classes for 3 hours each they have really advanced their practice in many ways and not just by learning how to stitch. I think that they have caught my bug – the embroidery bug – and are now developing their own libraries and stashes of materials ready to try out new techniques and new ways of expressing themselves.
vintage DMC book of counted cross stitches bought by Jo after seeing my old battered version with her almost completed Crazy Sampler