Flowers & Hearts

The new season’s exhibitions at Jen Jones’ The Welsh Quilt Centre, Lampeter opened a week ago today where I am exhibiting a small show of personal work – work that I make and keep for myself.

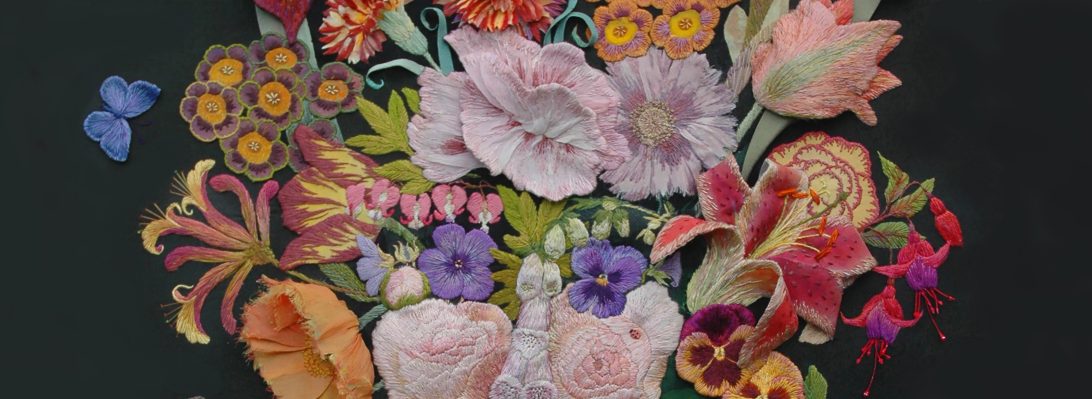
On my first visit early in 2023, when I took actual work to show Jen Jones, she offered me a small gallery for an exhibition and I decided on ‘The Flora’ embroideries. However on my second visit to the, now empty, room I immediately realised it would need far more works than I had imagined. I decided to add a more unusual collection of my textiles combining vitreous enamel and based on Mending. It features broken hearts and how to mend them, so Hearts and Flowers: starting at the begining and going round the room: this is the story of putting up the exhibition

In the first week of March I took all my works and with the help of the whole team at the centre the exhibition was in place in a day(apart from a few extra tweaks before the opening)The first wall of work was The Flora. The exhibition curator/editor, Sarah James, remained focussed when I had lost mine.

The Flora flowers give way to a group of ‘Flowers For Our Times’ my most recent hand embroideries..but they continue the themes found in Flora. On the left is a stitched appliqued drawing.

The flower walls give way to hearts (and eyes) so here are my minimally quilted fabric patchworks. This took quite a lot of preparation, pressing on my behalf and for Charles (and Russell) the gallery’s invaluable exhibition men, constantly measuring and sometimes just waiting, but colour co-ordinated!

The large Comfort (Hearts)and Security (Quotes) Blankets and Safety Curtain ( Eyes) had been draped over my bannisters for weeks (above right) but a 3 hour car journey had creased them; I am always relieved to be able press my work before it goes on display.

Moving round next are the metal and vitreous enamel hearts – all broken, discarded, damaged but saved in some way.

The works above are made of metal and glass enamel, they are stitched and embroidered with drawn thread work in copper wires on metal fabrics and copper plate. Patterned by sifting white enamels through Lace and Broderie Anglaise stencils, except for the red sampler that is darned in silk on vellum

The bed in the centre of the gallery is Sarah James’ idea, she thought it would perfectly show off the bedding of Make it Through the Night and she was right! People are really curious and stop to ‘read’ the symbols and it makes sense when teamed with the Bolster.

Eventually we get back to entrance with patchworked and embroidered and flowers but outside in a vestibule there is still something else to see, Russell putting up my framed giclee prints, unframed for sale in the shop with many more flower pieces. And the large ‘Lytes Cary Manor’ woollen wall hanging taken from my studio wall where it has lived since 2001.

The very last picture I took was at the end of the Private View. A group of staff and on the left Jenni of Jenni Smith Sews talking to Hazel (who appears to organise just about everything around the Centre) waiting to hear how to get through the wild Welsh countryside to the restaurant for us to celebrate all the exhibitions and videos on display throughout this amazing place.

PS. my work is not for sale but my new giclee prints of embroidered flowers are available to buy in the fascinating vintage textile and bricabrac shop attached to the centre.

my 1960’s fashion sketch book

The cover of my late 1960’s sketch book – says it all!

Invited to conduct a week long course of drawing flowers and then to develop the drawings into a small sketch book at Court House Farm in early June, when the cutting garden flowers are blooming. I checked out my collection of sketch books/ visual research journals (whatever they are currently called) I have kept all my research books throughout my working life.

then I unearthed my first Liverpool College of Art sketch book circa 1968 – and this cover still looks like a protrait of my early loves and fashion influences …Modigliani, man and work, Chagall, dresses as worn a la Dusty Springfield; with the faces and poses of models that influenced my design illustrations. And inside???

Above are a range of design drawings in pencil and coloured inks that were used to tint black and white photographs. I found that the colours were very subtle, I wonder what happened to them? These are layouts of my designs ready to be illustrated, I think for a competition for RSA (a brilliant organisation that enabled students to develop their practice with scholarships and grants). Everything looks in proportion until you see the legs, they go on forever. We were taught to make drawings that someone else could work the pattern cutting and making, a very good practice as I found out when I did become a fashion designer and illustrator in London in the 70’s. But what is really fascinating, the pages do not look so different to my own recent research books – just a change of subject matter- oh and embroidery!

These pages of flower are from my current research book started in 2023; I am still having a written conversation with myself. Back to the 60’s…….

These very neat dresses were designed to be made in Double Jersey, a new innovation that made for easier pattern cutting (but little else as far as I was concernd). I always preffered my designs to be made in fine wool crepe. In the sketches below it appears I was also designing lots of accessories as well! the drawings above use my favourite media of the time – pastel with mapping pen and ink details.

Below are designs that use applique and embroidery – I remember embroidering woollen flowers onto a knitted dress for my final collection and I think this is where I really got the passion for embellishment and embroidery. My first freelance job was making and designing appliqued T shirts for the Mr Freedom in Kensington – the height of London boutique street fashion at the time.

Another sign of the times the Saga Mink competition, ( I did not win – well just how much fur would these designs sell)? The anti fur lobbly was just starting up, but that’s another story. The drawings are in crayon and pencil.

However here you can see the direct connection to the cover of my sketch book and the influence of my favourite fashion designer and illustrator – Barbara Hulanicki the design genius behind the most fashionable shop of the times – Biba .

Autumn Flower drawing Class

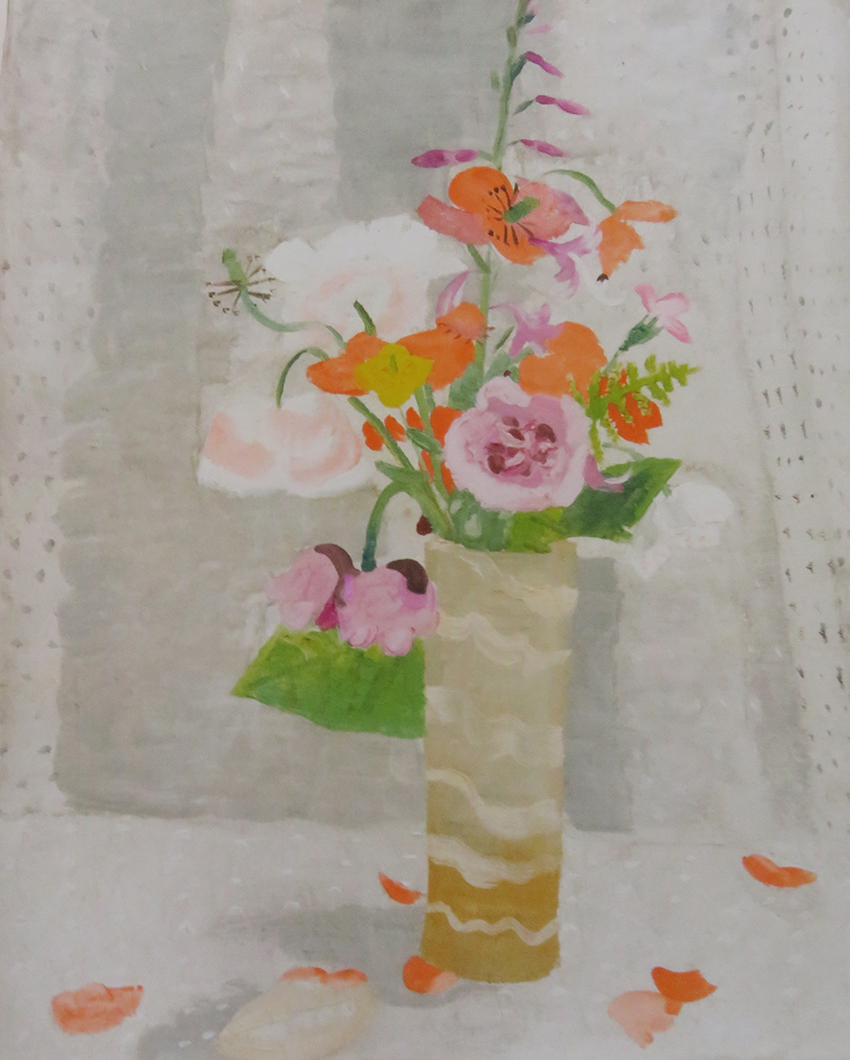
Following on from the successful Drawing Day in June at Court House Farm The RWA ( Royal West of England Academy) Drawing School organised another Autumn Flowers day. But due to the ultra dry summer the flowers were not so abundant as the spring crop…my solution: select just 3 big bunches of different flowers in vintage vases with a toning striped runner and everyone would be able to draw all 3 during the day

In at the deep end. I asked the class to choose a table to sit at and draw the whole display in front of them…in 20 minutes!

Tall and elegant autumnal shades…and in contrast below – hot clashing colours!

and then massive and majestic….

only 2 people attempted this vase and were somewhat overwhelmed by the abundance! So we started again by choosing another section of the bouquets and making some rather more detailed drawings – now things were starting to develop.

BUT so far no-one had even attempted the fabric specially chosen to be drawn with the colours already used in the flowers……so after lunch I changed things over and added another arrangement – now we start drawing with the fabric!!!!

And in the process we even got vases.

For the last session I relented and asked them to choose just 1 flower/branch/leaf from all the masses of materials and to place it next to their drawing boards and make a study – I usually start my drawing sessions like this – and I may return to this method for my next drawing flowers session in November….

Flowers for Our Times:

Over the past few years I have been intending to start selling giclee printed versions of my personal stitched work. The latest pigment prints available are unbelievably faithful in reproducing my finely stitched work…but where to start? Flowers – where else? I determined to develop some new flower embroideries for this venture.

Following on from revisiting my old research books and past work, I decided incorporate the flower embroideries with the Kantha stitched skies as in After Winifred. I took a beautiful bunch of dahlias and held them against a large scale Kantha Stitched sky in progress on my studio wall. I had been brought the flowers by Helen Reed, who owns Court House Farm and runs a seasonal cutting garden amongst other ventures. And where I hold drawing sessions in the summer months.

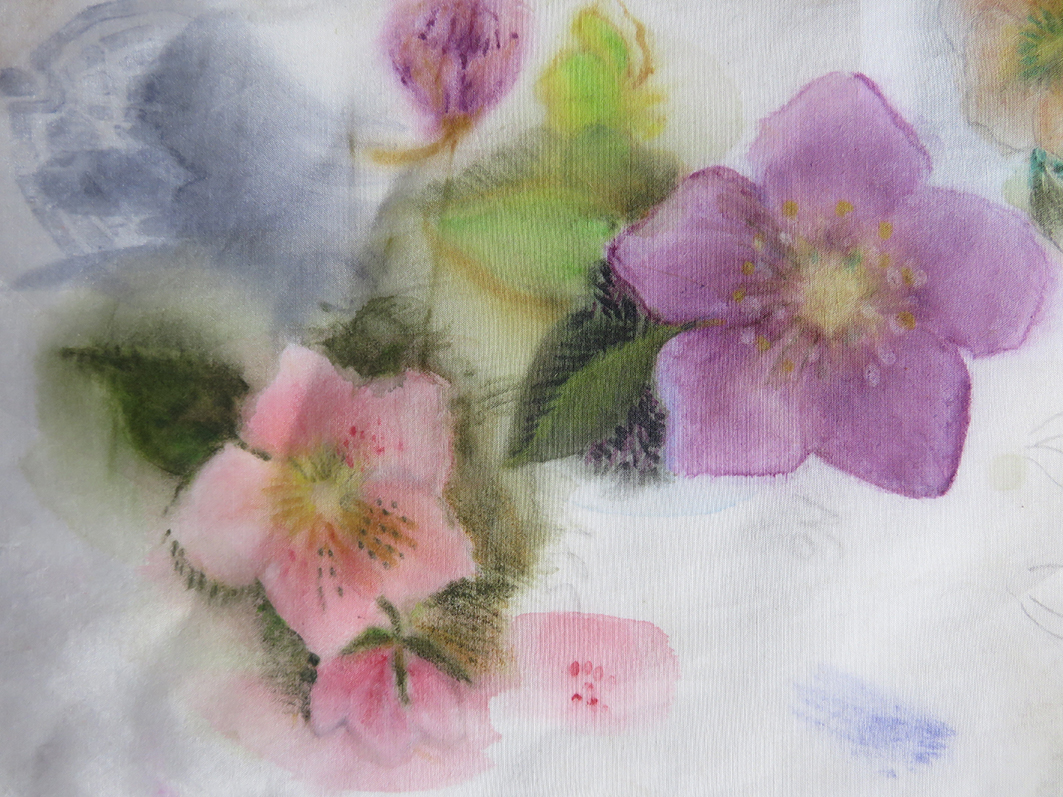
I also eventually started to work on an idea taken from a rare photograph of my garden Hellebores in a vase and in front of my scarf design of Hellebore flower heads. What is odd is that while Hellebores are one of my most favourite flowers, am not keen on Dahlias and did find myself reluctantly stitching them onto a small version of the Kantha sky. Below are the first 2 prints in the series Flowers For Our Times, on the left is Dahlias, on right, Hellebores

Reflecting on the Dahlias and Hellebore pieces (made between winter 2021 to early 2022) I felt as if I had made a definite link between my old and new work in order to make the really vivid giclee prints, available soon at Heart Space Editions. But although technically demanding, using the new Inktense dyes from Derwent, I decided that this was not the way forward that I had imagined it would be.

I returned again to my early flower work and re-read the catalogue of my exhibition of Flora’s Legacy, held in Bath in 2000 ( yes – so many years ago!!!!!) and realised exactly what was missing – symbolism – or the half hidden messages often contained within these earlier works.The centre-piece from the exhibition, Flora – the Roman goddess of flowers, had what was missing from my new works…the hidden meanings and humour – here some blackish, bawdy humour.

Turning to the many and various dictionaries of symbols I keep in the studio library I thought I would invent a bunch of flowers instead. The meanings of plants and flowers are universal and every culture has its own beliefs, sometimes conflicting – sometimes they are entirely in agreement: a poisonous plant is a poisonous plant. Out of curiosity I checked what the 2 bunches meant adding, the meanings to my original studies…..

I must admit that I was shocked, relieved, delighted and then excited to find that I had embroidered War, Scandal, Uncertainty, Instability and Sickness within 2 pretty bunches of flowers. But everyone else around me was spooked. So – they asked – where did I get this information from? Well in my books of symbolism, the most curious and confusing is The Language of Flowers – but oh the possibilities that it offers for mixed messages and hidden warnings amuse me enough to keep going with this theme.

Using just my old folders and Victorian books of flower meanings lead me to a brand new fully comprehensive dictionary by S. Theresa Dietz – published by Wellfleet Press, and the here I discovered far more arcane information than I had gleaned from my all my original sources.

So now what to do next – can you guess?

check the gallery section to see more outcomes of this ongoing project

returning to my sketchbooks

first page of my reborn Flora research/sketchbook – Flowers Again!

Recently, the “After Winifred” embroidery has inspired me to develop work to use as Giclee prints in order to add a fresh way of getting my work ‘out there’. I turned to my old Flora workbook, some 20+years old – but still alive for me as a source of inspiration.

I found some empty pages at the end of the old book and started to collate recent samples and drawings of bunches of flowers grown and made up at Court House Farm, where I conduct drawing workshops, using the cutting garden as inspiration.

looking back at my Flora work, which is 3 dimensional and very heavily embroidery, I now want a freer drawn imagery to stitch into. So I bought some Derwent Inktense pencils that basically act as dyes when wetted and left to dry – I did many samples but found my drawings had too much information in them – I needed to loosen up further. Ha ha – the story of my working life!

To enable me to play easily with the new ink crayons I chose an old set of drawing research and photographs to work with. The colours of the crayons are very brilliant and I needed to find ways of making more subtle colours, so stippling, cross hatching and dotting colours one over another made for rich but softer ground colours – these techniques are still a work in progress. Below are 2 studies of the under drawings using pencil dyes ready to be stitched

Meanwhile I have been looking at all my old flowery finished works and their drawings to use as reference and then reframing/remounting stitched pieces ready for the printers.

the little Hellebore image above is my first Giclee print and the smallest at 30cms/12inches square.

Stitching a Sky

Pastel drawing of dramatic cloud hanging over the Welsh coast seen at dawn one Sunday in February 2020…Something wicked this way comes?

I want to show how my stitched work progresses; here is a very heavily edited set of images taken over the last 2 months – from July through to the end of August 2022. Not shown is the unpicking, pulling apart already stitched fabrics and rearranging that leads to frustration and doubt but mixed with delight, calm contemplation and my eventual recognition that, having captured my original vision of this ominous sky, I can stop working on it. The drawing above took less than 1 hour, the piece shown below, more than 8 weeks…..

Week 1

The first stages were quite tricky to lay out using strips of silk georgette onto a pale cotton ground, that had to be kept scrupulously clear of stray threads while building the applique ground.

Week 2

By the end of the second week I had managed to cut the clouds and baste them all into position, then I checked them against my original drawing. The tiny sample of energetic Kantha quilting inspired the way I attempted to stitch the cloud.

Week 3

I started the running stitches in rows of single silk threads to create an undulating rippled surface. After a few unhappy days I stopped stitching, undid as little as i could get away with and inserted more pieces of rust coloured silk organza to give the cloud ‘depth’. The chalk drawing, above right, shows the paths I need to stitch along; I think stitching rhythms into cloth by using the Kantha technique is a bit like patting your head and rubbing your tummy at the same time – tricky!

Weeks 4 & 5

I was determined to use this piece of work to try to find a way of controlling the outer edges of the appliqued fabrics; usually when I make very large drifting Kantha Stitched Skies I leave them to be contained and wrapped out of sight when stretching the finished work. But here the view is much smaller as this black cloud did not extend the whole length of the estuary – it faded out just beyond my window frame. I looked at Georges Seurat (who is a great influence on the way I have developed the colour mixing within my stitched work) and adapted his painted canvas frames – his dots are my stitches ). And eventually the marsh starts to emerge, using large straight slanting stitches

Weeks 6 & 7

However as the stitching progresses the different tensions start to exert itself onto the fabric – where the stitches are close together the fabric width starts to shrink, which is to be encouraged as this gives the curious patterns that I feel are so like air currents…. So the side borders are unpicked and the the whole embroidery is squared up. When I had almost finished stitching I outlined the whole piece using a machine stitch to give me a better guide for the dozens of running stitched lines for the frame.

The finished work “The Dark Cloud” approx.18in ( 45cm) square

Drawing Just Drawing

Here is a set of drawings that have lain in a research book for more than 10 years, the reason that I did them was in a university research project workshop – making our own brushes with the amazingly inventive American maker Bob Ebendorf. I made several brushes out of grasses, leaves and branches, picked on my morning dog walk. None survived the drawing session, shown below, in any state to be used again.

But these are the drawings that I made and they are completely unlike any of my other drawings – ever. the colour is Red ink and the single pages measure roughly A2 (26x36cms.) There are other maker’s brushes used as well, and in some I have drawn the brush with itself, then taken it for a ride over the whole page. I still find them exhilarating and teasingly inspirational.

This image has an empty alt attribute; its file name is sea-heather-brush.jpg
Sea-heather brush and some small feather drawings,
This image has an empty alt attribute; its file name is red-draw-hele.jpg
Hellebore stalk and Squirreltail Grass brushes draw there own self portraits
This image has an empty alt attribute; its file name is red-draw3-1.jpg
Seeded grass self portrait.
This image has an empty alt attribute; its file name is double-red-2.jpg
Red Ink – double sketch book page Left: squirrel tail brush. Right: grain stalks brush self portrait.

This image has an empty alt attribute; its file name is red-draw-brush-1.jpg
Red Ink mark making double page: Left: metal jewellery chains brush. Right: racoon hair brushes
This image has an empty alt attribute; its file name is copper-brush.jpg
Left: pattern making, metal chains brush & copper wire brush. Right: different brushes together.
This image has an empty alt attribute; its file name is hair-red-2.jpg
Red Ink and Long Human Hair brush over double page.

Drawing Drawing Drawing

I use drawing to express myself to myself. I feel that Drawing is the language closest to my heart; my second and most used language after English, followed by the most difficult to have mastered, Stitching. It is the foundation of my chosen discipline of hand-made stitched textiles and almost all my work starts with a drawing, sometimes just a scribble or as a written note, but it will be expressed as a drawing with enough information for me to proceed.

Scribbled thoughts are put down as lists for skies I see when waking up, and on whatever is to hand. The imagery is enough to lead me to another drawing…..

Very occasionally when I work from photographs, I will start an embroidery without a drawing – and it always leads to difficulties as I am torn between the ‘real’ thing as recorded by the camera and my initial vision of it. Basically the drawing is the first edit of the image, it concentrates me on what was important when I first took the photograph, but the camera sees everything and I get seduced too easily by captured colour, and sometimes the colour isn’t the same as my memory.

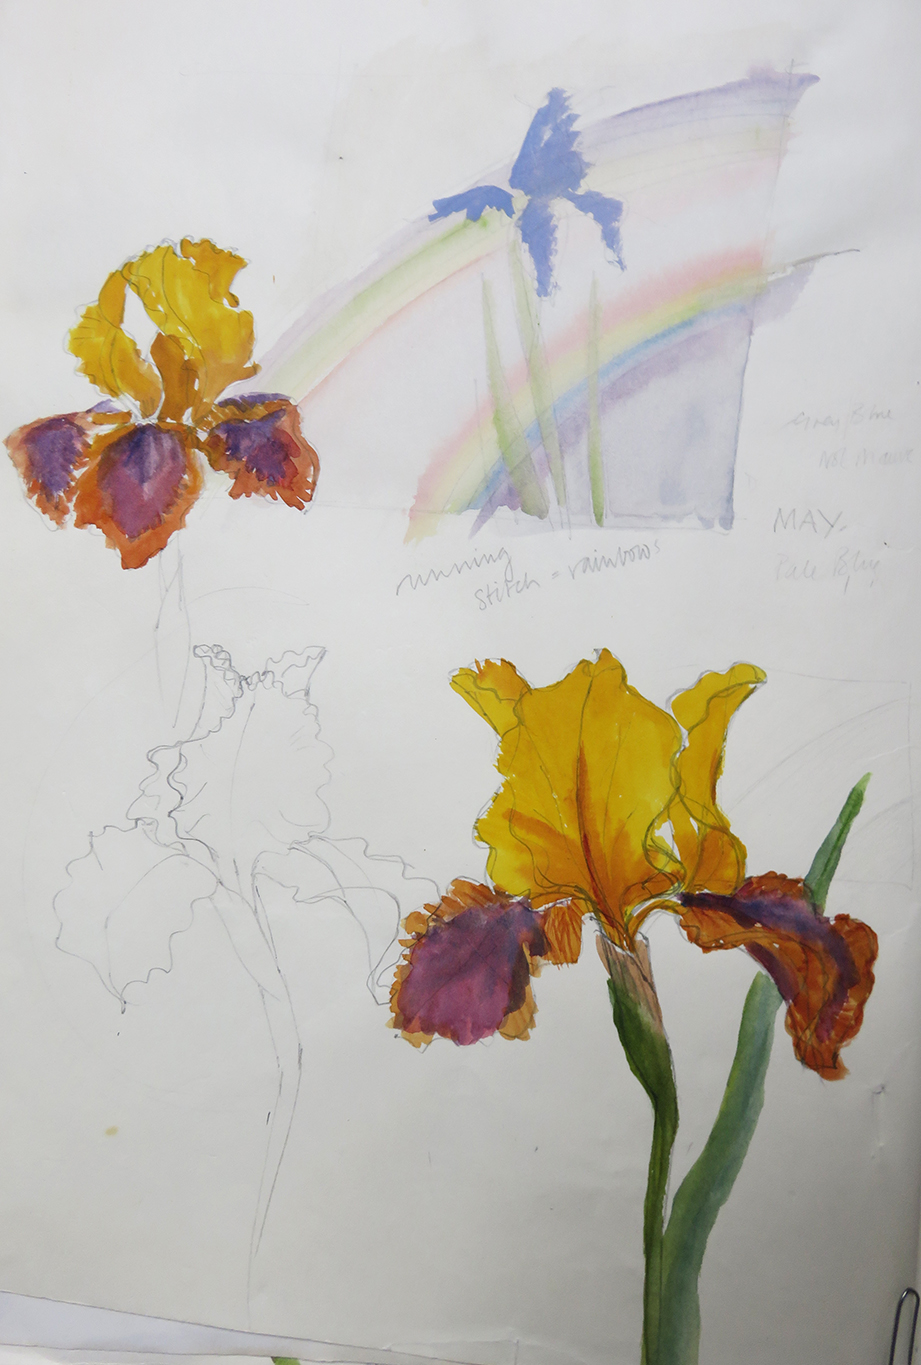
Below are various single pages from individual sketchbooks – the top 2 are observational drawings taken directly from life, the red in pen and ink is a detail from of my garden, the iris was from a friends garden. The the others are all working /design/ research drawings, (with added photographs of finished brooches)

I keep all my working drawings in a series of books that go back some 40 years! The types of drawings collected in them range from a scribble on the nearest available paper, as above, through to straightforward observational drawings that then get re-arranged or even collaged together

then eventually the detailed working drawings are assembled and kept together, and accompanied by any other research materials.

The images above are open pages of my own research books from different long term projects, they really show the way my mind works, both visually and mechanically.

The 2 pages below are anemone flower drawings made from photographs in a garden magazine many years ago for my Flora embroideries, they have inspired many many different pieces of work in a variety of materials; good drawings have their own energy and life.

a few of the many different works that have been generated directly by the drawings above.

The images above are of vitreous enamel dishes and a silk applique with a machine stitched drawing that plays with the idea of anemones, another name is windflower.

Occasionally I do make finished drawings ready for exhibition.

Three Noh Masks: crayon drawing on paper.

but somehow the stitching seems always to get in on the act.

Sanderlings flight postcard: paper, crayon, silk.

and here are I suppose my most personal drawings ( sad isn’t it) that just arrive onto any page near me, usually when I am talking on the phone to friends and colleagues, and sometimes prospective clients but always when i am fully engaged, they do not arise out of boredom. What is very strange is they have never changed over all the years I have been making them…

jngnhfv

My Spooky Wooky Butterfly Dream

Peacock butterfly

It is almost 20 years since I had this disturbingly beautiful dream but I have NEVER forgotten it. Re-visiting my sketch books archive, I found the original drawing that was hastily scribbled down when I thankfully I woke up.

Now, I have decided to complete my long standing/stitching on-going work project “Make it Through the Night“, after not working on it for more than 5 years. I have determined to complete the project to a degree where I can hopefully resolve it but so as not have it in my brain as frustrating “unfinished business”. I just can’t ignore it any more…. too much of me resides in it; and as the composer Gustav Holtz puts it ” Compose nothing unless the not composing of it becomes a positive nuisance”

The initial drawing , above left, is dated 28th July 03; the second drawing is another later version when I was trying to make a composition for a stand-alone embroidery….. now I have decided to add it to the ‘dream pillows‘ and I need a different composition. Recently looking very carefully at the 2 drawings I realised I had completely forgotten that the butterfly had a face – YIKES!

In the actual dream it was a giant butterfly several yards/metres wide, dying and lying on some grass underneath a tree, the remnants of wings scattered round it. People were picking up the large technicoloured pieces of shattered wing and I really wanted some as well – but I thought I would get it something to drink first, then decided to pick it up and take it to a nearby puddle, the result was my butterfly covered hands…I abruptly woke up.

I started to research the ways on which I could have held the massive butterfly. I looked at many different British butterflies and chose the Peacock mainly because it was so colourful but it has eyes as well – one of the major symbols I use in my work. Every year we get smaller butterflies over-wintering in the house but these beauties are rare here.

moving around with the photocopied cut out hand shapes to find interesting enlarged wing patterns to embroider.

I enlarged the first peacock butterfly image and cut out my hand shapes…next I had to add the patterns to enable me to stitch the whole hands……the original working drawings below with a a technical sample that I would use for the very complicated patterned hands. I decided to paint dye onto the ground first to give me guidance for the colour blending and to assess the amount of work I would have to manage.

Next I had to imagine the shattered butterfly – I tried many variations; the shape had to show a degree of violence and some direct connection in the shapes left after my hands had devastated it, because it shows the terrible result for the insect…

I drew the hand outlines and running stitched them, then drew my palmistry lines on each hand and painted dye within the lines and fixed it securely – all of this before I could start stitching, which I was itching to do …..

2 images above show the first and last day’s stitching of the hands. I started this project in early August and now it was late September – I needed to move onto the butterfly now…

working from my research drawings, I drew and embroidered the main area of the butterfly and then placed paper shapes to act as the shattered wings to make some connection to my hands.

It was at this point that something strange started to happen….I found a trapped Peacock butterfly in the window of my studio, I was delighted, I had never seen one of these in the house; the weather was still warm, so I let him go….

But then more and more Peacocks came into the studio, and in different areas of the house… in all we had 11 different Peacocks visit us. SPOOKY WOOKY……

Sadly some of them died indoors and I keep them in m studio – they are all in different conditions; some very tattered wings and faded colour but others still beautiful.

my small collection of some of the autumn visitors I think there is another embroidery here……

so I eventually finished the pillow, completed the writing in running stitch and it is ready to join the Make it Through the Night project.

the finished Butterfly Dream Pillow.