
After several weeks doing other stuff, I have finally managed to get back to sampling the decorative techniques for the Kimono course I am running soon at Heart Space Studios. It has been quite a challenge – it dawned on me that although I have helped many students design and make kimono, used the techniques for patchworks, screens, hangings and panels and written books about all of this – I have never actually made one myself.

I have offered several traditional Japanese techniques on the course, the students will sample them all and then choose which ones to use on the final garment. First thing though is to cut out – rather rip up – the fabric prior to dyeing and this dip dye technique shading red through to blue is a so immediately “Japanese” I always intended to use it – it reminds me of the work I did earlier in the year on the skies embroideries and enamels.
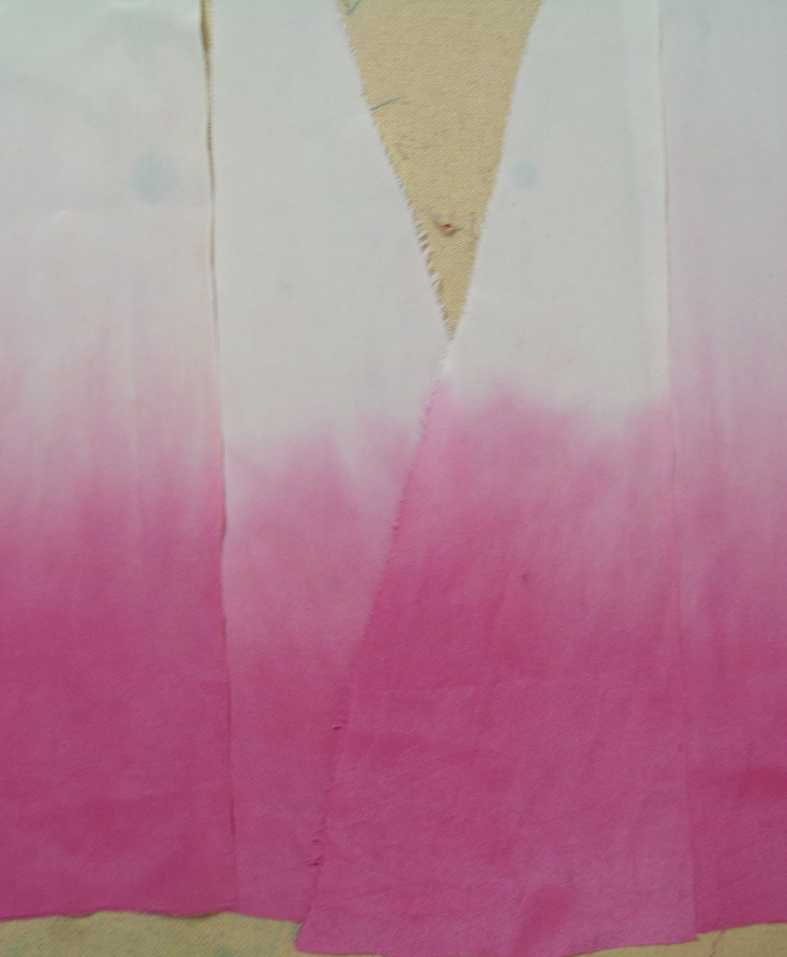
What you need to consider when making a kimono is that you cut the fabric patterns out before you start to decorate them- above can be seen how the front pieces have been cut out and then dyed together. As there is no shoulder seam on a kimono the whole lengths from front to back is dyed at the same time and also the sleeves and neck bands plus some silk for sampling
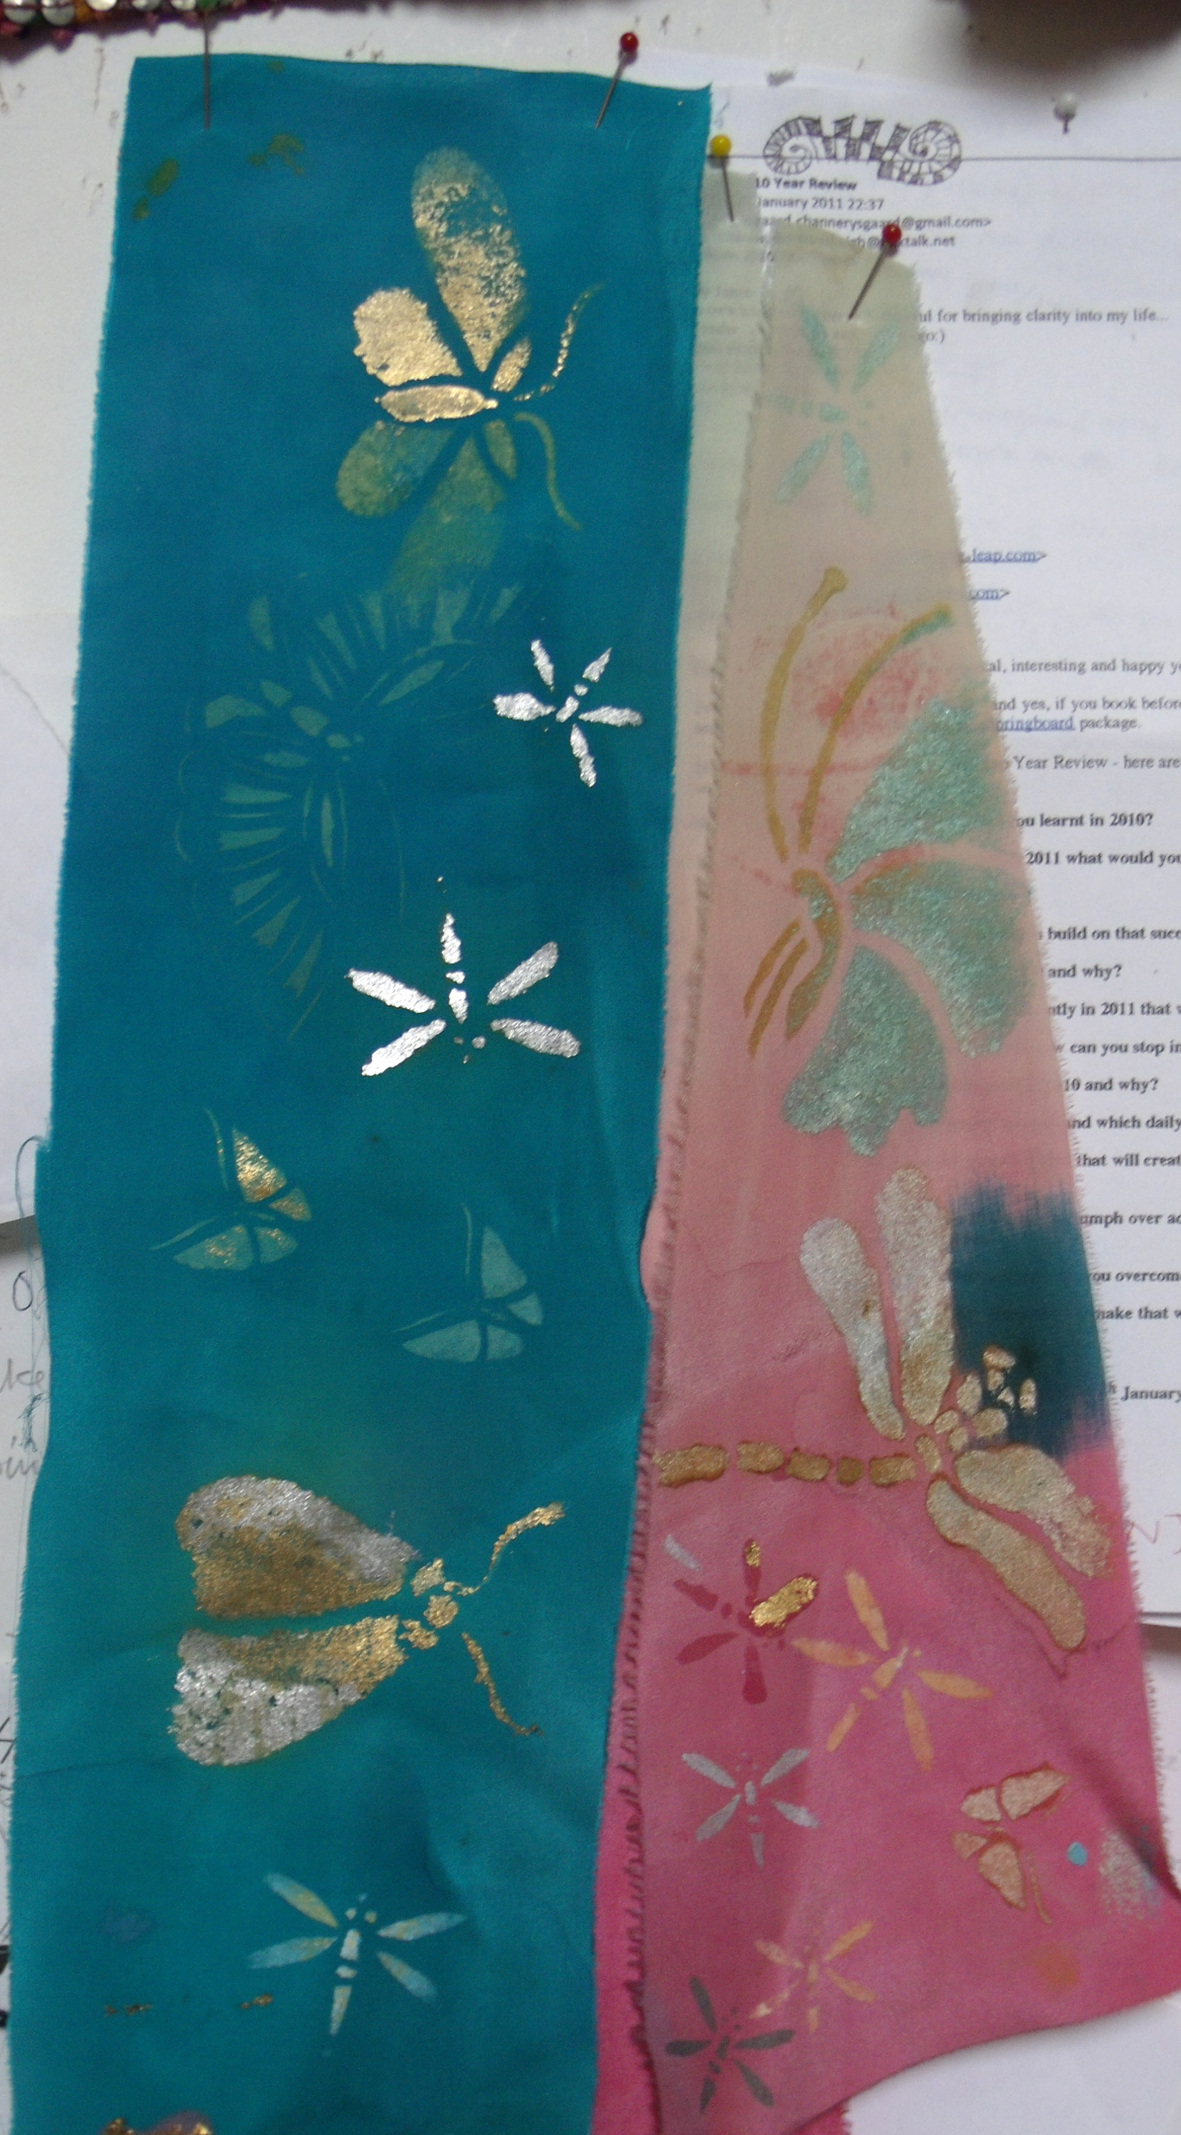
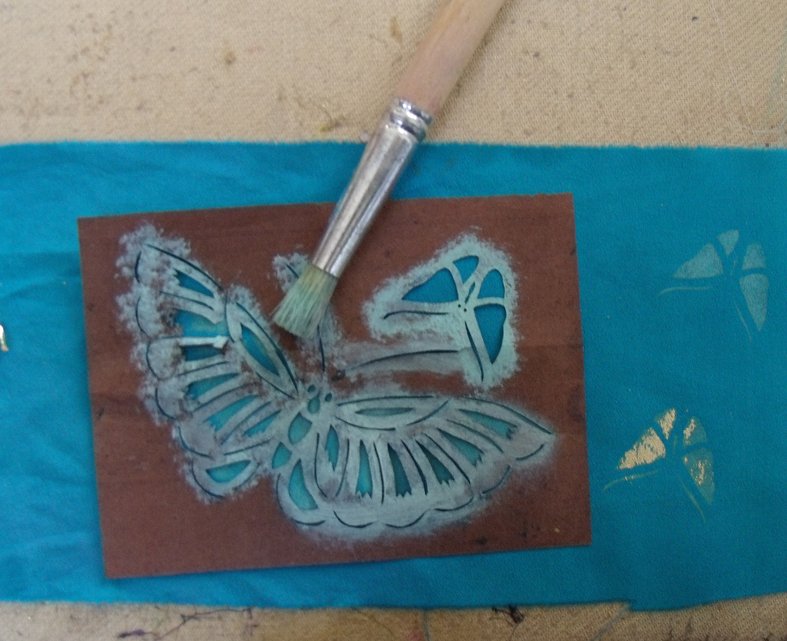
Deciding that I had chosen a sky theme I dug out all my old stencils of dragonflies and moths that I have been used many times; these particular stencils were last used for the enamel garden – so they are old and well used. as well as stippling
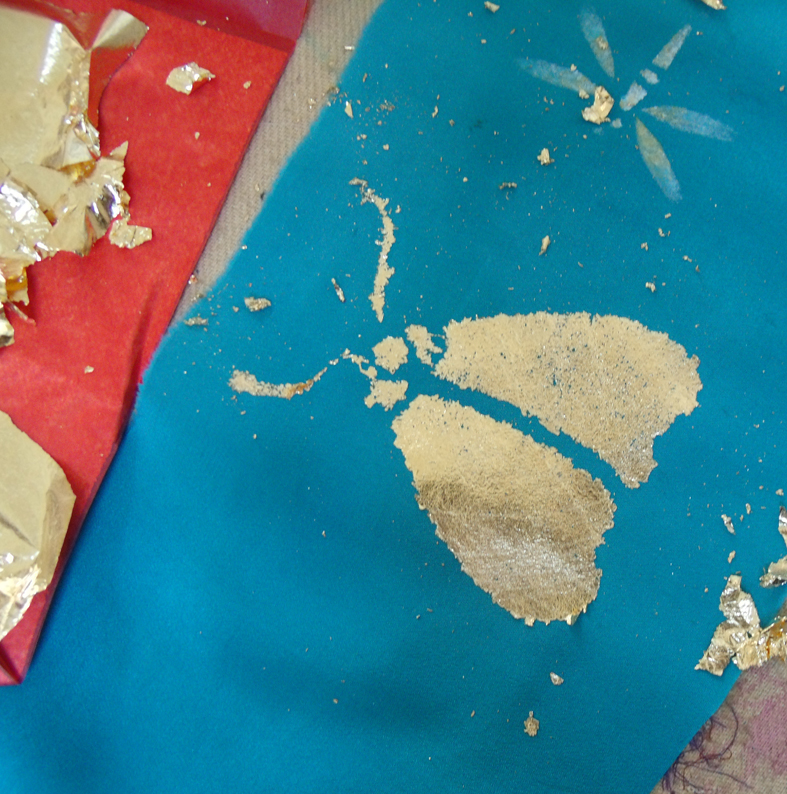
I wanted to try out gilding with metallic foils, but the stencils are a bit too small for it to be very successful.
Time to get designing..you can see my quick scribbled drawing below, not very proud of this but it worked well enough.
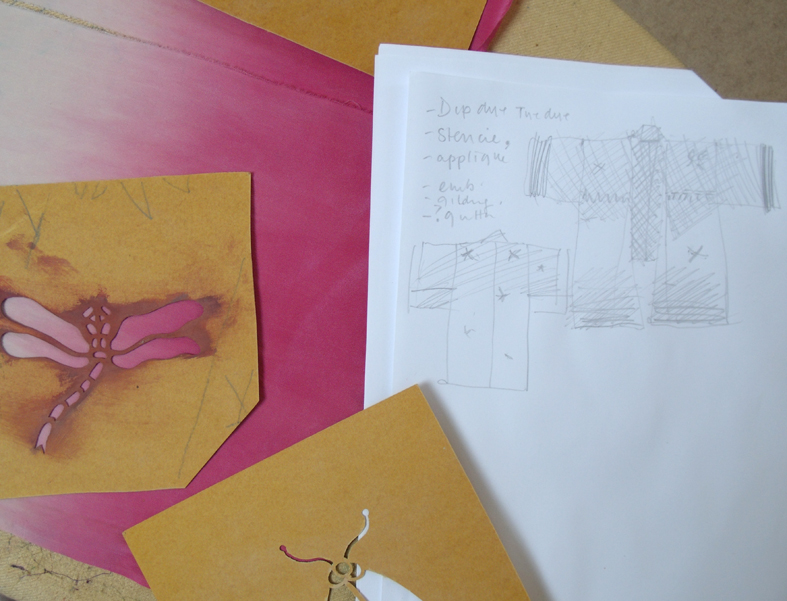
I also used my book Japanese Inspirations, the stencils were originally designed for this book – published by Collins and Brown for Chrysallis books in 2000 – so you can’t say I don’t get full value out of my old ideas.
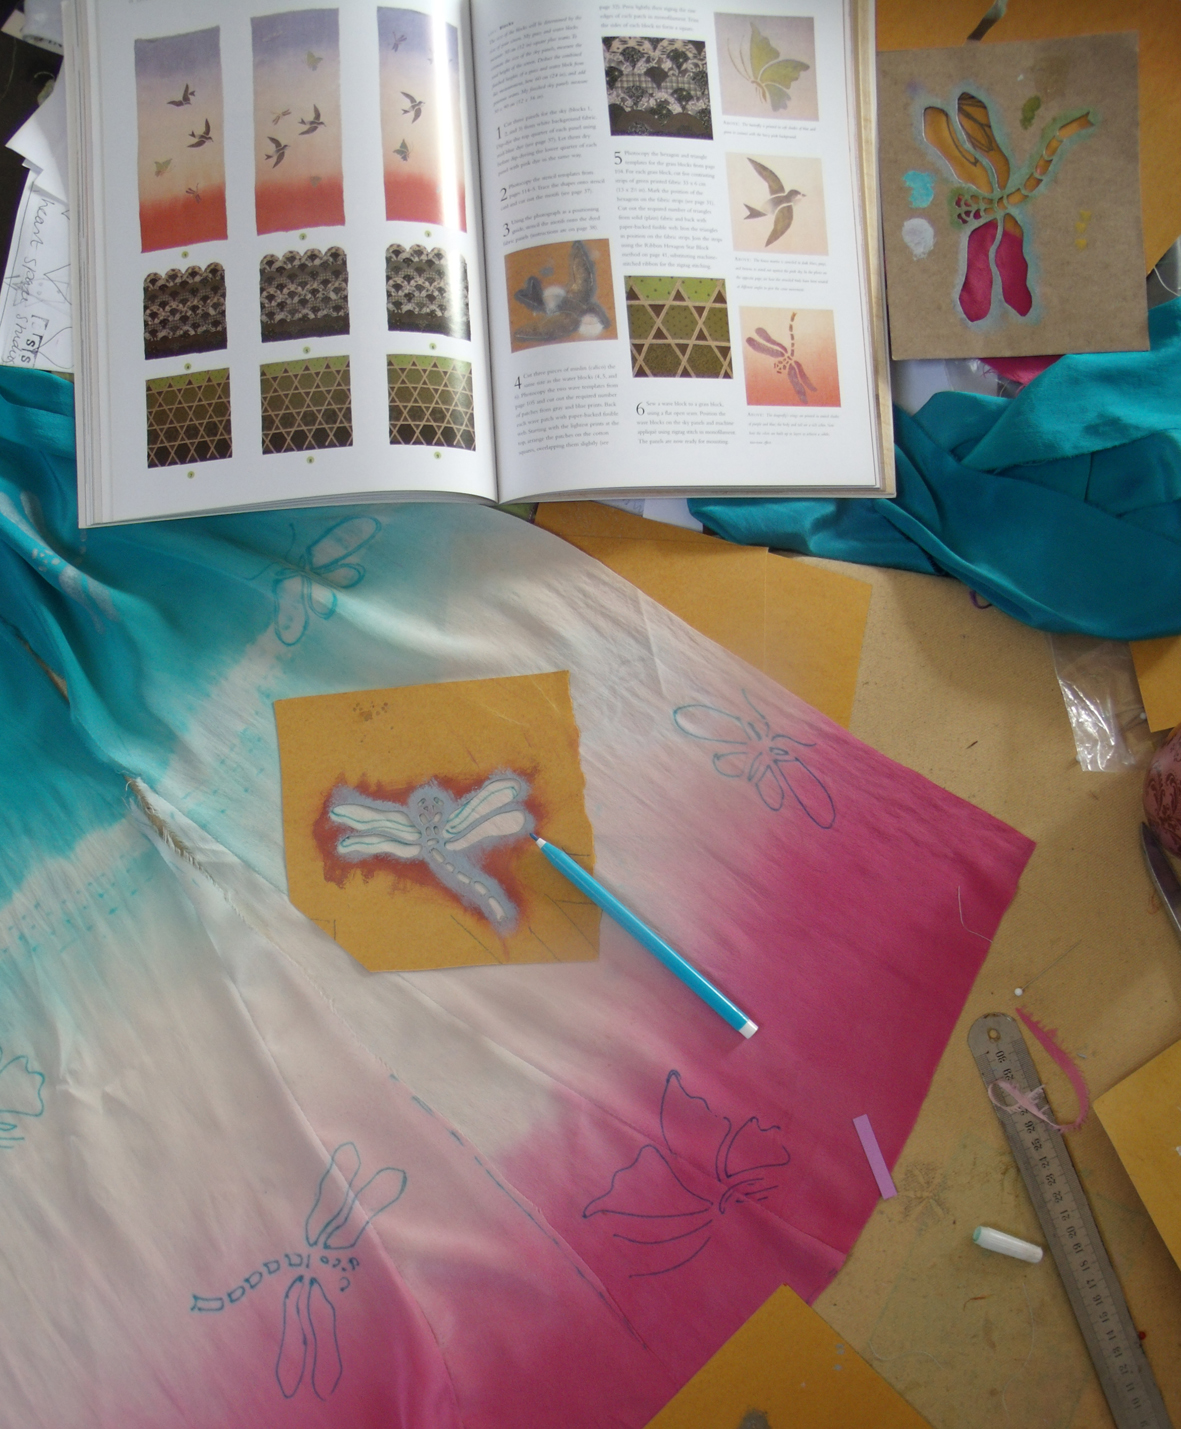
I soon got the major stencils printed using a thickened dye that can be ironed to fix it – I chose to use pearlised dyes, very subtle if used sparingly.

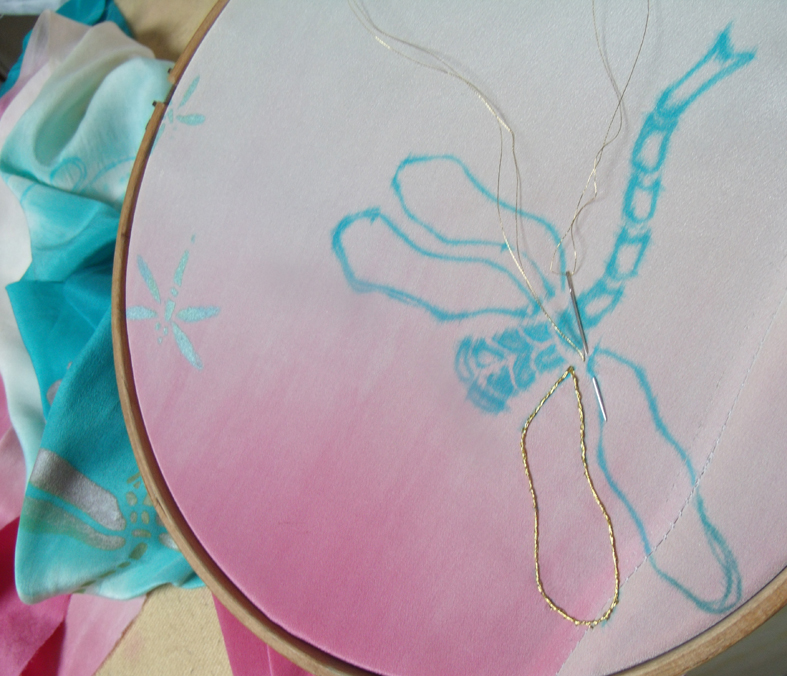
I then decided to embroider an outline in gold thread of one of the stencils, and because I am so used to embroidering I didn’t sample first – BIG MISTAKE, it looked terrible off the stretcher and I had to unpick it…..it may go in again at the end, it may not, depends on how the sample looks……
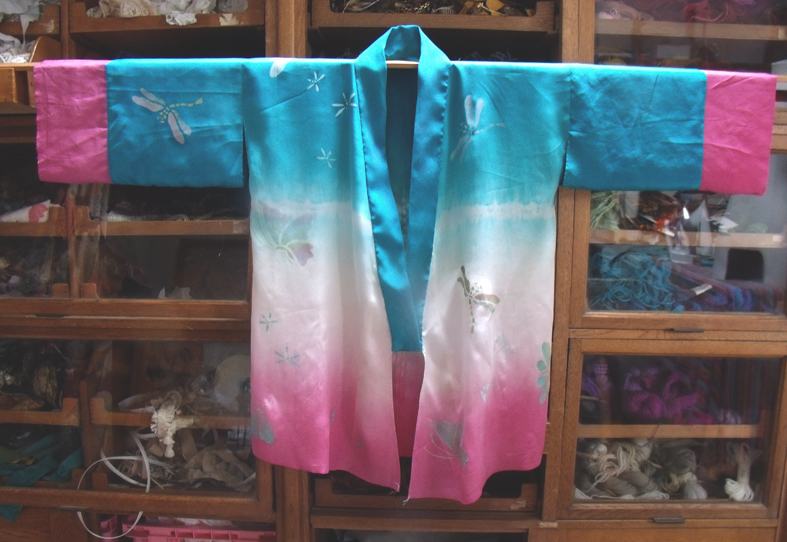
I now had to make the whole kimono – mostly by machine stitching for speed – this is a sample after all – with some hand stitched details that I researched by checking my collection of real kimonos.I do like to keep things as authentic as possible including the proportions. I got the garment together well enough, using my old kimonos as reference – usually silk kimonos are lined so the problem of seam neatening is not an issue – I need to reconsider this later.


Having got the main body and sleeves together I put it an a stand to see how it looked form several angles. I feel that it needs a bit more consideration as to finish – l do like the hand made look to it – but I am finding the colour a bit too brilliant now it is an actual garment – it looks what I call “straight out of the bottle” colour – a bit too brash, but maybe this is because I am looking at it on a dull September day?


So the kimono is almost ready – do I embroider it or not? I will leave it for a few days and take another look – maybe I will not use gold thread but am ombre-dyed silk thread for a bit of subtlety. Anyway here it is laid out on the studio floor – so far so good, first the front …..

Now the back – I feel a few clouds stitched in silver might be on the horizon…………..

Discover more from JANET HAIGH: HER WORK
Subscribe to get the latest posts sent to your email.
