Things with Wings: Research Day

paper butterflies
research workshop materials -printed paper butterflies

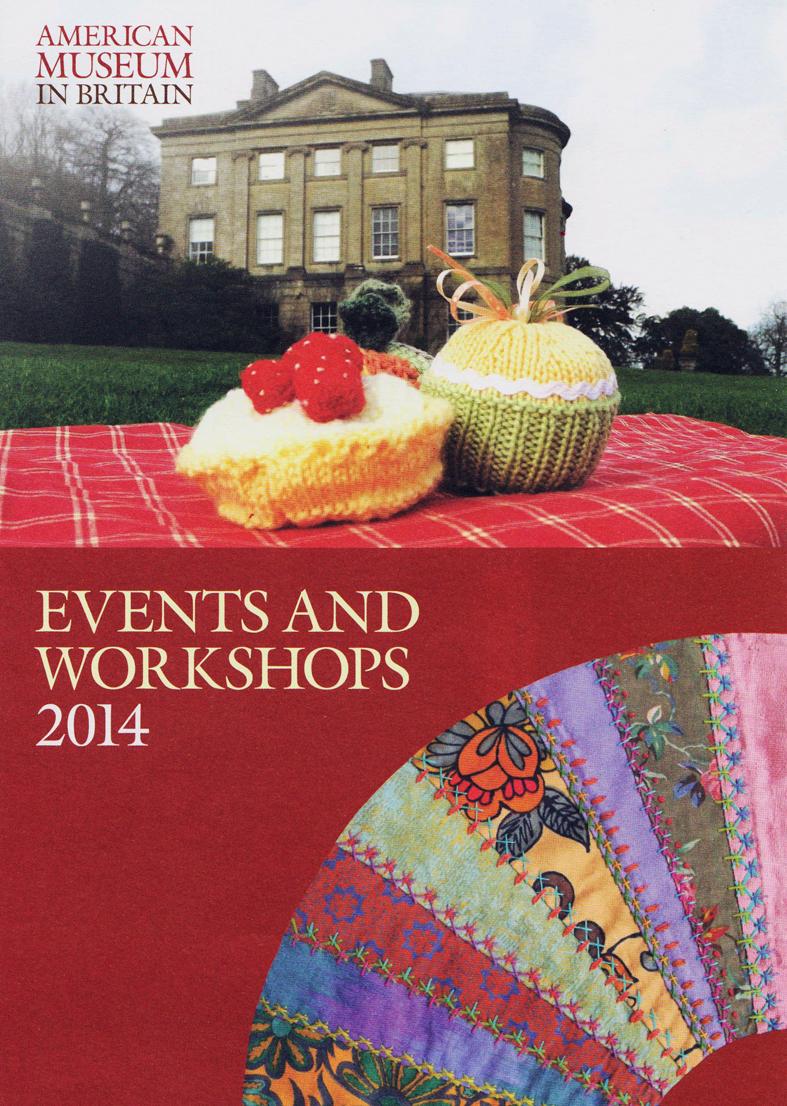
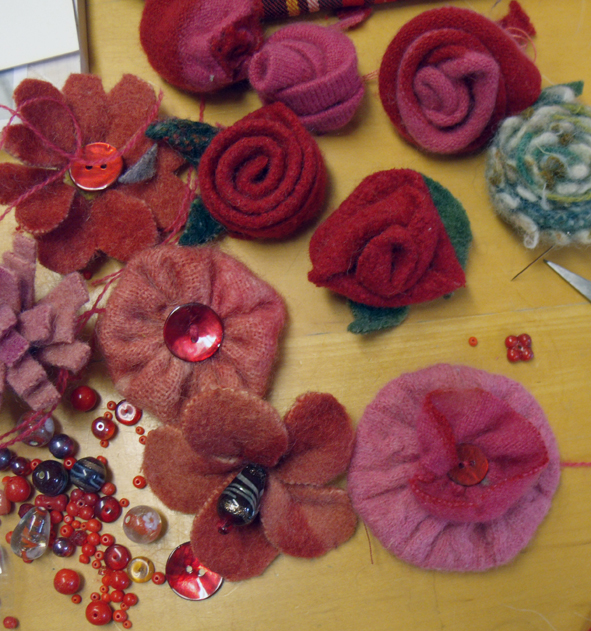
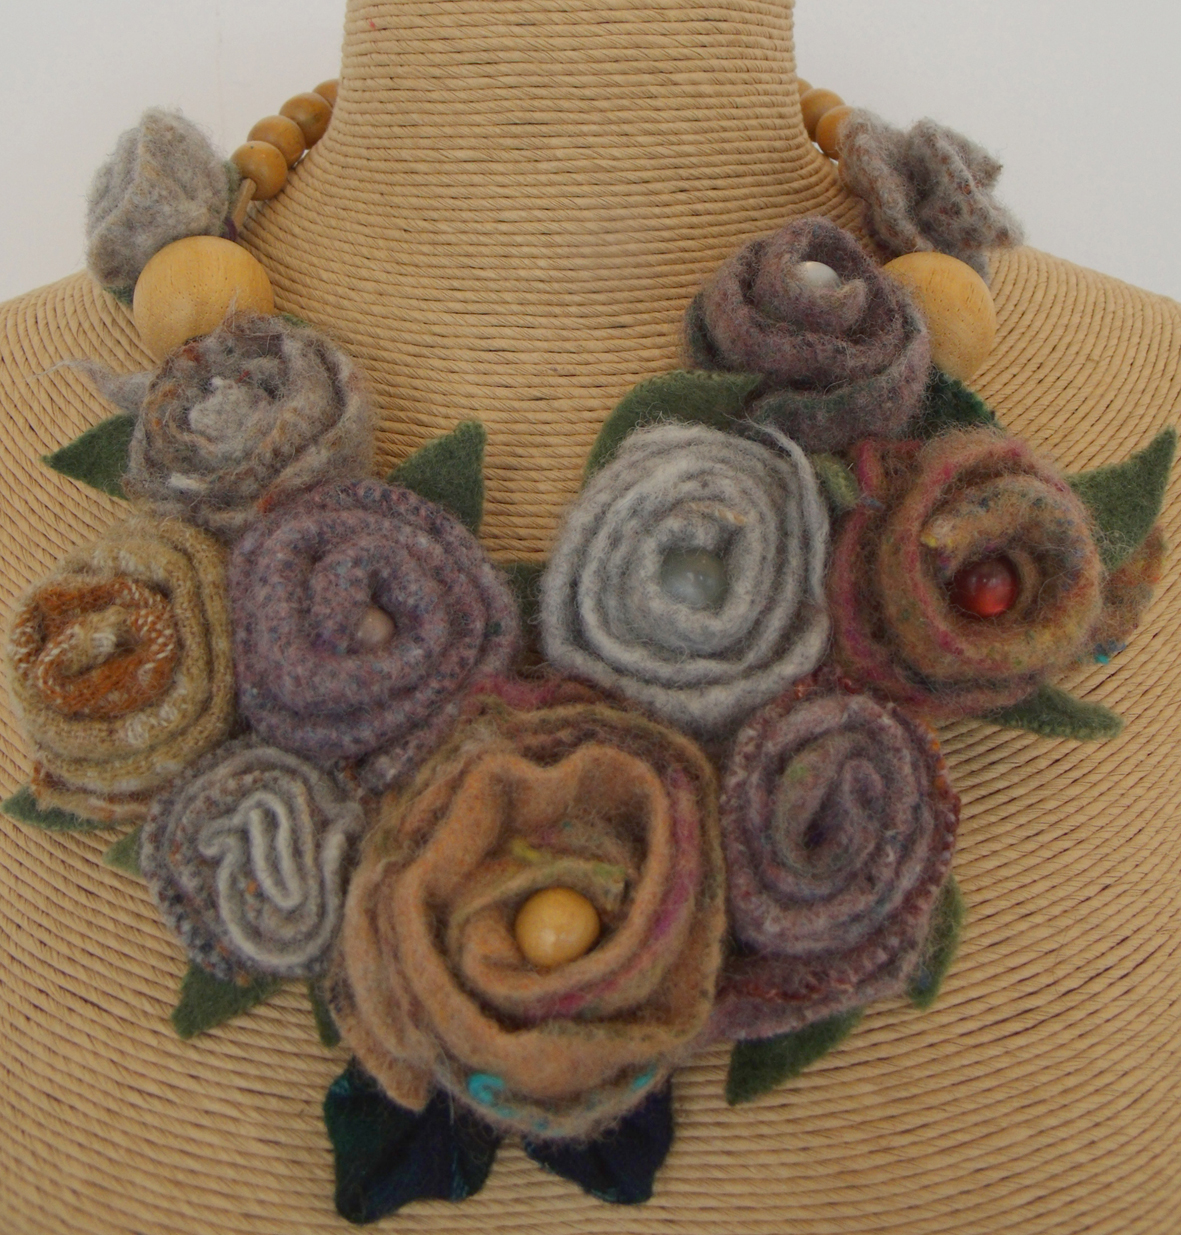
‘Wings and Things’ is the working title for an exhibition being developed for the local community’s annual “Westbury Park Festival”.…last year we hosted a drop-in making felt flowers – this year we are show-casing the talents of the staff and tutors at Heart Space Studios – so no pressure!

feathers peacock and pheasant
research workshop materials – feathers

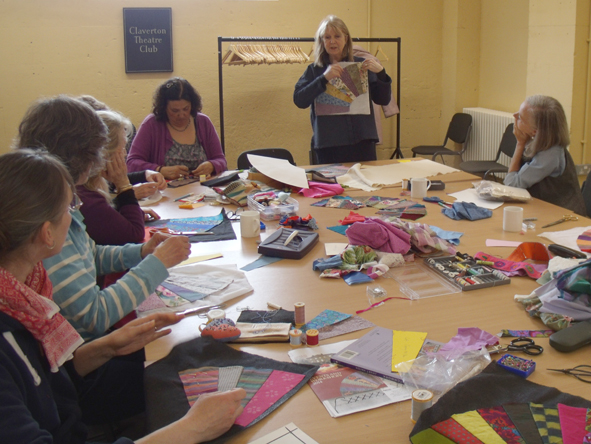
Each of the 11 people who opted to work towards the theme have committed themselves to attending up to 3 research sessions when we all work together to make a mixed media exhibition – by mixed media I really mean any materials that can be connected to textiles, either physically or metaphorically.  ‘Things with Wings’ was an idea proffered by Debby Bird (who else?) who is a busy tutor at the studios and a major force for developing new ideas for classes.  We are working together to make an unusual and hopefully amusing exhibition

glass beads
selection of glass beads for workshop materials

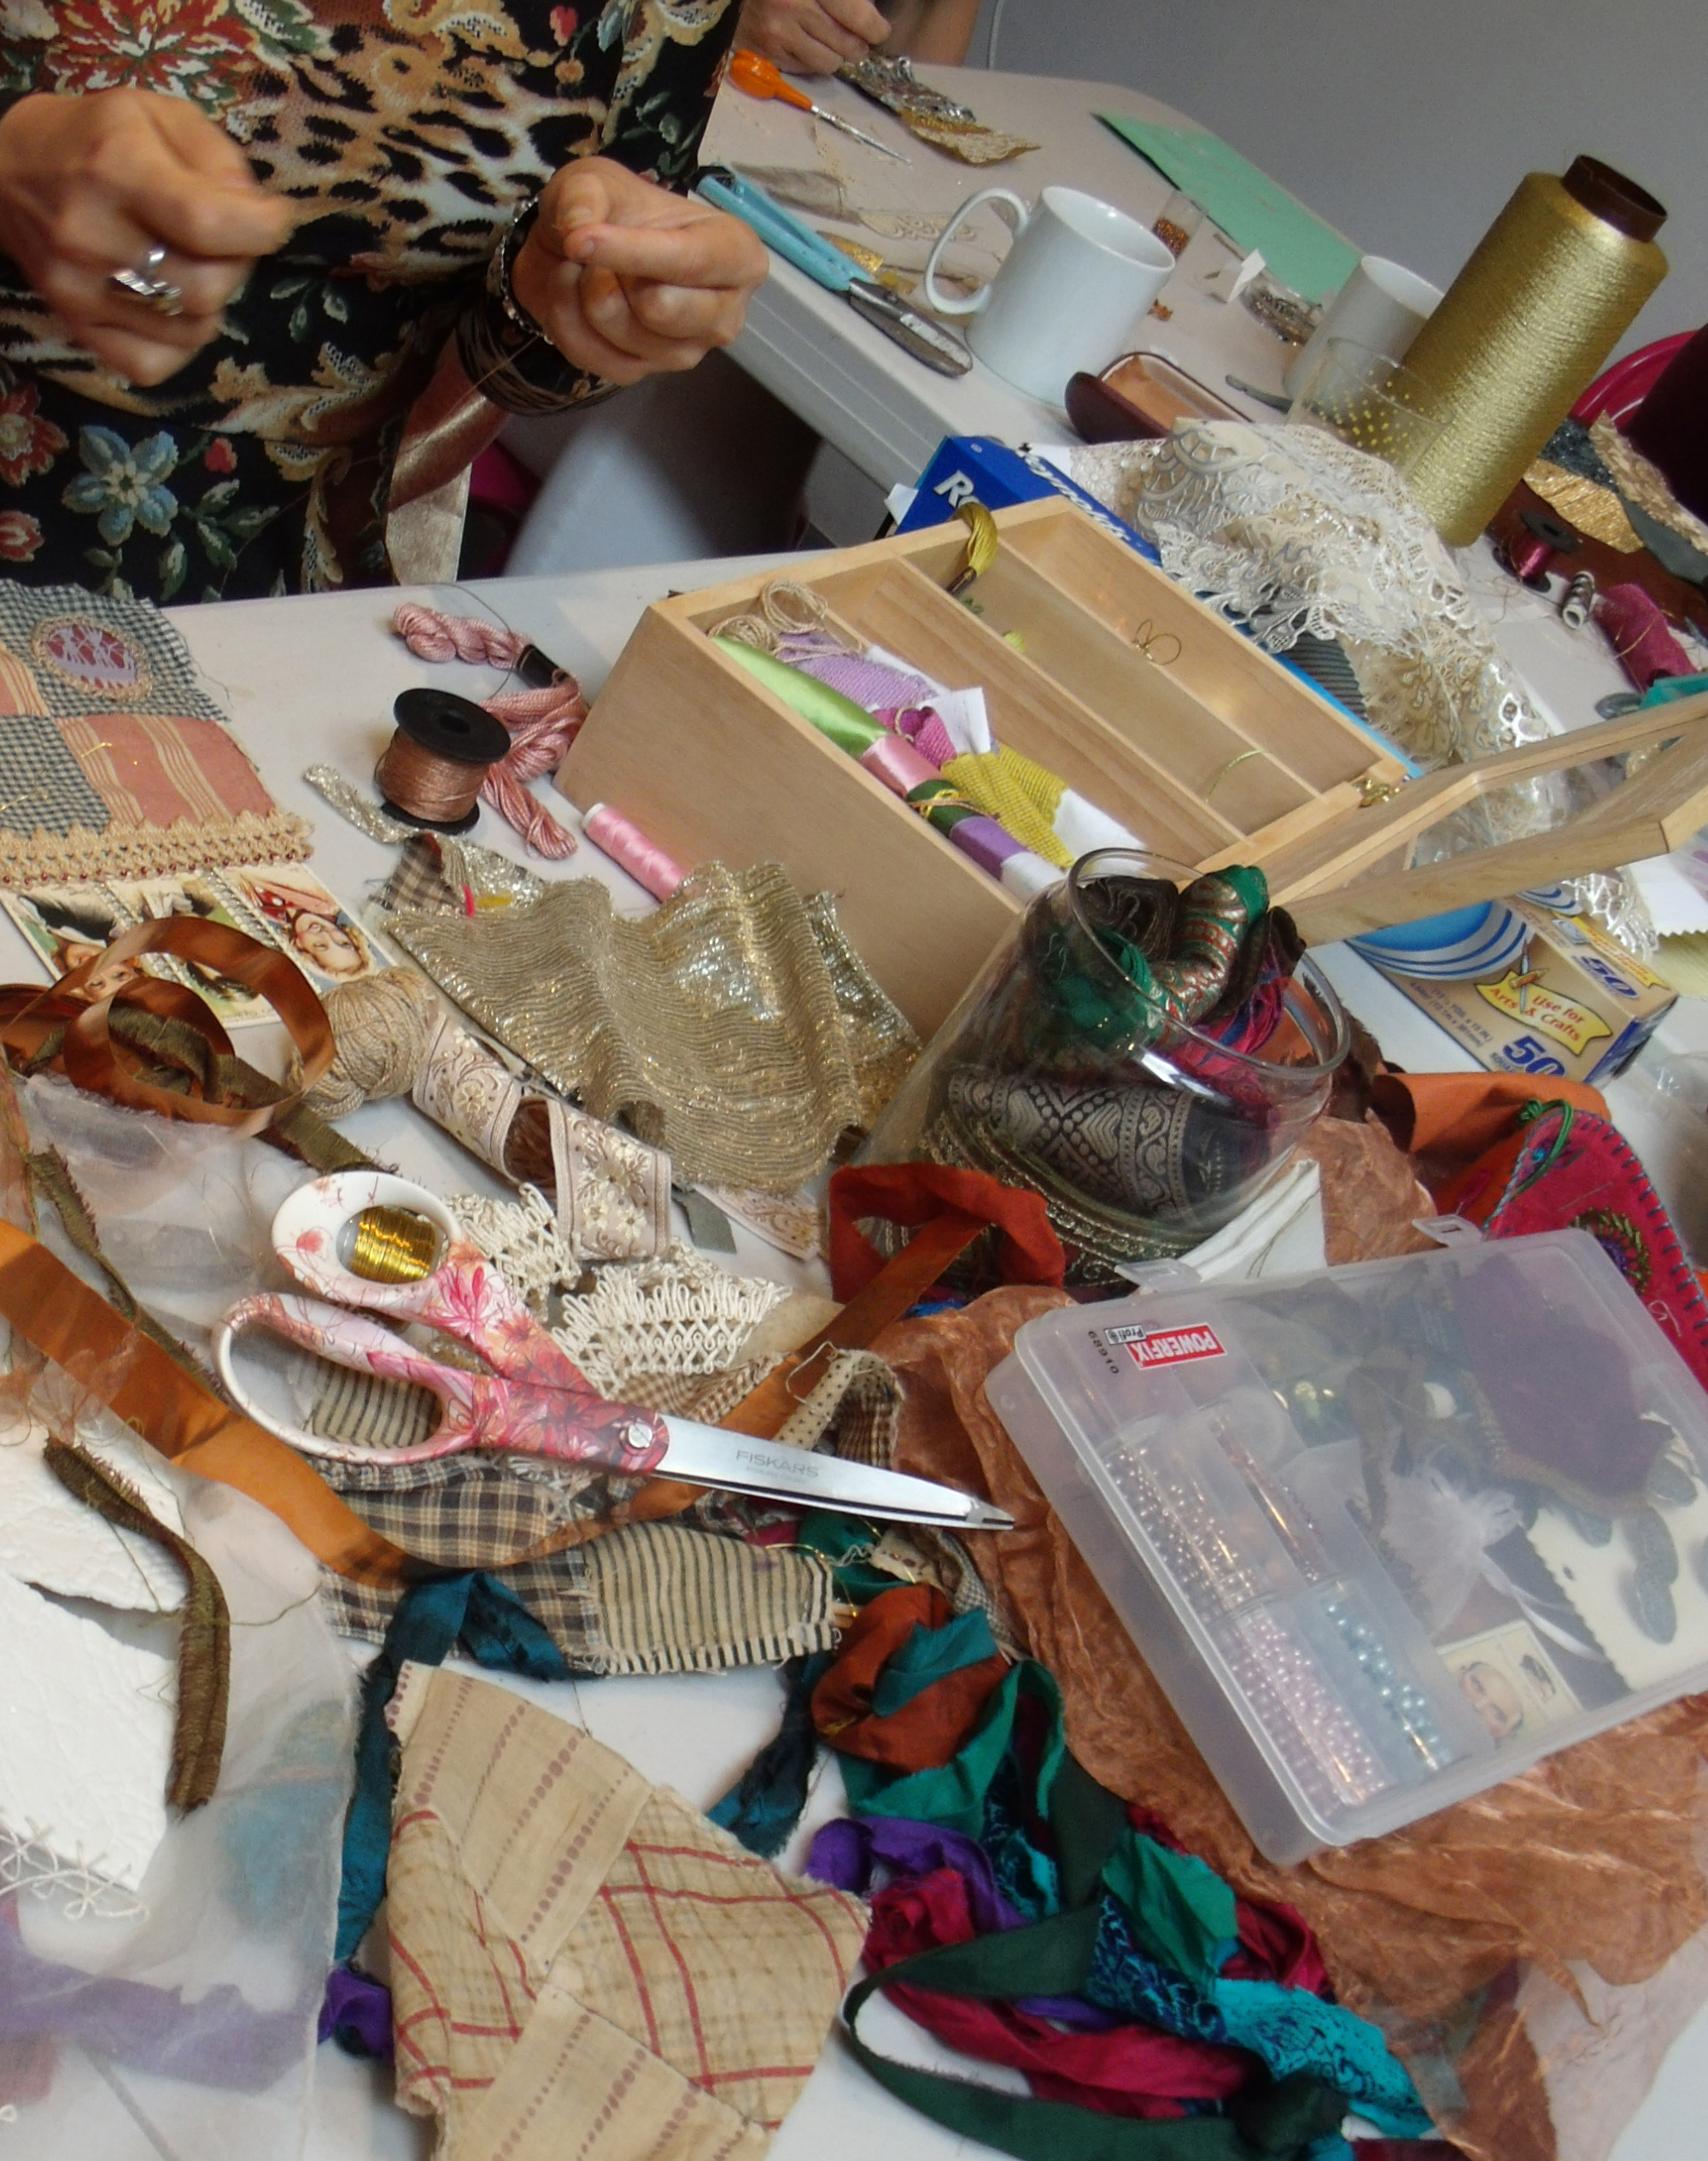
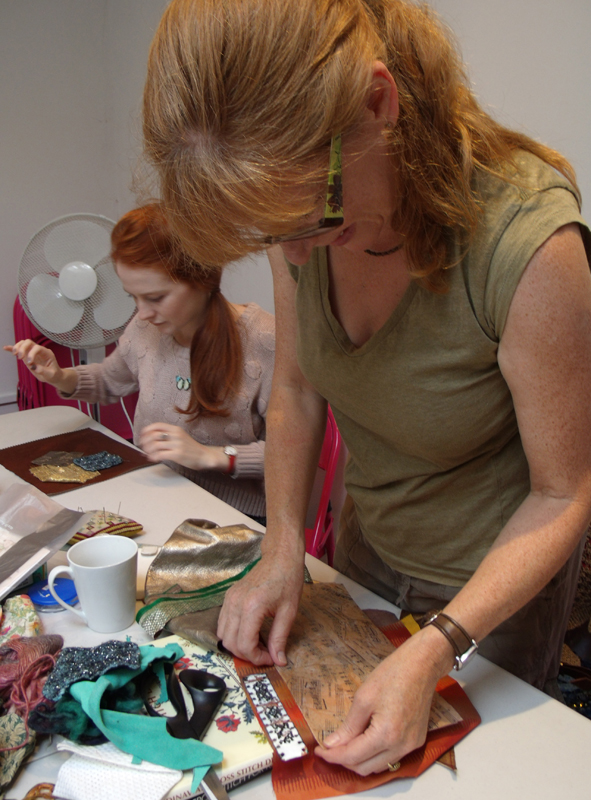
It is always fascinating to see how each person responds to any given the brief: we had asked for any ideas and drawings/ samples  of work ready to be discussed on the day – we wanted everyone to participate in helping one another develop ideas, otherwise working in a group can be really distracting.

bird wing
Step Wooster brought the real thing
GEDSC DIGITAL CAMERA
teeny tiny drawing book of ideas with pigeon coloured materials – Steph Wooster

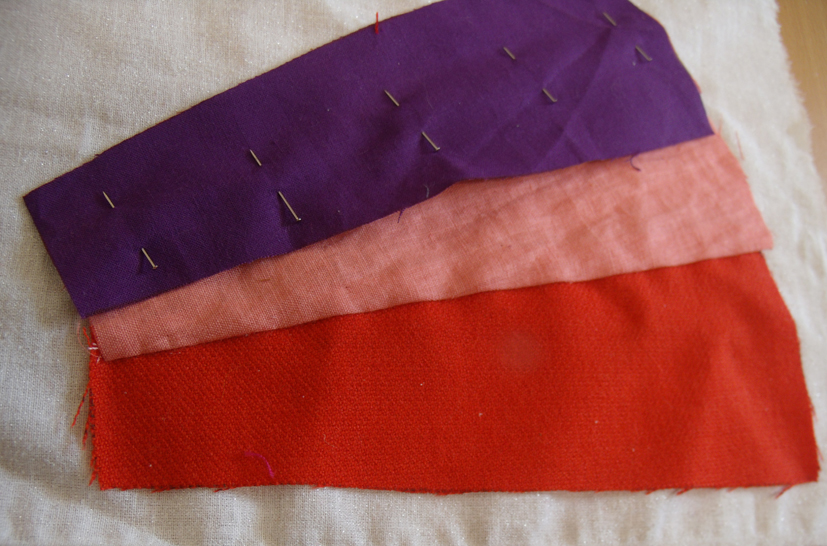
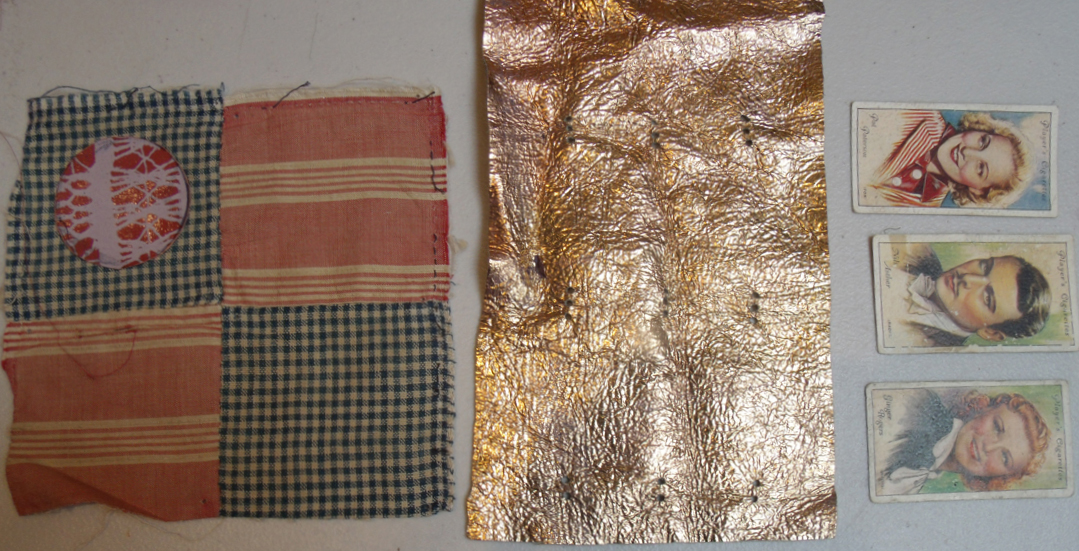
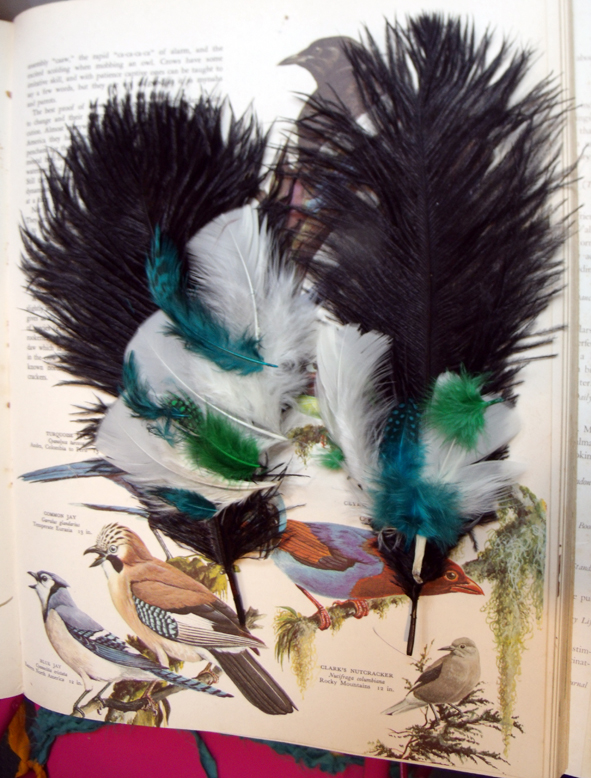
Steph Wooster brought several real birds wings that she had been given by a local game butcher, plus some tiny drawings in the  goes-everywhere-with-her-sketchbook.  She placed the book open at a pigeon drawing next to a bag of –  to my mind – Pigeon Coloured  materials….

patchwork dragonfly
Ilaria Padovani’s grandmother’s patchwork design re-sampled for the project

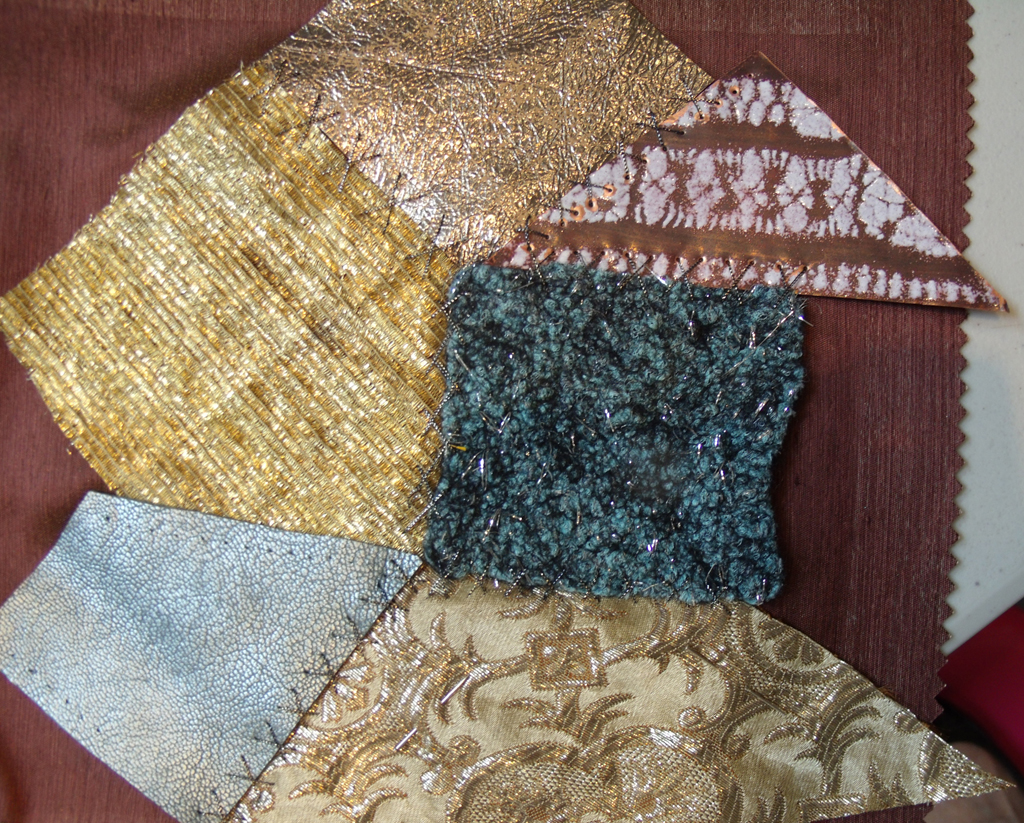
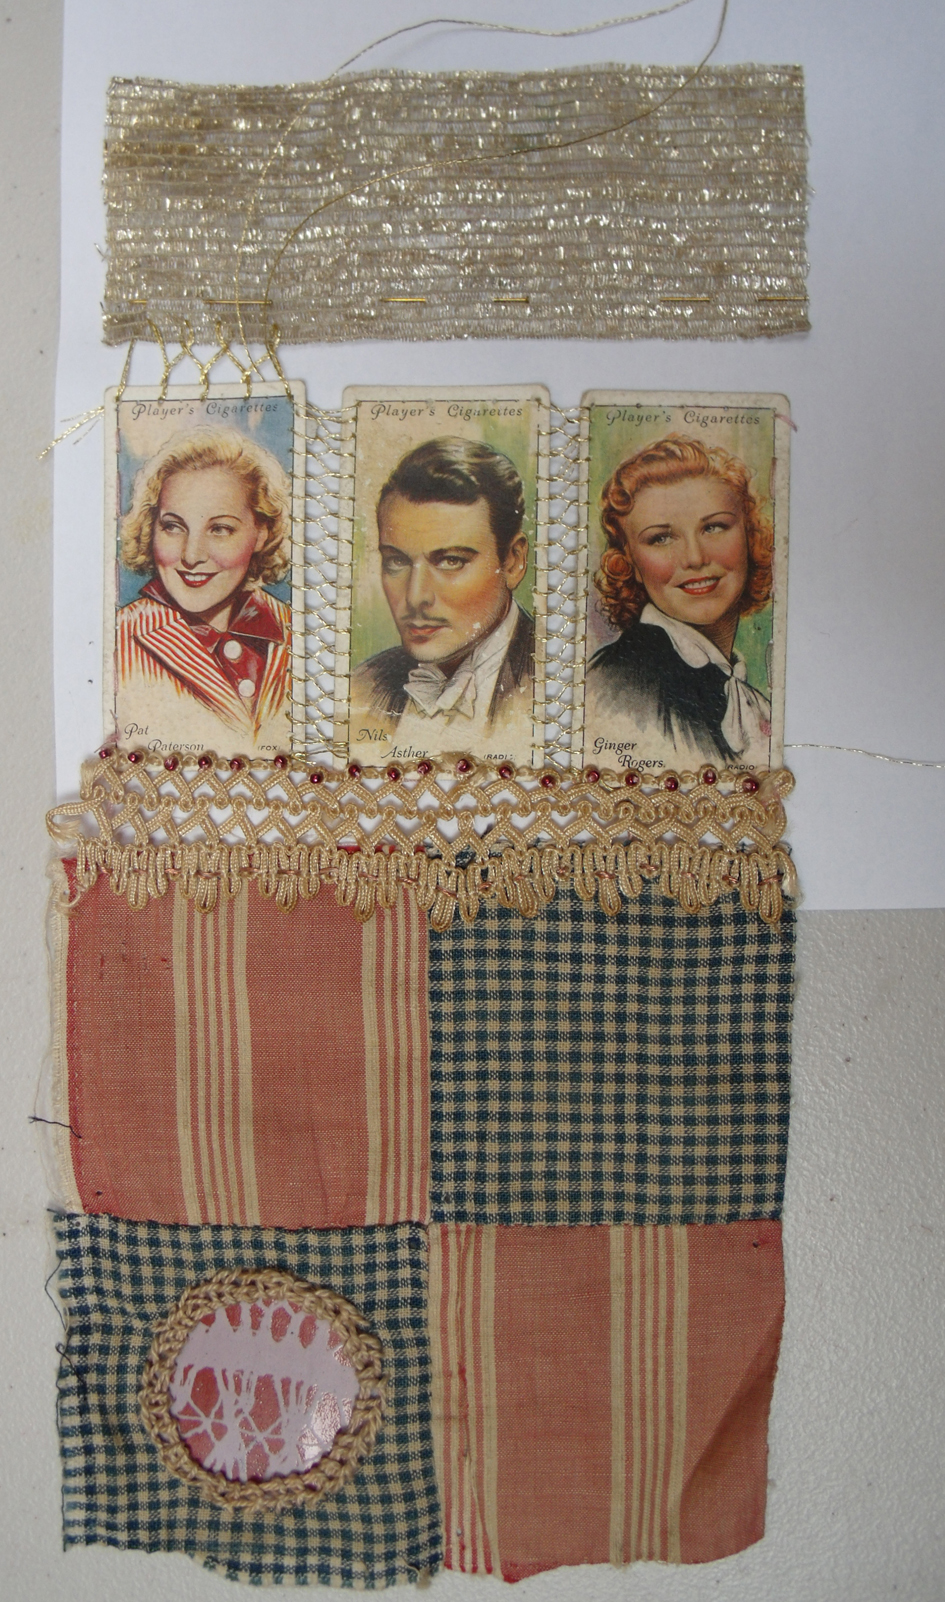
Ilaria Padovani, brought a couple of samples specially prepared for the day – one a pair of collaged wings which was bright and busy, but another patchwork made from a pattern that her grandmother had made for her as a child it was her favourite winged thing – the dragonfly –  and it is full of flight!

We immediately advised her to just make lots and lots of them in all sorts of different colours and to exhibit them flying randomly across the walls. I had brought in several frames to establish various sizes of each piece – Debby and I needed to have an easy hanging session prior to the exhibition opening. It was decided to wrap the dragonfly patches around small stretched canvasses and so keep them light and airy.

mary b birds
Mary Bishop – appliqued and embroidered birds

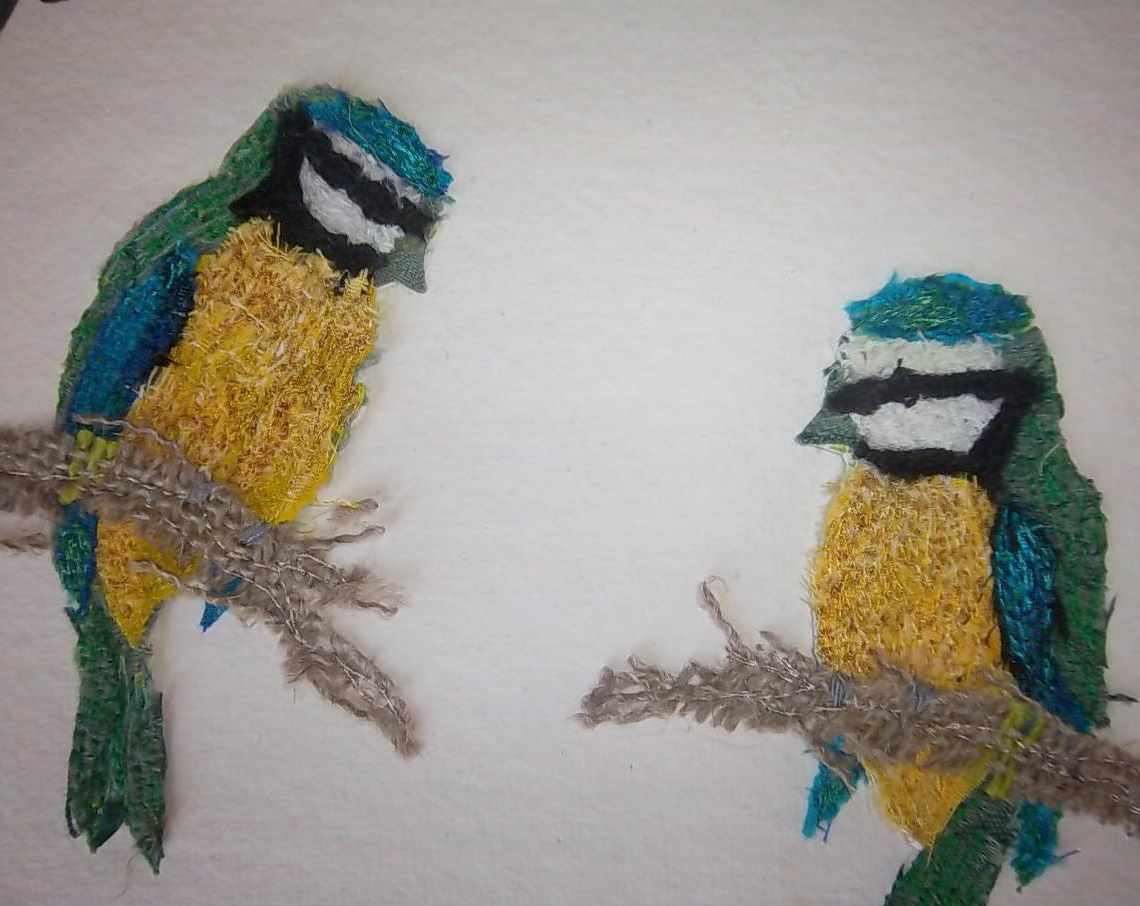
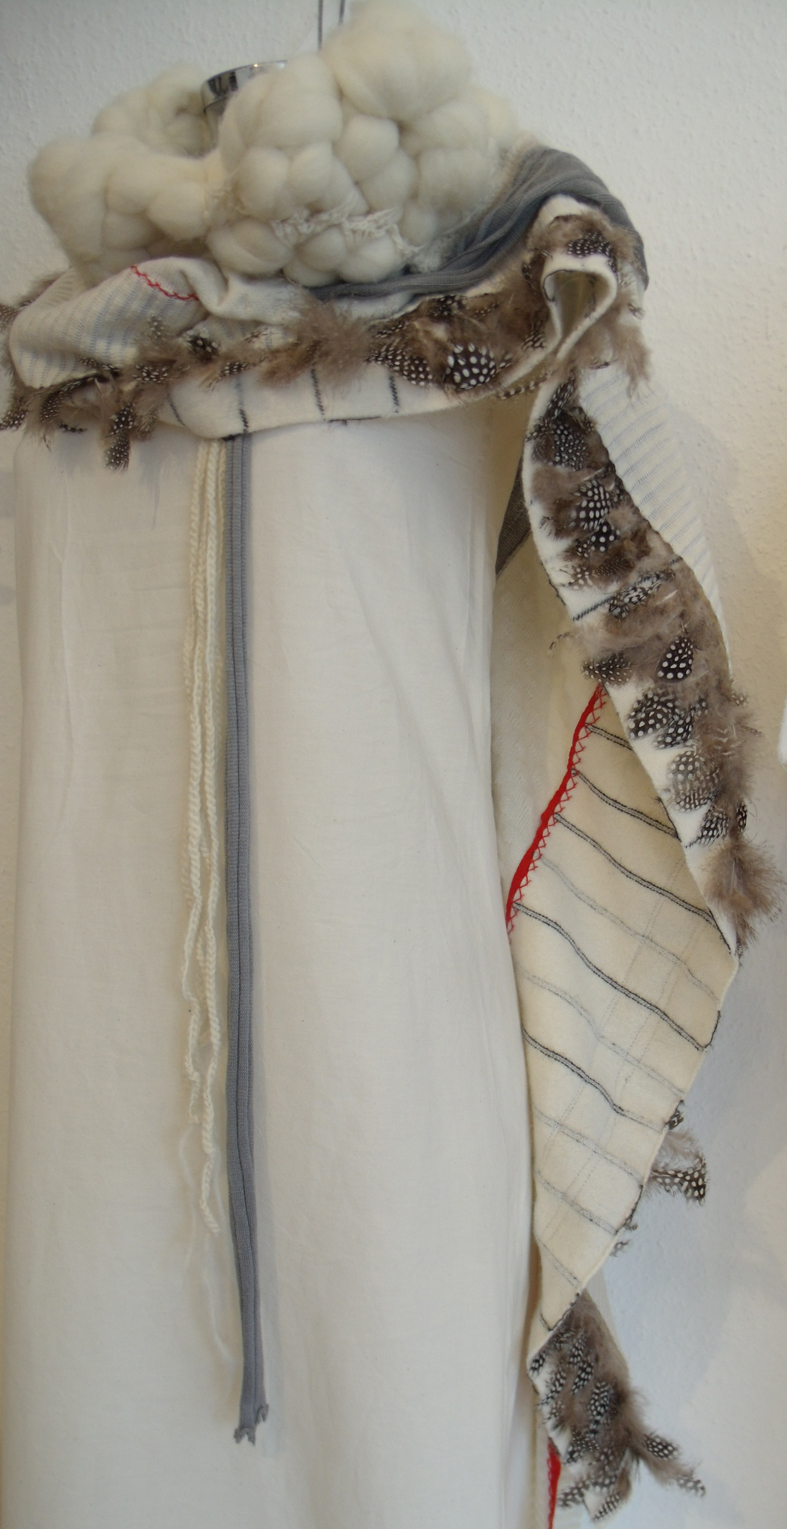
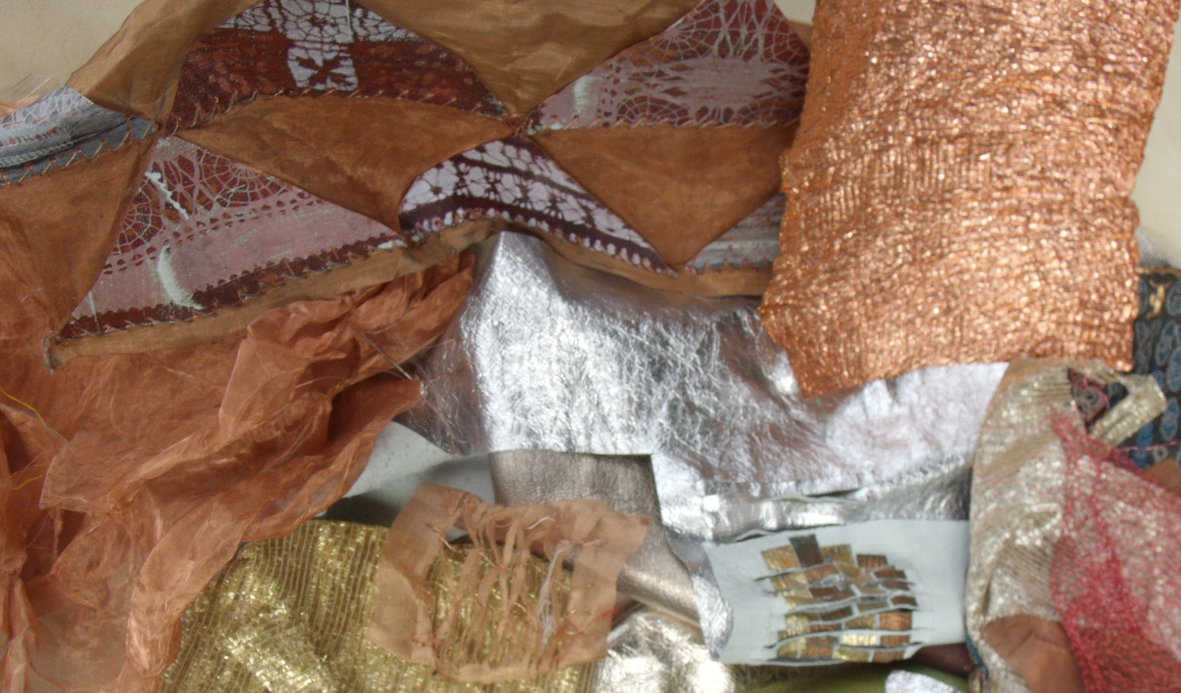
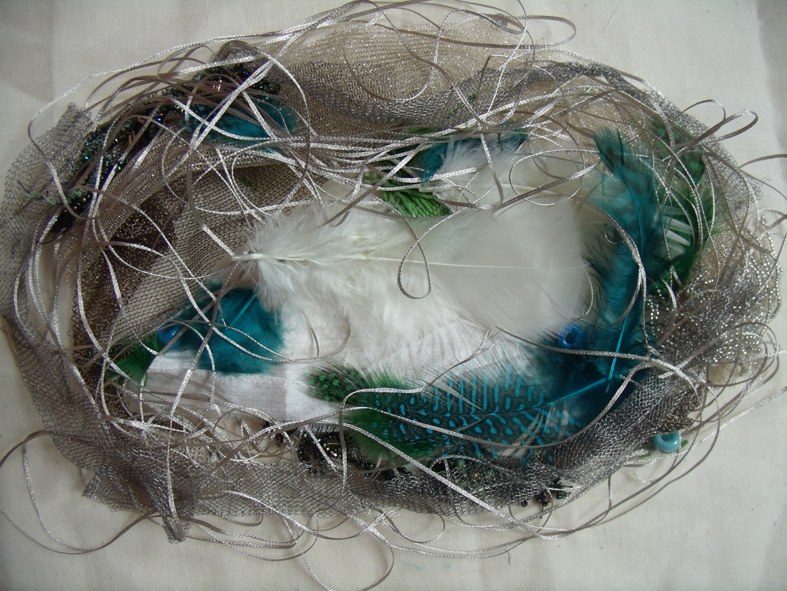
Many textile artists, regardless of name, work with bird imagery; Mary Bishop has made several pieces of bird related embroideries and so she brought a few of her early samples and an open mind, as it was her first tutor’s making group attendance. She is really taken with the idea of Magpies – after all they do like bright shiny objects and we always have lost of those at Heart Space.

illustrated birds with feathers
glamorous feathers placed on top of a vintage bird book I had brought to the workshop – a really good idea for  further collages here.
GEDSC DIGITAL CAMERA
beads and feathers for Magpie’s stash

I thought she should start with the nest – I mean she can easily do the birds at home alone – but the nest and it’s contents could be found in the studio stash….I asked her to just find lovely things a magpie might steal from us and then to make a nest from them, later she can choose to use parts of it as a sort of grounding for the birds or develop other ones from other materials….the ideas are endless here.

glamorous nest
starting to make the Magpie’s first nest – Mary Bishop

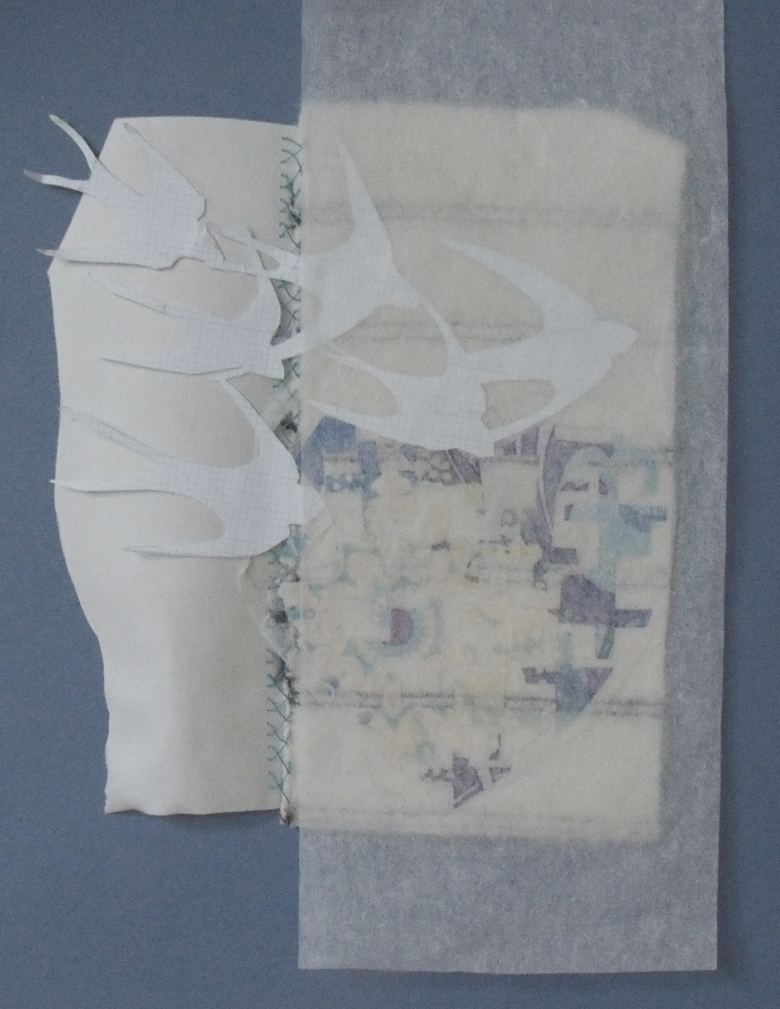
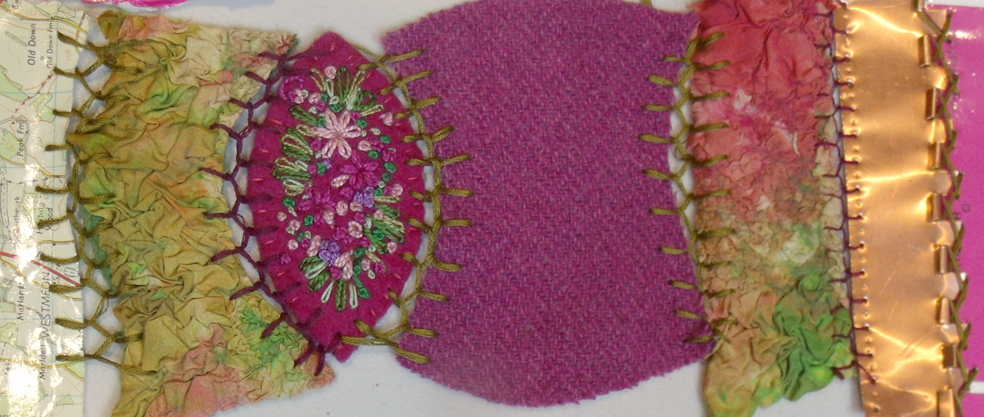
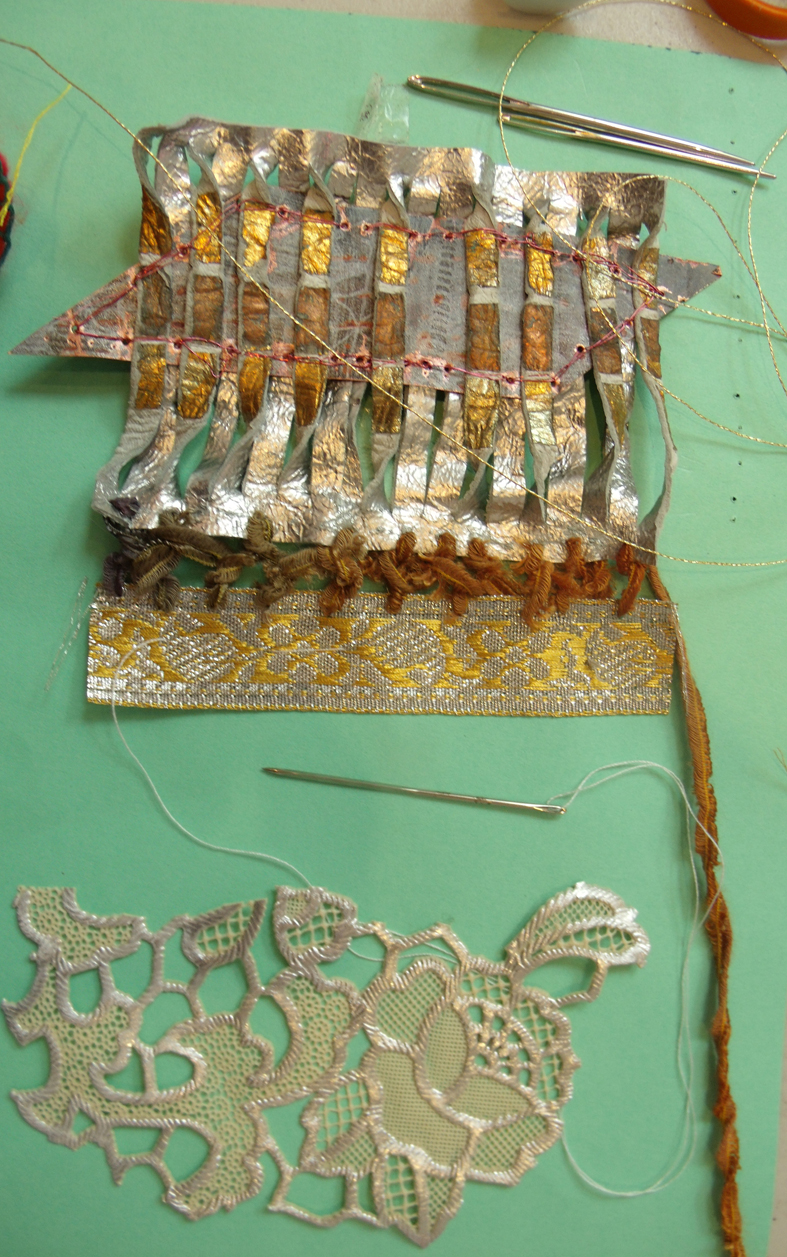
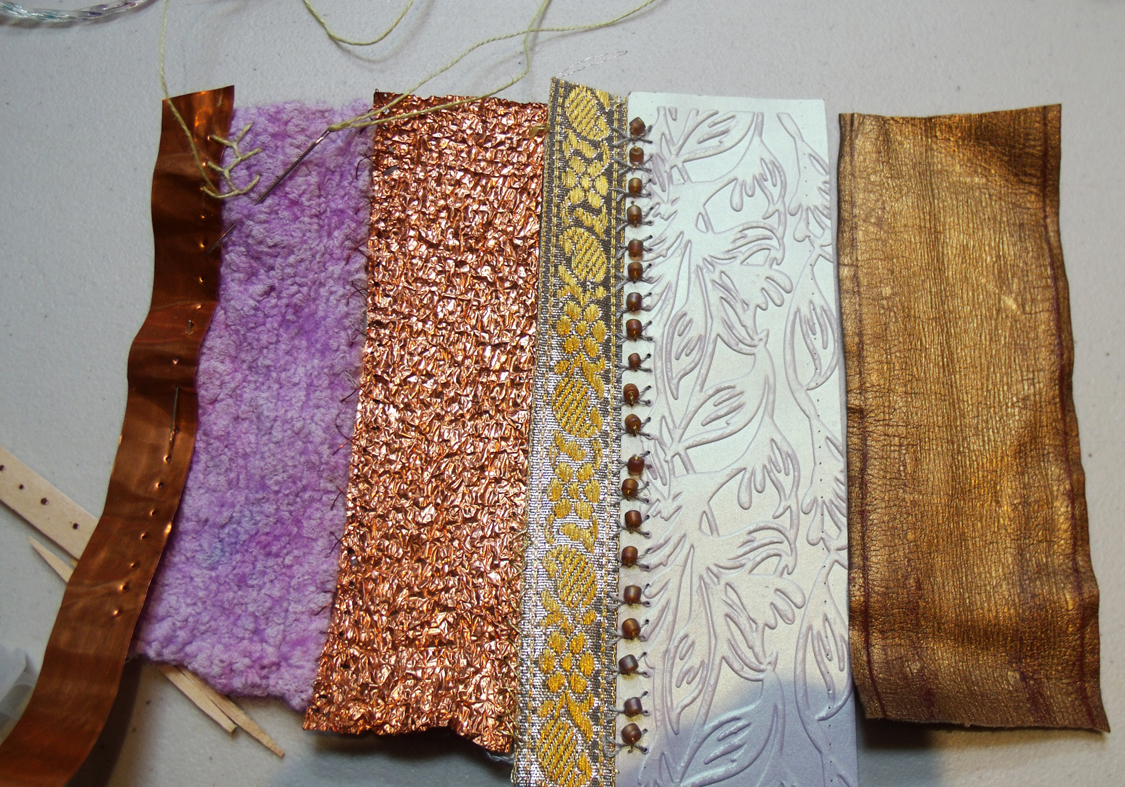
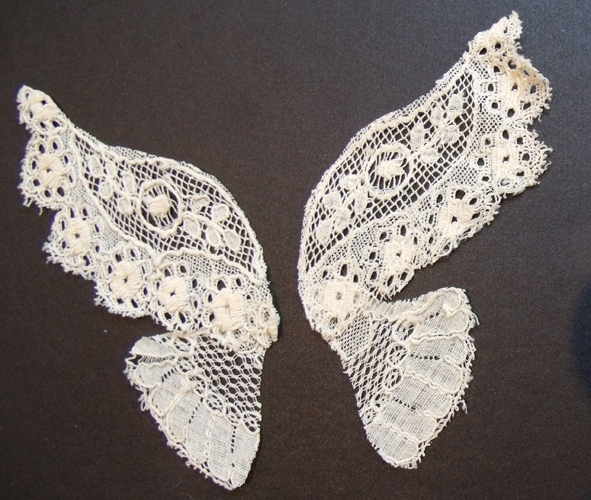
Some people had already started making flying things from textiles, Sophie Bristol has carefully cut wings from a length of vintage lace..the ways ahead were obvious, lots of different wings from different laces just needs to sort out the bodies – rich ground for playing with all sorts of media. However……

lace buttefly
beginning of a cut lace butterfly – Sophie Bristol
birds and silks
striped of silk fabrics to make into a 3D bird cage….a really innovative idea and a lot of interesting work to develop.

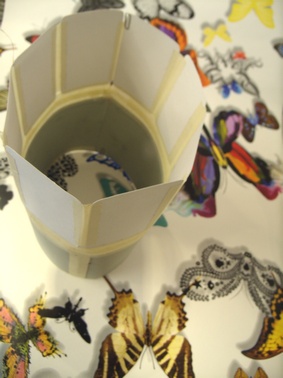
during the introduction when everyone had to show and talk about their own ideas she liked the idea of making a cage from a sample made in an earlier workshop.

She set about making a prototype in card and tape to ascertain the sizes and shapes required – but what will the cage contain?

GEDSC DIGITAL CAMERA
cylindrical cardboard sample for Sophie Bristol’s birdcage

One way to use a themed exhibition is to try something new or an idea that has been on the’ back-burner’. I think Kirsten Hill-Nixon thought this way. She arrived with lots of well organised materials, books and ideas – lots of drawings in her research book and a firm grasp of what she wanted to achieve…it’s a tall order!

research for still 3D life
like a cabinet of curiosities – Kirsten Hill-Nixon’s research materials

Kirsten wants to make a series of exhibits of ‘natural’ objects trapped under glass domes…she is making different types of what look like fungi and cast off chrysalis shells.  She is making them out of all types of fabrics, waxed and “preserved” – I found these curious things near a batik kettle – where are the winged things that maybe emerged form them?

GEDSC DIGITAL CAMERA
waxed casts and wrapped objects for Kirsten Hill-Nixon’s curious collections of post-flight litter?

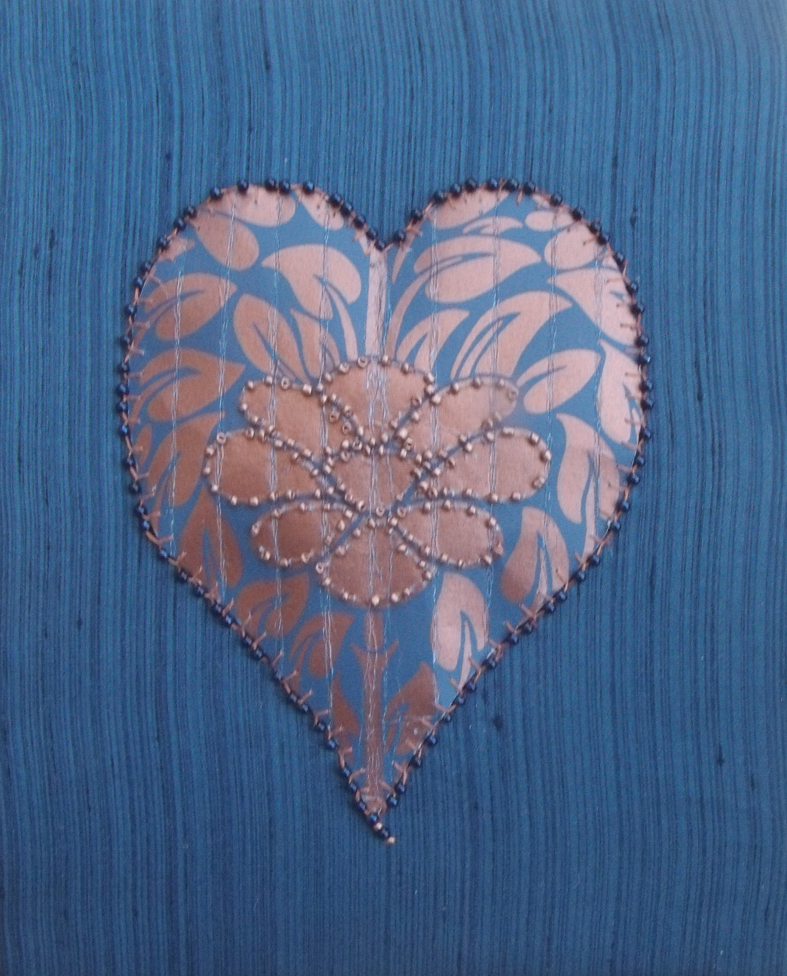
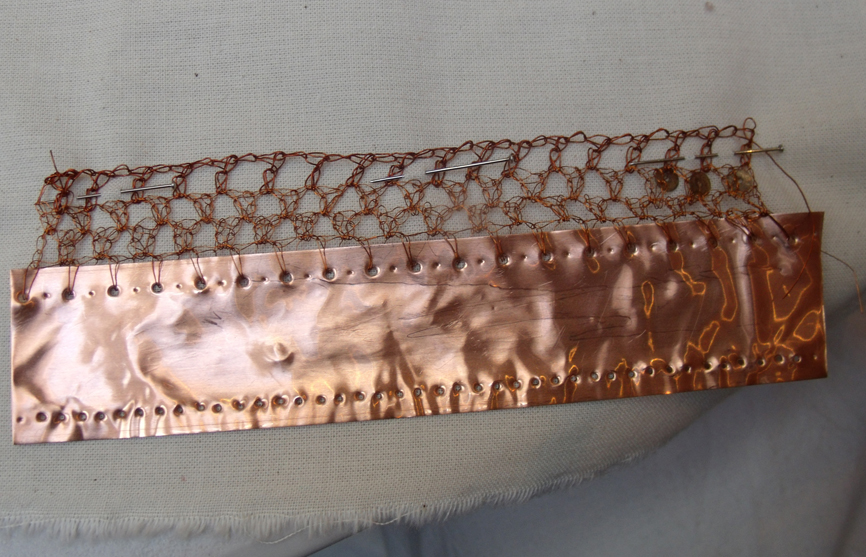
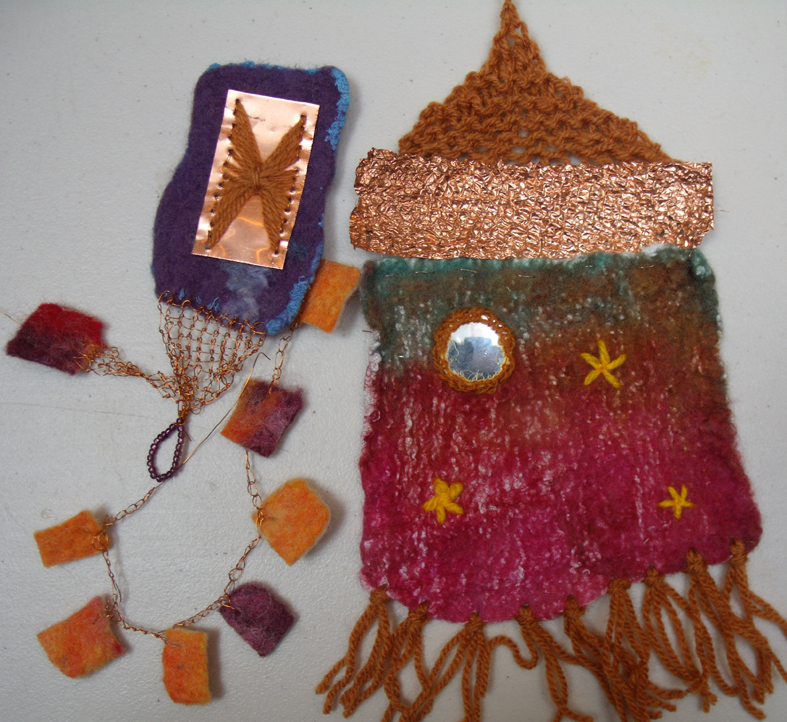
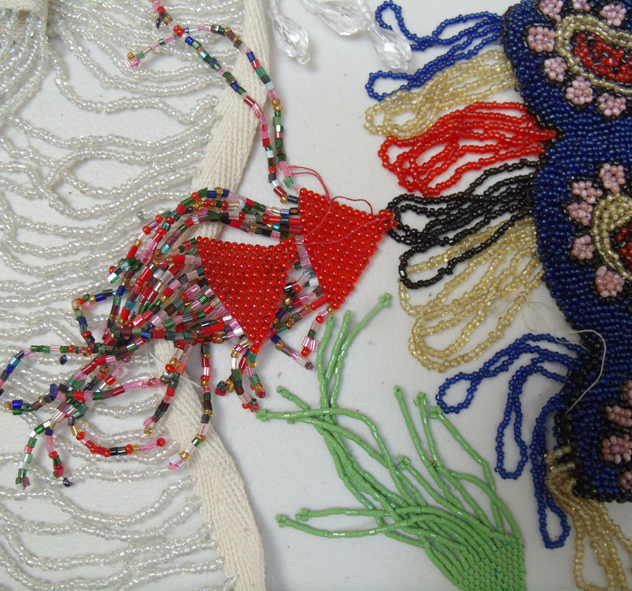
Ilsa Fatt had already designed and made several beads that were based on hearts with wings but the general consensus was that she should make bigger beaded wings –

Hand made glass beads
Hearts with Wings glass beads – plus some wriggly beaded ‘things’ – Ilsa Fatt
GEDSC DIGITAL CAMERA
twisted beaded wire winged thing – Ilsa Fatt

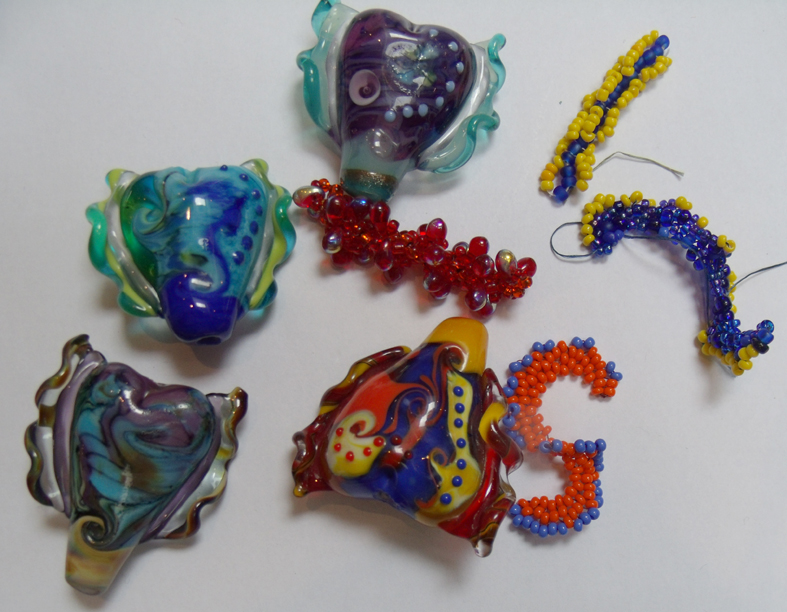
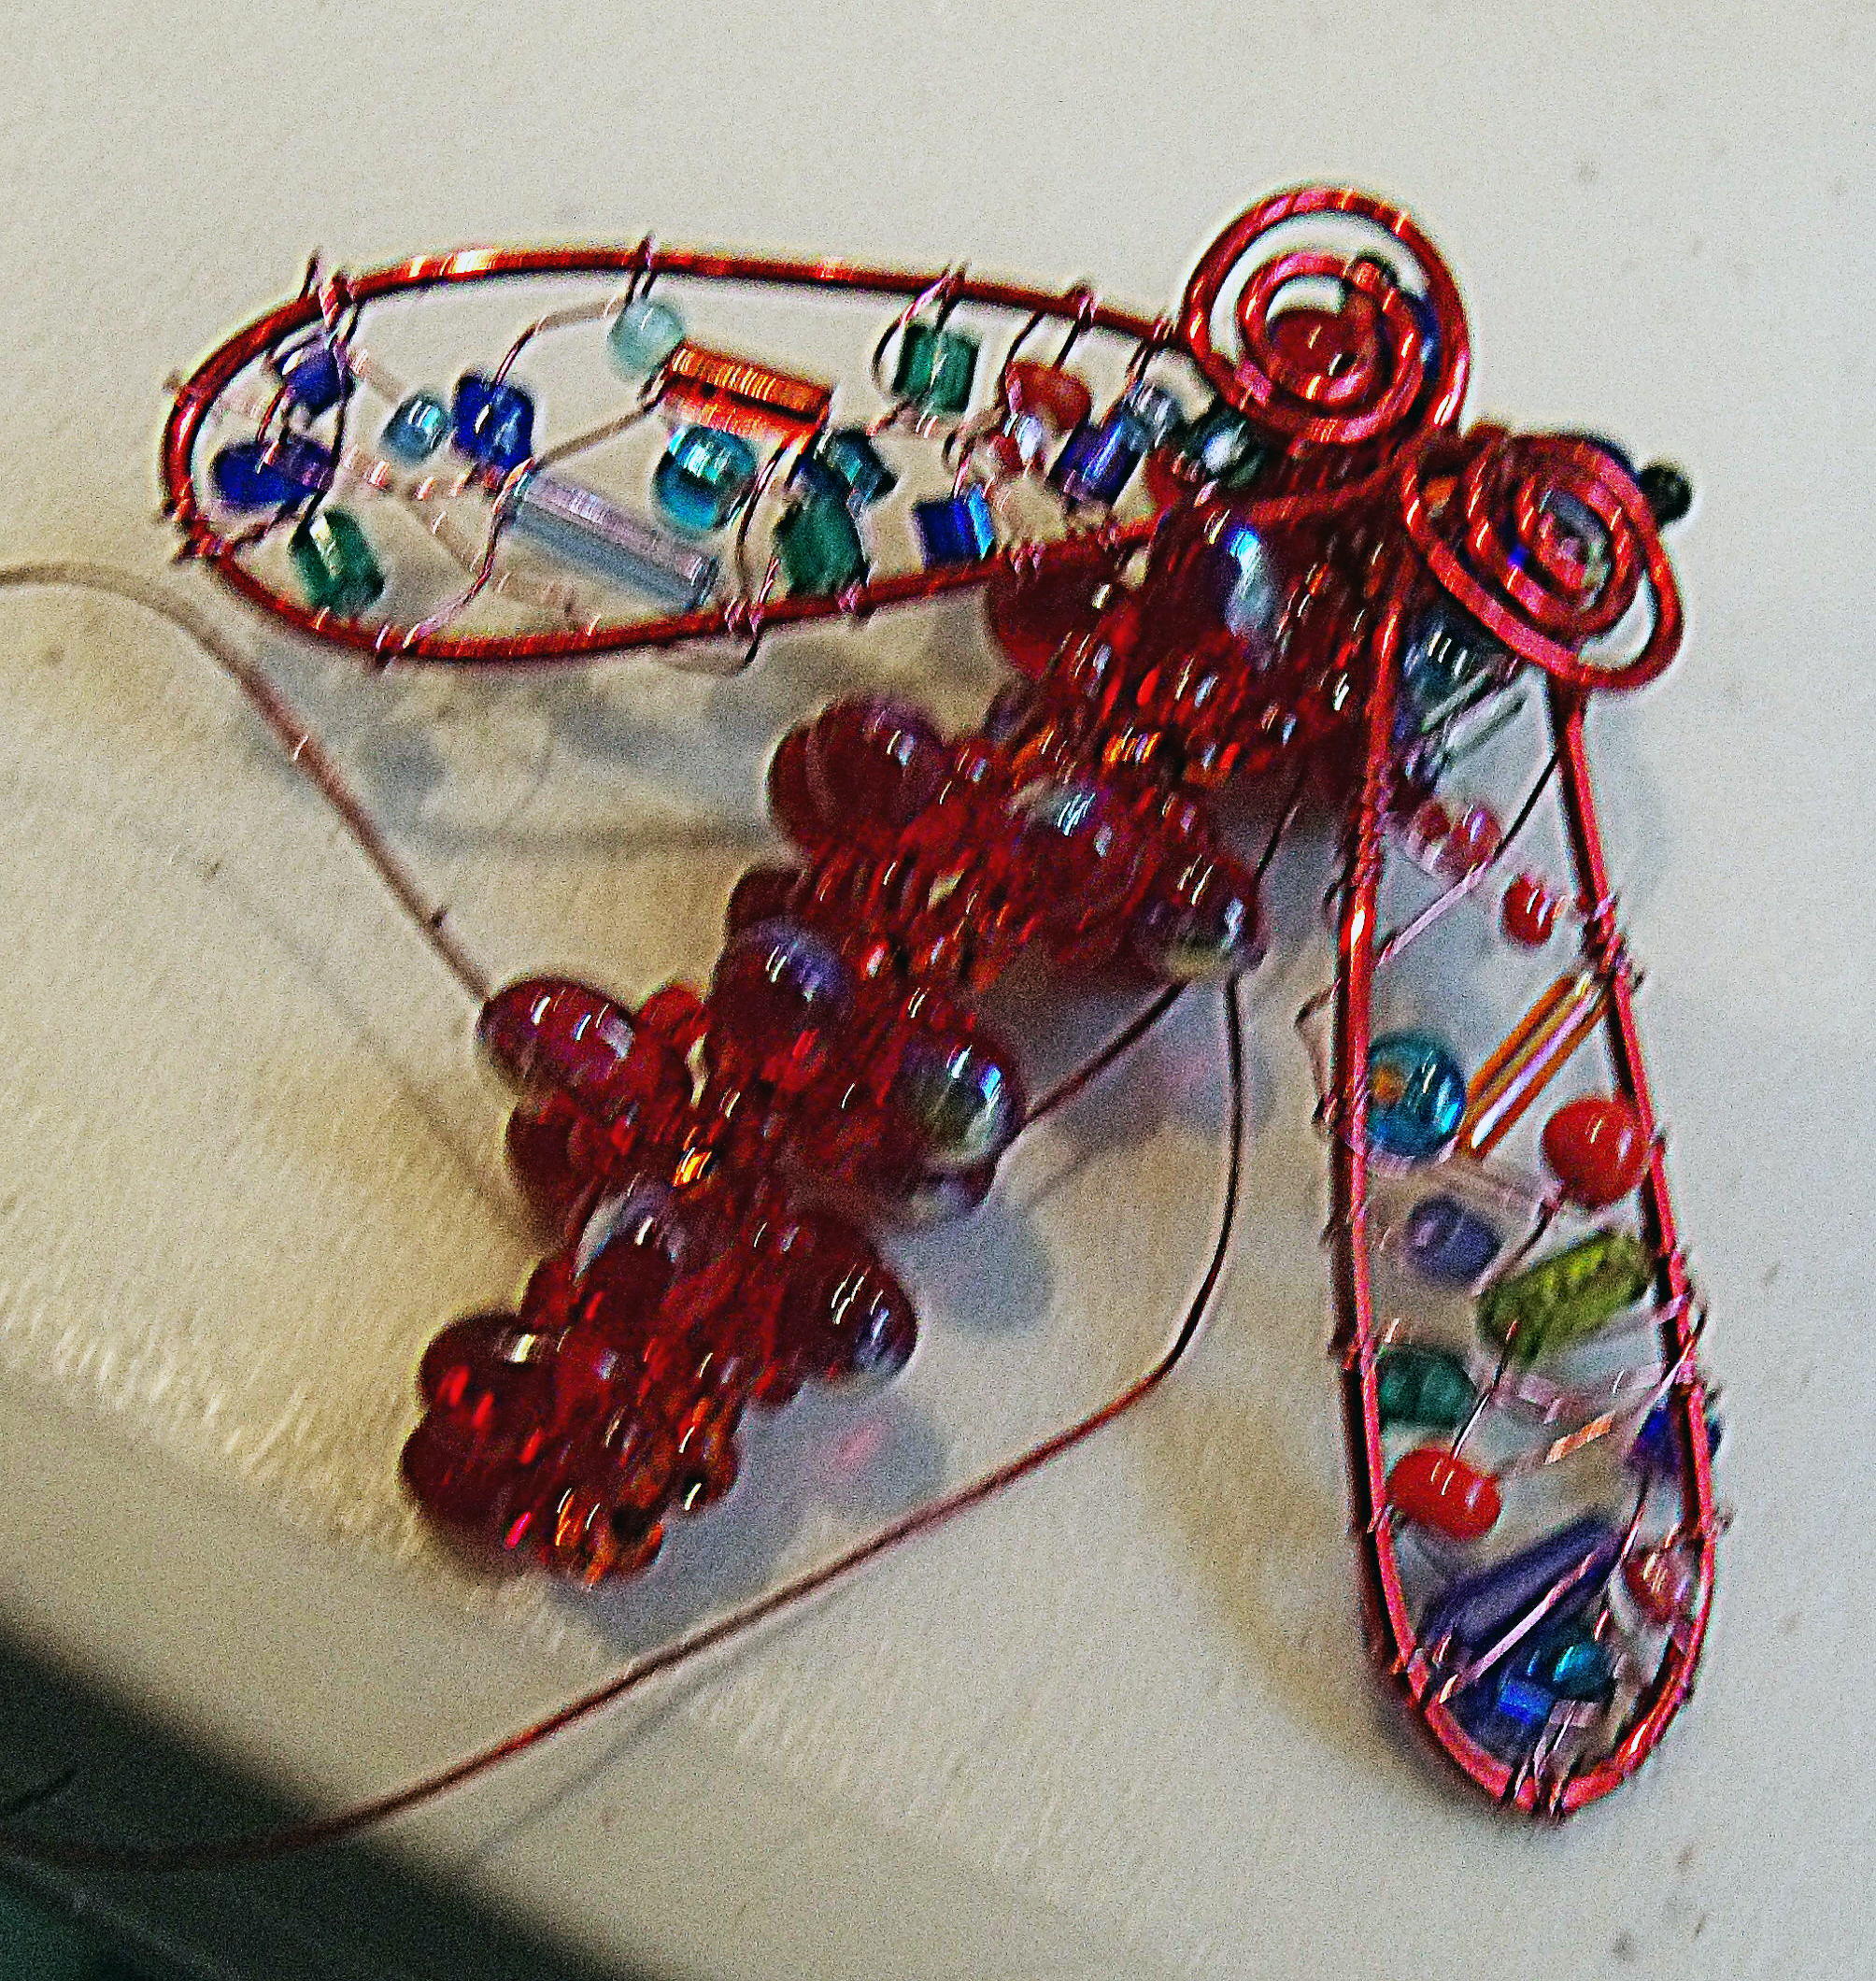
Debby Bird had made lots of tiny wings and insects using twisted silver wire and she suggested Ilsa make some and by the end of the session when the red beaded winged thing emerged we all wanted to wear it, either as a brooch or worked into a necklace.

wire and opalescent threads
Silver wire shapes with opalescent threads ready for sampling – Debby Bird

Debby Bird always has lots of different media to develop into new and desirable objects and images…she excels in hunting out amazing new products and manages to incorporate them into her work…unlike the rest of us! She had made several different samples prior to the session but the thing she settled down to was an idea from her paper cutting experiments.

dragonfly
perforated paper dragonfly design – Debby Bird

the results of a long time piercing the paper with a needle was ethereal and beautifully nuanced when see against the skylight. I am looking forward to seeing how this essentially simple idea is developed into further work….all sports of light fitments and holders could be made – I must give her some vellum to sample.

new research strategies
new research tools for our latest volunteer, Ceema McDowell

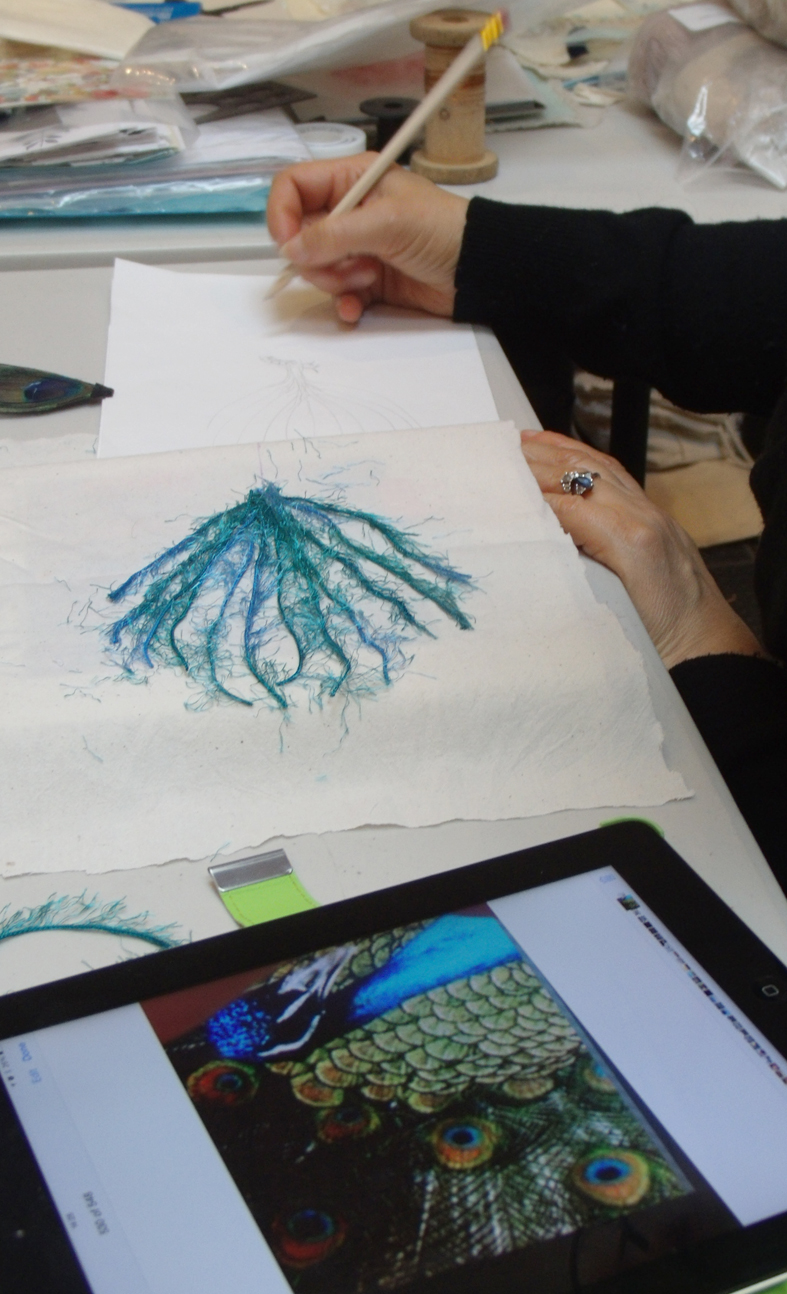
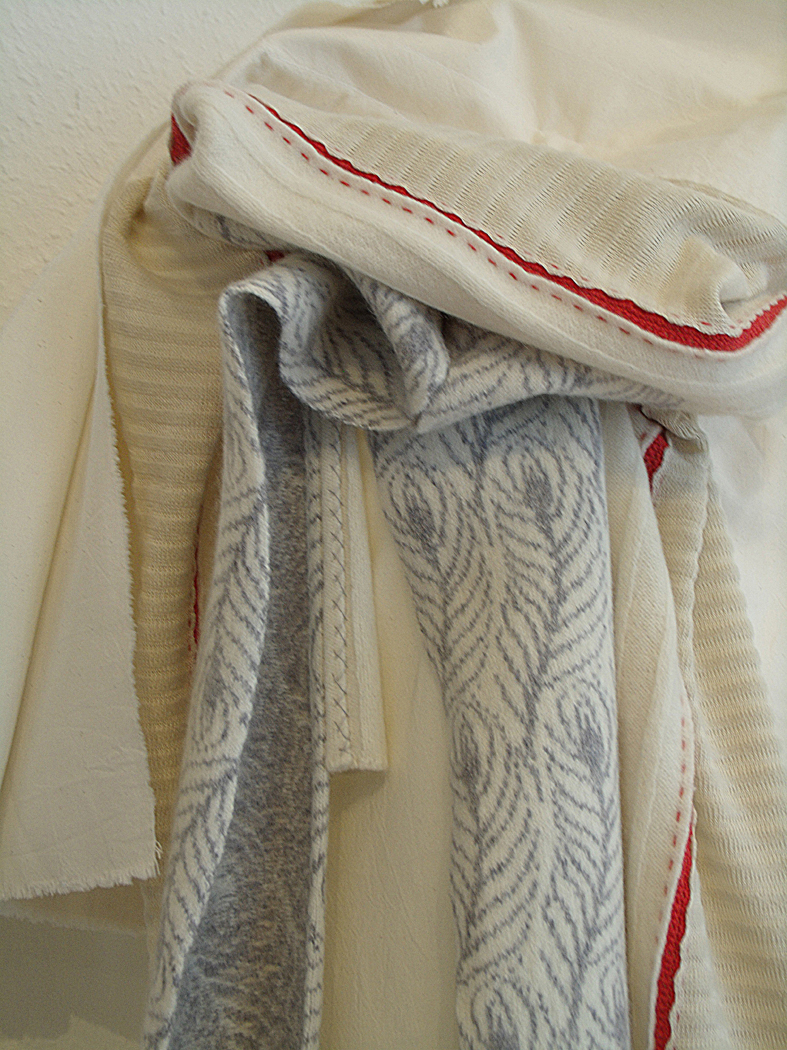
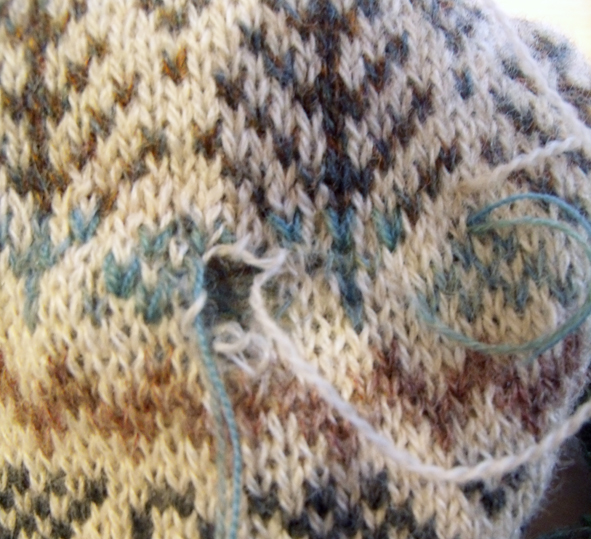
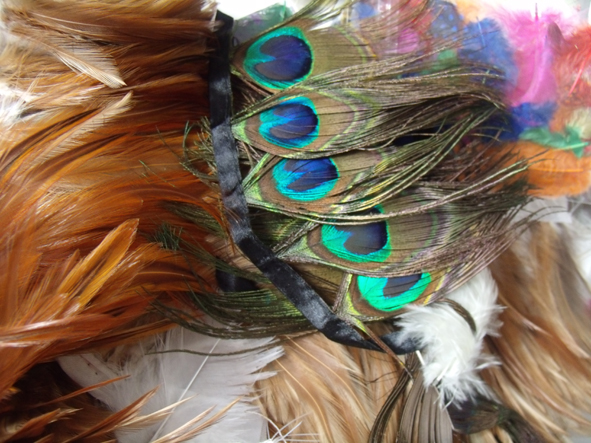
Sitting next to Debby, who by piercing paper was working with one of the most  primitive way of making a mark, was Ceema McDowell,  busily using the most modern of research tools to develop her peacock design…the strands of random dyed woollen yarn is reassuringly traditional.

thrown away thread
Threads found when sweeping Heart Space Studios workshop floor

And to me – what did I get to do? well not a lot on the day but I have had a frivolous idea for this project – it is not at all what I usually concern myself with, but it would not go away….so I told the group to see how they would react – they laughed but said it could be really interesting.

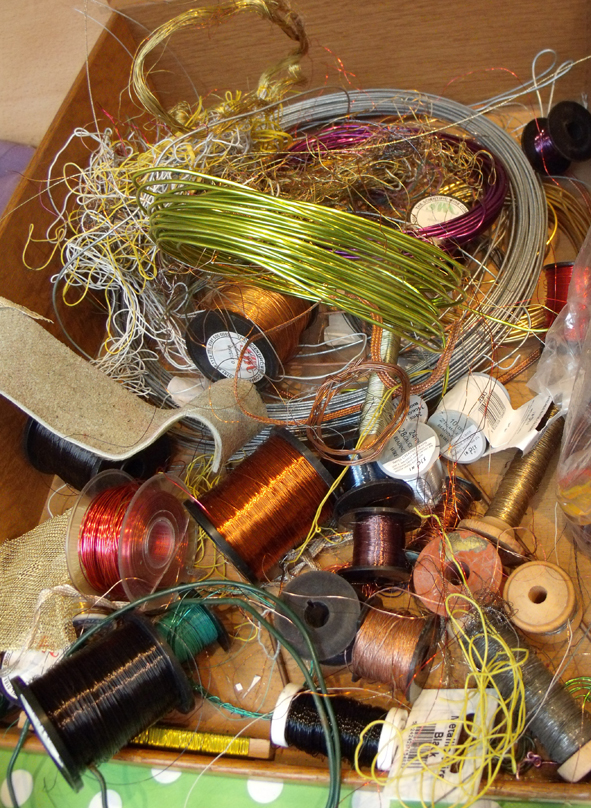
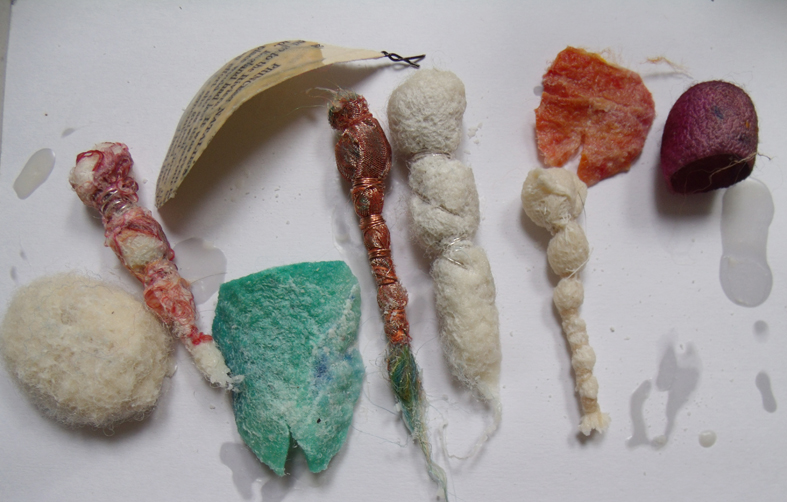
One of the daily chores of running a workshop -based studio is sweeping the floor before and after every workshop – and there always seem to be tumbleweeds of threads and fabrics under the tables and in the corners…

fabric scraps
left over fabric scraps from my own studio floor

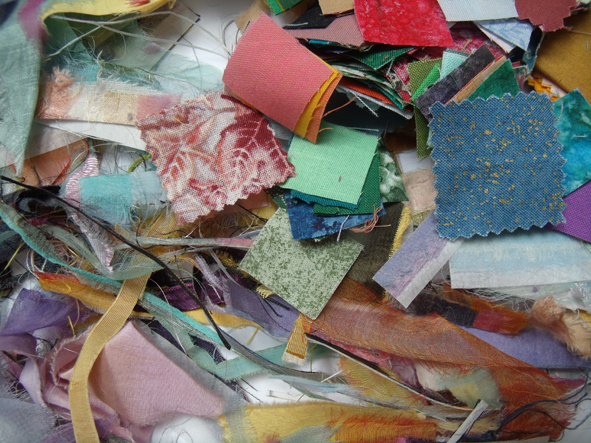
as well as spilled beads or left over buttons…….it was the buttons that made me ponder: why are there always masses of Beige Buttons left unused in any button collection?

beige buttons
Beige buttons fly to button heaven with silk embroidered wings: sample idea by Janet Haigh

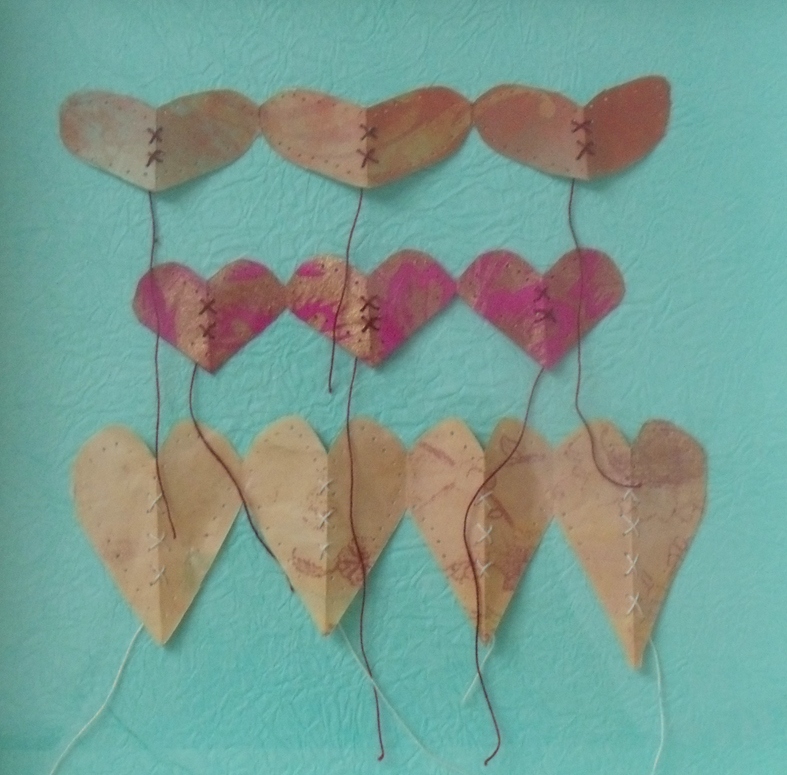
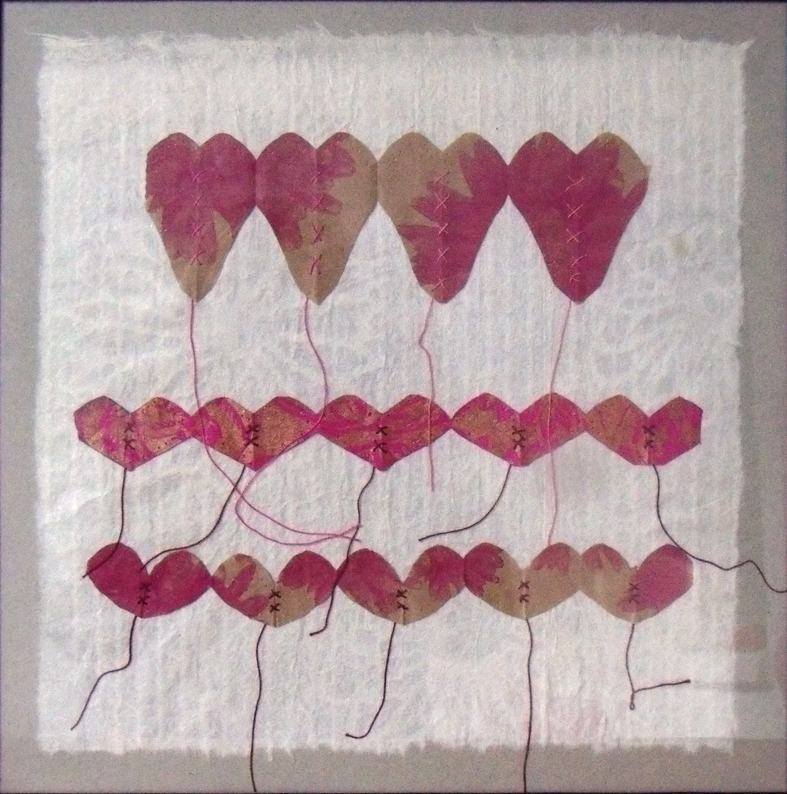
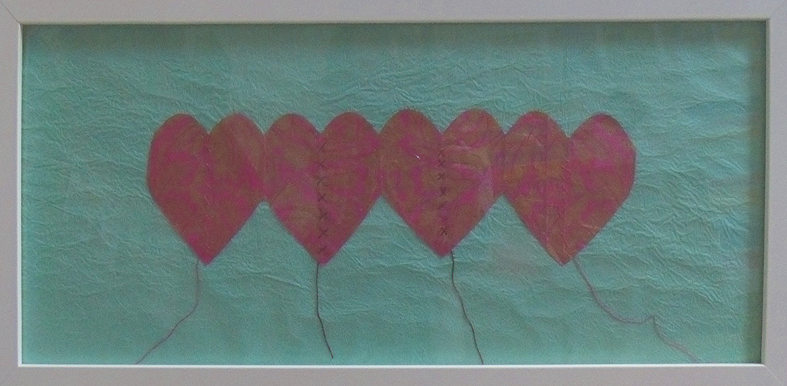
I started to imagine where all the unused beige buttons will eventually go; will they fly off to a beige button heaven? Will they then become pearl buttons when they were beatified? I also thought of the threads and the fabric scraps…what would become of them if they flew to heaven – how would their wings look and what’s more – what would their eventual version of heaven look like?

Crazy Fan Class

fan cover  American Musuem
My Crazy Patchwork fan design on the cover of this season’s events catalogue at the American Museum.

I have been getting out and about recently and have been taking a workshop at the American Museum in Britain, which is situated just outside Bath. I have been asked to deliver 2 day long workshops by their education officer, Zoe Dennington (who found me via this blog). Zoe asked me to use Crazy Patchwork techniques for classes to run at the same time as the current vibrant Kaffe Fassett exhibition being held at the museum for several months.The second class is in October to make a crazy patched and beaded heart.

patchwork fabrics stash
the range of fabrics that I took for use in the workshop

Luckily I was given a batch of cotton samples of fabrics  designed by Kaffe Fassett to use in my workshop by a friend, Susan Berry ( who produces his very popular patchwork and knitting books) and they certainly livened up my Heart Space Studios fabric stash….I had designed a special project for this session, a simple design of a fan and one of the most popular motifs used in traditional of Crazy Patchworks.

My Crazy Fan design
the original crazy fan design used for the programme cover

I reasoned that if I provided patterns for the patches then things might go quickly and everyone would finish – well that was the idea! We started off by choosing the fabrics for each fan – there are 7 sections in the design that I had created for the class, which means less embroidery than my sample.

range of Fan fabrics
this range was chosen from the fabrics brought by me to the workshop
fan fabrics
subtle and softly coloured fabrics brought by a student to the class

I had also asked people to bring whatever they liked of their own materials as well. The fabrics chosen were quickly organised into many different striped bands – I explained about balance of pattern to plain fabrics and crucially for a small colour scheme, to separate a few colours from the patterned fabrics and use them as plains or solids to show up the patterns. And not to worry too much about getting the colours perfect at this point as later the coloured stitching over the seams would help with the colour co-ordination of the whole piece.

fan fabrics
vibrant fabrics for chosen for the fan design
GEDSC DIGITAL CAMERA
Red white and blue – always a good clean colour combination

organising the fan sections is much easier and quicker than for usual odd shapes of crazy patches. The sections were laid over one another and then pinned and using running stitches held section by section till the fan was complete. The complete arrangement was then pressed onto the special heat activated fabric backing

started the fan
Brilliant colour for the start of stitching the fan into its finished position
GEDSC DIGITAL CAMERA

.                 Once the fan had been pressed and trimmed the next task was to  find the coloured ground to applique it onto…I find that this is quite a good way to get people to appreciate the difference that different coloured grounds can make to the overall piece.

me teaching
a rare shot of me teaching – explaining how to deal with coloured ground fabrics using a soft and subtle piece of patchwork.

Sometimes soft colours can be made bolder if placed on very dark grounds and brilliant colours more muted if placed on a toning ground. It is also a chance to reassess the colours prior to embroidering the seams which also fix the fan to the background

fan shape pressed to glue backing
the fan shape against a black ground
GEDSC DIGITAL CAMERA
same fan against a brilliant blue ground – note a new patch on the left hand side to make a more balanced fan

Now to start embroidering – I had chosen to demonstrate 1 basic row of herringbone stitch and then show how to add extra stitches or I should say decorations…it is my favourite decorative embroidery stitch as it can be developed  so that it looks almost like a braid. But to begin just a couple of well spaced rows…and then the extra colours can be added.

red whit blue fan
this vibrant fan design is made even more brilliant by contrasting colours

I like to use contrasting coloured stitches on the seams – they are very obvious but then I do not think it worth doing any decorative hand embroidery if it isn’t to be noticed!

contrasting fabric fan
the brighter the contrasts the richer the decoration here the colours sing out

although up close and personal the colours are very vibrant the more colours added to each row of stitching the softer the colours will appear more subtle

Cleos fan
the addition of yellow running stitch to the bright pink herringbone stitch makes it less vibrant

when soft colours are used to not much affect then the herringbone variations allow for extra emphasis – this is why I really like this particular stitch – it gives a lot of opportunity for invention

herirngbone and added stitches
the addition of French knots and detached chain stitches enliven this row of muted herringbone

At the end of the session we put all the unfinished patchworks together on a table to assess them for further additions…. you can now see the affect that the Kaffe Fassett fabrics had on the works – but you would not think by looking at this picture of some of the group around the table that they actually liked what they are looking at !

Crazy critical assessment
Crazy critical assessment!

. Everyone faithfully promised me that they would finish the fans and send me photographed results – watch this space…….

Valentine Hearts

GEDSC DIGITAL CAMERA
Stitched Paper Hearts by Susie Bancroft

The small but delightful exhibition that the Heart Space Studios staff made in the mixed media session are all framed and ready to go on the wall ….

GEDSC DIGITAL CAMERA
more stitched paper hearts by Susie Bancroft

the first to arrive through the post was a box of stitched printed paper hearts from Susie Bancroft – so I set about mounting rows of  them on Japanese hand-made paper or crumpled tissue papers ready for framing

GEDSC DIGITAL CAMERA
row of large printed paper hearts – Susie Bancroft

the cotton threads just going every which way – I think they look like tiny heart shaped kites…….-

GEDSC DIGITAL CAMERA
minute beaded black lace heart in tin frame- Jane-Marie Mahy

the tiny hearts are somehow the most appealing, they came in all manner of materials and techniques….

GEDSC DIGITAL CAMERA
hand knitted and beaded heart by Amanda Jones

I must admit that I did take a few liberties with the mounts before framing… the more impact we can give them the better chance to sell them – and this is a selling exhibition

GEDSC DIGITAL CAMERA
Larger black beaded lace heart by Jane-Marie Mahy

Jane- Marie Mahy Heart Space’s display guru brought hers in already perfectly framed, as did Debbie Bird – her teeny tiny paper printed scraps look very vintage when heavily framed in black

GEDSC DIGITAL CAMERA
printed scrap paper applique by Debby Bird

but for something completely different we have knitted copper wires to join paper and fabrics…with a flights of swallows scattered above a nebulous clear pill-case heart

GEDSC DIGITAL CAMERA
flights of swallows by Steph Wooster

true to her discipline as a designer, Steph sent in 3 variations on her birds and hearts theme,

GEDSC DIGITAL CAMERA
Steph’s second bird and heart picture

the third piece is an intricately cut applique of shredded bank notes, paper and woolen blanket stitched and knitted with copper wire…now that’s what I call mixed media.

GEDSC DIGITAL CAMERA
Steph’s totally mixed media heart

the beaded paper heart by Libby Butler is at last padded and applied to a dark blue fabric ground.

GEDSC DIGITAL CAMERA
padded beaded paper heart by Libby Butler

and right at the last minute this evening a lovely folksy map heart came form Kirsten Hill-Nixon…really worth the wait.

GEDSC DIGITAL CAMERA
crushed paper and cut maps hand stitched applique by Kirsten Hill-Nixon

and so for the 14th February 14 heart pictures.

GEDSC DIGITAL CAMERA

Bling Slings

GEDSC DIGITAL CAMERA
my vintage rose bouquet printed headscarf

To celebrate my return to posting my blogs I am showing a small selection of decorative arm slings – yes dear readers I have a broken wrist, my right wrist; so there has been no writing, stitching and perhaps worst of all no drawing/doodling/scribbling for more than a month now. But I determined to make something visually interesting for HER WORK from the whole unhappy event as soon as I could manage to use my Mac beyond typing/tapping with my left hand

pansy sling
my old favourite pansy scarf

Sensing a dressing -up opportunity I got rid of the NHS white cotton sling as soon as I could – like the next day, and instructed my husband, Steve, to take pictures each morning of mt slings. The commercial alternatives for the longer term support were in  dreary colours  – as if you wanted to hide the injured limb – I want everyone to see clearly my affliction and Keep Clear! So I determined to find alternatives from my stash of both vintage and modern scarves, let’s face it any excuse to dress up !

                              
woven silk sling
my shot silk woven scarf with my co-ordinated enamel heart brooch and new pink cast

in fact I welcomed the opportunity to wear these old scarves, using them as slings affords much more are pattern to seen, tied around the neck only a small area is glimpsed if you have long hair.

woven striped sling
a really wide and draped stole sling

the really wide slings hide my new bright pink cast when it doesn’t tone with the clothes.

vintage 1950's scarf sling.
vintage 1950’s printed scarf sling

I am especially pleased to be able to wear the original art deco head square, very dynamic and such unusual colours and pattern clash.

art deco silk scarf
my art deco scarf looks so modern worn like this

and last but not least my actual ‘bling sling’ which is a length of vintage black beaded net, that I had previously stitched to a length of velvet ribbon in order to wear as a belt.  I went  to a party, the only party of the season that I had managed to attend; and I apologise for this bleary image but this was taken after the party had finished and we were both a bit tired and emotional,

black beaded bling sling
the original bling sling with my vintage beaded cardigan

Crazy Barcelona

cb5
crazy mosaic by Antoni Gaudi at Parc Guell, Barcelona

Crazy Barcelona – crazy patchworks everywhere, but not in fabric – in ceramic, stone and marble. OK then, crazy mosaics, but whatever you call them there is no better place to appreciate them than at Parc Geull, designed and built by Antoni Gaudi in the first 14 years of the 19th century. I have seen images of these mosaics before but never appreciated the size and the sheer exuberance of the patterns.

cb15
undulating crazy seating on the terrace
039
view of the entrance to Parc Geull from the crazy mosaic seating

I was delighted to see broken plates, tiles, and rounded roof ridge tiles put together in a myriad of ways, some where just pretty with sections with large flowers that had been broken but kept intact when cemented together and then surrounded by all shades of one background colour. Here is inspiration indeed, but immediately I thought of the Crazy Embroidery classes that I teach at Heart Space Studios, lots of new ideas to create crazy samplers.

031
broken flowered ceramic tiles  and plates with narrow borders

I started to see how the sustained patterning of the whole site didn’t just merge into one long visual porridge; there were sections of patterns with plain areas between them and the way that the patterns started to drift into plain areas was really brilliantly handled…

cb1
chintz patterns give way to a plain white area.

Sometimes the crazy patches were confined to simple shapes and surrounded by a sea of broken ceramics in a wide range of whites, the use of white ceramics when fired and glazed to produce many different variations is a major feature in this garden.

cb2
circle of crazy within white surround
cb4
diamond of crazy with mixed white surround
cb14
many different crazy whites shapes make for gentle and cool seating surfaces

there were other more fluid shapes contained by the white ground….

cb8
amorphous paisley shapes
cb12
commas placed in a line around the base of a column

I also really enjoyed seeing patterns within patterns,

cb11
patterns within patterns

I really like these wonky squares set in a sea of crazy patterns; the makers must have had such a good time doing this work. Transitions from patterns to solid colours was just masterful in places

cb3
this transition from rich colour to single coloured patterns is masterful

in fact the single coloured sections were simply beautiful – here is a range of crazy blue patterns

cb6
broken plates in a sea of blue
034
typical Spanish hand painted blue tiles
052
refined diamond designs on blue and white striped ground

while most of the ceramic patterns are traditional in flavour there were also some more abstract patterning to be found,

041
abstract patterns must have looked strange in the early 1900’s

but this whole set of designs is made from re-cycled materials, apart from the abundance of beautiful old and broken patterned tiles from the Spanish ceramic factories, I was happy to see this poorly fired plate used to good effect.

cb10
poorly fired glazed plate has been put to good use.

After an hour of my visit I started to see evidence of Crazy everywhere..

cbground2
the sandy ground in the park is impressed with crazy patterns

looking down at the sandy pathways I saw crazy patterns impressed by the soles of many different shoes, and once out of the park, everywhere I looked was Crazy Heaven.

056
the Crazy cafe floor
057
and the Crazy marbled walls

So now I have decided to try to develop some of these ideas into new Crazy Patchwork designs for cushion cover designs to show Hugh Ehrman at Ehrman Tapestry company for their future collections.

Knitwear – but not as you know it!

GEDSC DIGITAL CAMERA
feather collar by Stephanie Wooster

We have a wonderful new exhibition at Heart Space Studios. It is a collection by Stephanie Wooster  ( who conducts unusual knit workshops with us) developed from her MA studies and it concerns itself with wrapping, tying and generally caressing the upper body. the names of the different pieces tell how they are perceived by the maker – Swaddle, Swathe, Shawl, Sheath, Mantle, Shroud. The work is embroidered, felted, machine knitted, plaited and patch-worked together, with feathers, braids and calico. It sets a calm but slightly surreal feeling to our small gallery space.

GEDSC DIGITAL CAMERA
Steph starts to set up her exhibition

The first things brought in were  a series of clear plastic torsos which were then dressed in simple calico shifts before being hung on the wall.

GEDSC DIGITAL CAMERA
The calico shifts or shrouds?

then Steph started to dress them up; first the dramatic feathered collar was placed to set the atmosphere….

GEDSC DIGITAL CAMERA
scarves and stoles begin to be layered

Then out came feathered scarves, stoles and wraps, hand knitted and coiled hanks of wool, even felted knitting with feathers as the motif….

GEDSC DIGITAL CAMERA
felted feather design on machine knitted wrap.

the large wraps, shawls or scarves, call them what you will – are made from several different textiles and hand stitched or even embroidered together often using a red knitted braid as a backing, this causes interesting lines to be drawn around the body when draped.

GEDSC DIGITAL CAMERA
the feathered scarf with plaited woolen collar

the row of 4 pieces are really powerful and entice people to study them up close and personal…viewers are not quite sure what they are seeing, are these felted woven blankets, some unusual woolen ticking or  simple striped knitting?

GEDSC DIGITAL CAMERA
row of 4 pieces awaiting the extra exhibits.

When this group were placed Steph brought out a whole range of very finely machine knitted lengths in different colours and combinations, these can to worn any which way – I like them draped around the neck as an elegant sort of knitted necklace.

GEDSC DIGITAL CAMERA
wall of fine knitted necklaces in brilliant colours and pattern combinations.

We like to have exhibitions of selling stuff at Heart Space, and most of these pieces are for sale, but Steph also brought a selection of beautifully refined knitted ribbons, that are carefully joined at the back so that they always behave well when draped! This is  what I like to have for sale in the studios, exciting but wearable pieces with an edge, not fashion but style!

Also seen in far right of the picture is another knitted and embroidered piece ” I am what I am”

GEDSC DIGITAL CAMERA
wall mounted scarf with embroidery ” I am what I am..”

this was made for another exhibition and shown earlier in the year , Mending at the Museum, it was really good to see it again with these earlier pieces and interesting to see how new work develops out of completely different stimuli. Steph has also made a series of mixed media hot water bottle covers, developed from her samples at the Heart Space Mixed Media workshop earlier in the year, with more of her hand warmers( it is Autumn after all) and these have specially colour co-ordinated to the exhibition.

GEDSC DIGITAL CAMERA
colour-co-ordinated hand warmers – heat them first in the microwave!

This is what intrigues me about many successful textile makers and designers, they can develop many different types of work, from applied art pieces for museum exhibitions, to practical hand crafted things for everyday use. This is the way many of us manage to make our living while finding time and energy to research and develop our own personal work. In fact without the research and development of private passions many new and commercial designs would never see the light of day.

GEDSC DIGITAL CAMERA
work book showing stages of making as well as research inspiration for the collection.

Looking through this book lets us see how Steph links all sorts of unusual images and ideas and then literally knits them together to make new and exciting wearable textiles.

GEDSC DIGITAL CAMERA

Ribbon Felted Flowers

OLYMPUS DIGITAL CAMERA
my totally moth eaten cashmere cardigan – but with darning still intact!

This is a sad story with a happy ending. My favourite cardigan that was included in my first ever post, Make Do and Mend, where I proudly showed the careful darning that I wore with pride, sadly,  got lost. When I eventually found it pushed to the bottom of my laundry basket (don’t ask) it was totally ruined even beyond my restorative darning powers.
I decided to felt it by boiling it twice. The colours are so vibrant that I just had to try to find a use for it and I found the perfect solution when designing with some lovely felted woolen blanket flowers that Kirsten Hill-Nixon had brought along as a new idea for a class at Heart Space Studios.

GEDSC DIGITAL CAMERA
the reds and pink  selection- I really like the tartan rose.
GEDSC DIGITAL CAMERA
the neutral colour selection

 Kirsten will make the flowers in the morning class and I will develop the design and make session with them in the afternoon…but first I had to design something with what she had brought me, and she had brought me a whole selection of disparate flower heads – just as I has asked her to.

I made 2 colour sets of flowers. the neutrals were really soft and wooly, very tactile and I thought first to just make a heart out of them – well I would wouldn’t I? and in fact this is a really nice idea I may go back to…..

GEDSC DIGITAL CAMERA
sewing on some beaded and buttoned centres

But then I imagined them as adorning a woolly winter jumper or cardigan, they aren’t heavy but they are bulky and a brooch seemed better than stitching them to a piece of clothing. But I had been given so many flowers that I soon decided on a necklace….

GEDSC DIGITAL CAMERA
Kirsten’s red flowers arranged as necklace

I set to work but when stitching them together without a backing fabric, soon realized that I needed just a few more roses….then I remembered my old ruined cardigan. I cut the sleeves into ribbons of different coloured stripes and stared to stitch the rose buds by simply rolling and folding the strips to suggest overlapping rose petals.

OLYMPUS DIGITAL CAMERA
cut strips of sleeve being curled to start roses
OLYMPUS DIGITAL CAMERA
stitching the rolled rose securely with matching fine wool thread

I had used this system many times as it is so easy – you just need to stitch as you go and control the folded edge,  I found the way to do it in a vintage dressmaking manual from the 1930’s; the natural affinity to roll for cut knitting really helps the rose petal effect. I was starting to see a new life for all my old felted woolens.

GEDSC DIGITAL CAMERA
the finished necklace –

I inserted my knitted roses between Kirsten’s more substantial felt blanket ones, ( I really like her use of the blanket stitched edge for a fat rolled rose). She had provided leaves as well so they helped make the reds even stronger. Then I simply stitched 2 suede strips for ties onto the last roses and there it is – now for the neutral necklace.

GEDSC DIGITAL CAMERA
the neutral necklace made of different blankets and added wooden beads.

this time I added wooden beads by threading them onto the leather strips to make a more decorative finish. Kirsten had filled some of the centres of the flowers with soft glowing beads so I added some wooden ones as well, the soft tones and texture of the wood feels just right for this sort of fabric.

GEDSC DIGITAL CAMERA
finished felted blanket necklace

I was really getting into my stride, and now I just want to make more of these simple flowers pieces and I didn’t use the lively red tartan rose – so now I need to pluck up courage to felt my  tartans and paisley scraps to use with my old washed out jumpers……

Crazy Mixed-Up Samplers

GEDSC DIGITAL CAMERA

strip sampler of tweed, embroidery, nuno felt copper and paper- Kirsten Hill-Nixon

I am interested in developing a set of workshop using mixed media at Heart Space, think leathers, metals, ceramics, fabrics, glass and wood….. so I thought I could try the idea out on the people who work with us, all expert in their own field and up for a challenge.

And as Crazy Patchwork samplers have been such a success at Heart Space Studios that I decided to run an Away Day for the tutors and staff to enjoy time making together. I asked everyone who could attend, to bring their own favourite materials and their tools. Each person would make either a strip sampler  or a crazy square sampler by using decorative embroidery stitches to join the materials together.

GEDSC DIGITAL CAMERA
tutor’s own stash of hand made wool felt
GEDSC DIGITAL CAMERA
the administrator’s collection of everything vintage

Most people brought their own stuff to share between the group, I am always impressed by the generosity of makers in workshops like this. The group dynamic is encouraged so that people really want to help one another. What is also an added bonus is finding a shared love of a particular technique or material, even makers of different ages and styles come together when they find they both appreciate a particular aspect of their chosen discipline.

I also brought a large selection of materials from my home-based studios, all kinds of things: woven metal fabrics, stencilled enamels on copper, leathers, plastic lace, metallic damasks and other fabrics –  and also the tools to drill stitch and manipulate them.

one of the best things about attending any materials based  workshop is the abundance of new and unusual stuff that is introduced by people who are experienced in working with it – this can save days of researching.

GEDSC DIGITAL CAMERA
my stash of copper discs, enamelled triangles and metallic braids
GEDSC DIGITAL CAMERA
copper and aluminium wires for working with in any way possible.

I particularly like metallic leathers and fabrics, so I brought lots of these in for everyone to sample, as well as scraps of thin copper, some patterned with vitreous enamel. such a shame I had no time to experiment with the other tutors’ materials for this research session.

GEDSC DIGITAL CAMERA
metal meshes and pressed copper foil, enamel applique and metallic leathers.

The task for the morning was to choose 3 different materials and join them together using their own preferred techniques or I would  teach anyone various embroidery stitches and techniques. As the group comprised experts in knitting, stitching, crochet, felting, print as well as display, administration and even a drama student (a daughter on a flying visit), it proved to be a mixed bag of talents, attitudes and experiences. Perfect for generating new ideas and enthusiasms

GEDSC DIGITAL CAMERA
colour co-ordinated mother and daughter

Everyone set to work choosing their 3 materials and laying them out, the strip sampler proved to be the most popular as it is the easiest to co-ordinate; odd crazy  shapes take a lot longer to set up.For the task of joining two of the disparate materials together – colour, surface texture, weight of each material has to be considered as well as the selecting the technique.

GEDSC DIGITAL CAMERA
traditional crazy shapes
GEDSC DIGITAL CAMERA
strip sampler of cotton, leather and paper

I showed everyone how to make regular holes in various surfaces, involving textile techniques – a tracing wheel, an old darning needle and a hammer! It works for me every time…..and off they went with mixed but interesting results.

GEDSC DIGITAL CAMERA
marking out where to make the stitching holes on copper.

At first everyone just chose a colour co-ordinated or used an unusual type of thread to work with…

GEDSC DIGITAL CAMERA
metallic leather, woven braid stitched together with silky knitting ribbon, awaiting the addition of a scrap of plastic tablecloth.

only to find that when stitched it looked very different than imagined. after a relaxed start the makers’ critical faculties began to kick in!

GEDSC DIGITAL CAMERA
colour co-ordinated threads and second thoughts

I noticed that the knitters worked completely differently from the stitchers; they immediately made a start by adding a linking system to one edge of a piece of material  either using  crochet or knit to form an edge ready to accept the next piece of material – this gave them much more contemplation time for what comes next – the stitchers are able to join 2 pieces together simultaneously. Why had I not appreciated this before?  However working the wire into fine leather was a fiddly affair – see below right.

GEDSC DIGITAL CAMERA
knitting wool onto a copper foil strip
GEDSC DIGITAL CAMERA
developing the crochet wire joining strip

Now I really must get the knitters to teach how to do this technique. When I first attempted to join metal together using my own stitching techniques I used a different system – making rows of simple cross stitches between the strips of vitreous enamelled copper pieces, so joining each at the same time. It took me some time to try the different insertion stitches. In fact it was an aversion to drilling all the holes that put me off developing this technique for a long time – but now I happily drill rows of holes for hours at a time – well not exactly ‘happily’….maybe I will get to like crochet after all.

my very first attempt at joining metal with stitched wire

When the crochet wire was worked into some copper strips it was very successful…the strong steady base really helps achieve an even texture and the structure gives the metal wire movement and elasticity which is much more compatible to work into fabric.

GEDSC DIGITAL CAMERA
copper wire crochet edge to copper foil strip

now the strips of materials are starting to look like they belong together

GEDSC DIGITAL CAMERA
concentrating on the task in hand- and a heart on her sleeve

I showed several people how to embroider simple insertion stitches for a lace-like join…securing the fabric to a piece of card first to steady the gap between the pieces, a traditional technique found in my old embroidery manuals for white work.

GEDSC DIGITAL CAMERA
cigarette cards stitched onto paper to steady them ready for gold insertion stitching

Now the invention started to kick in…

GEDSC DIGITAL CAMERA
insertion stitches and beaded braid for that vintage vibe – Sophie Bristol
GEDSC DIGITAL CAMERA
a really crazy mix of materials crocheted together by Avril Best
GEDSC DIGITAL CAMERA
elegant beaded joining stitches between rows of leather, wallpaper, metallic braid, crumpled copper foil, nuno felted silk and drilled copper sheet – Debbie Bird
GEDSC DIGITAL CAMERA
various knitted materials for joining disparate materials;- copper, copper wire, silk and wool nuno felt, shisha mirror in wool embroidery – Clare Griffel
GEDSC DIGITAL CAMERA
ripped card, copper foil, nuno felted silk and wool, tweed and hand embroidery all joined together in crazy style – Kirsten Hill-Nixon.
GEDSC DIGITAL CAMERA
interesting how the plastic tablecloth now looks like a precious fabric when seen with the other expensive elements, leather, woven brass and silver fabric. Jane-Marie Mahy
GEDSC DIGITAL CAMERA
all things vintage – patchwork cotton, linen thread appliqued enamelled copper circle , cards and silver fabric. Sophie Bristol
GEDSC DIGITAL CAMERA
pre machine knitted lace, crocheted copper wire with copper foil and wall paper – Steph Wooster.

And to prove that sampling really does inspire people here is new work from Steph – the day after the workshop she added some of the sampled techniques and materials to her range of knitted hot-water bottle-covers.

steph hot
new knitted and embroidered samples – Steph Wooster

Vintage Darning for Mending-Nerds

GEDSC DIGITAL CAMERA
it does what it says on the card.

I really love vintage clothes and still wear pieces I bought 30 years ago when they were at least 30 years old at the time; keeping my old clothes alive and wearable has probably prompted my fixation with darning and mending. So I was very pleased recently to help Cleo Holyoak-Heatley, the owner of my favourite vintage clothes shop, Clifton Vintage Boutique, in Clifton Arcade in Bristol.

GEDSC DIGITAL CAMERA
wall of beautiful embroidered gowns and shawls at Clifton Vintage Boutique

I was talking to her about the current  Mending Exhibition while scouring round looking for something -anything fanciable; it’s not worth going to look for something specific in a vintage clothes shop – the eyes, mind and purse have to be open to anything and everything on display, in season or out…..

GEDSC DIGITAL CAMERA
rack of fair-isle  knit wear.

It was a freezing day and I was checking out a rack of Fair-isle sweaters and vests, when Cleo asked if I knew of anyone who could possibly mend a favourite Fair-isle sweater of hers  with a hole in the elbow? I at once volunteered – it could be a bit of a challenge but as I am currently running mending classes at Heart Space Studios, I thought I could get some practice in.

GEDSC DIGITAL CAMERA
Fair – isle sweater

When I called back the following week, the sweater she brought out looked pristine, with band after band of different patterns, it almost looked like a sampler with sleeves. The hole was in the elbow and very small. I thought that this looked easy to stitch, what was going to be tricky was getting the right darning yarns in the right colours. Luckily Cleo had some old stock of vintage mending yarns, including a card of “Chadwick’s Wool and Nylon for Reinforcing and Mending”, the Nylon is included for strength so that the darn will last longer. Amazingly we found 2 perfect colours, I had to find the others – the background and some blue to mix to get the heathery look of the original wools. although this is a chunky jumper the yarn used is very fine, 2 ply – this is called crewel wool is embroidery terms and I have a stash of it to work my stitching samples when designing canvas needle work kits  for Ehrman’ s Tapestry,

GEDSC DIGITAL CAMERA
damaged sleeve with selected mending wools

The first thing I had to do was secure the knitting form un-ravelling any further, easy enough in a small hole but needs quite a bit of reinforcement in anything bigger, I decided to try to re-knit the loops left over, but the wool was very weak and kept fraying. I have to say that what follows is for mending nerds only….. but if you want to see the finished result just go to the end of the post.

GEDSC DIGITAL CAMERA
starting to mend the  damaged area with the 2 colours of wool

The problem with any patterns, knitted or not, is that several colours have to be used to make an imperceptible mend , and here the damage extended through 2 colours, the pattern and the ground colours. so threading up 2 needle with the colours on each row, I started a few cms. away for the hole and using a type of  French Darning , which is covering the knitting stitches along the row in a zig -zag pattern, this covers the hole and reinforces the surrounding fabric.

GEDSC DIGITAL CAMERA
working the brown stitches over the existing pattern

 The back not so wonderful to look at but the extra stitching makes for reinforcement and elbows wear out first

GEDSC DIGITAL CAMERA
back of darned area

The mending looks OK on the front, you can just see the different colour tones of the darned area –

GEDSC DIGITAL CAMERA
finished darn showing different tones of stitched threads

When I returned the sweater, Cleo was really thrilled and was wearing another of her Fair Isle collection…

GEDSC DIGITAL CAMERA
Cleo, in even more intricate Fair – Isle.