Here is an old embroidery ‘ Making Eyes and Ears’ or ‘Our Lady of Interiors’, which I made some 24 years ago in response to a visit to my friend, Lizzie – happily married and newly pregnant. Yesterday I was at her home again for her husband’s Big Birthday party and I met her son, the hidden inspiration for the embroidery and whom I had not seen for about 20 years. I recounted the following story to him.
I had gone to up to London to have lunch and celebrate my friend’s pregnancy, stupidly taking a bottle of wine and some chocolates; but she was not feeling well, and instead of the usual delicious lunch she informed me we were having rusks in milk, which was all that she could stomach…… But this was a first baby and we had gone through worse together. I have never wanted children, and when any of my friends had children I made a mental note not to see too much of them for a few years…about 20 usually covers it – by then the children have started to get a life of their own and ideas I can relate to. Lizzie knew this but wanted to make me realize what was happening to her and why she felt the way she did.
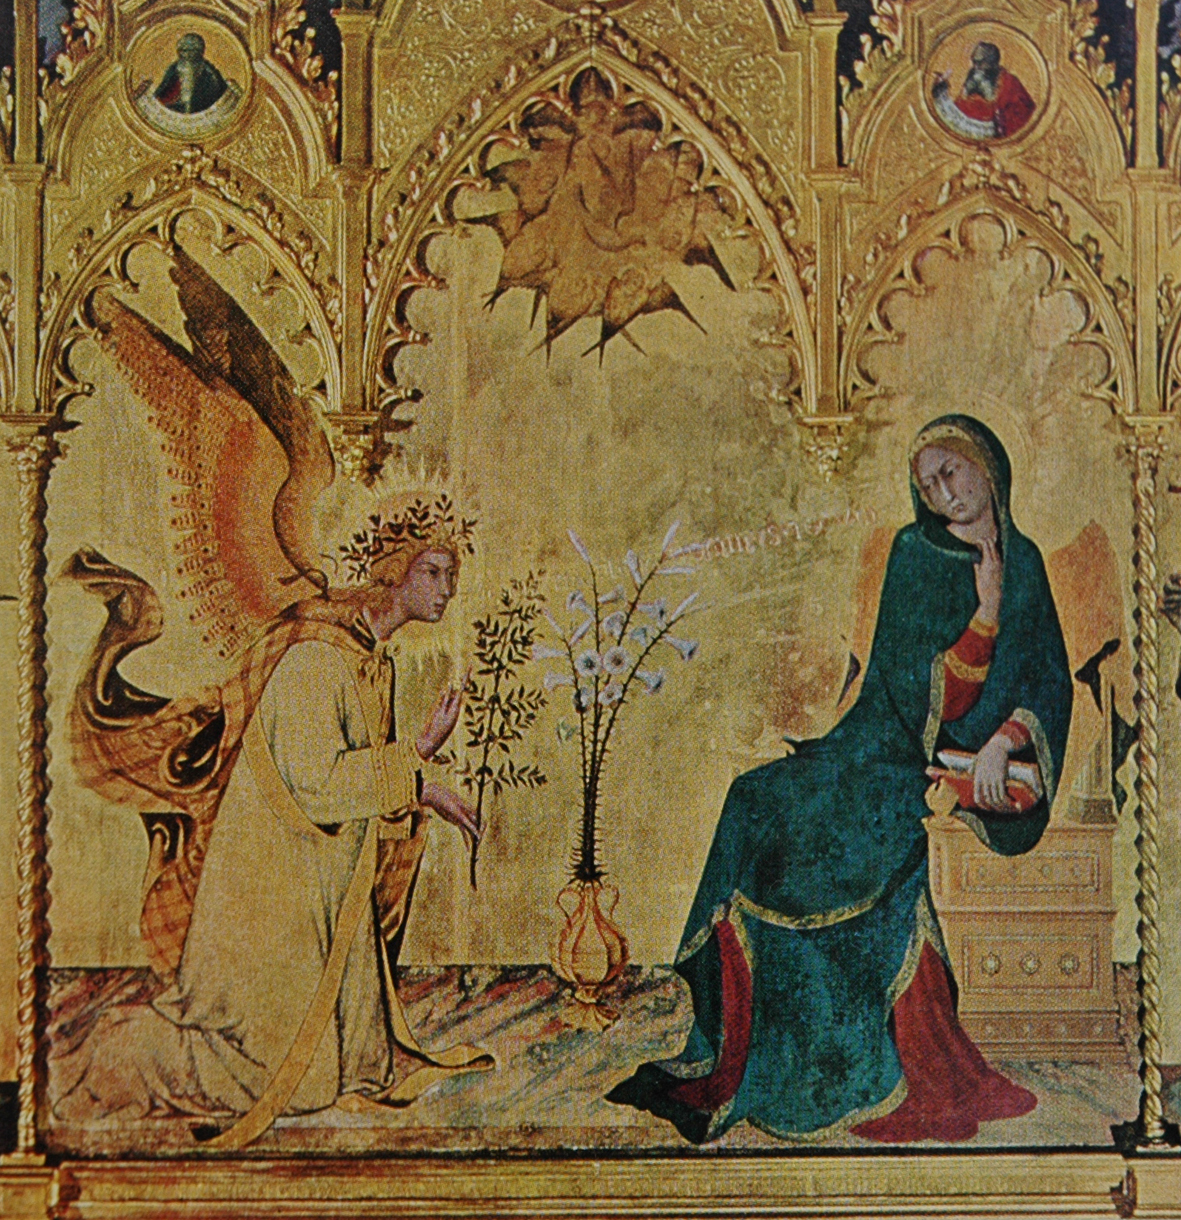
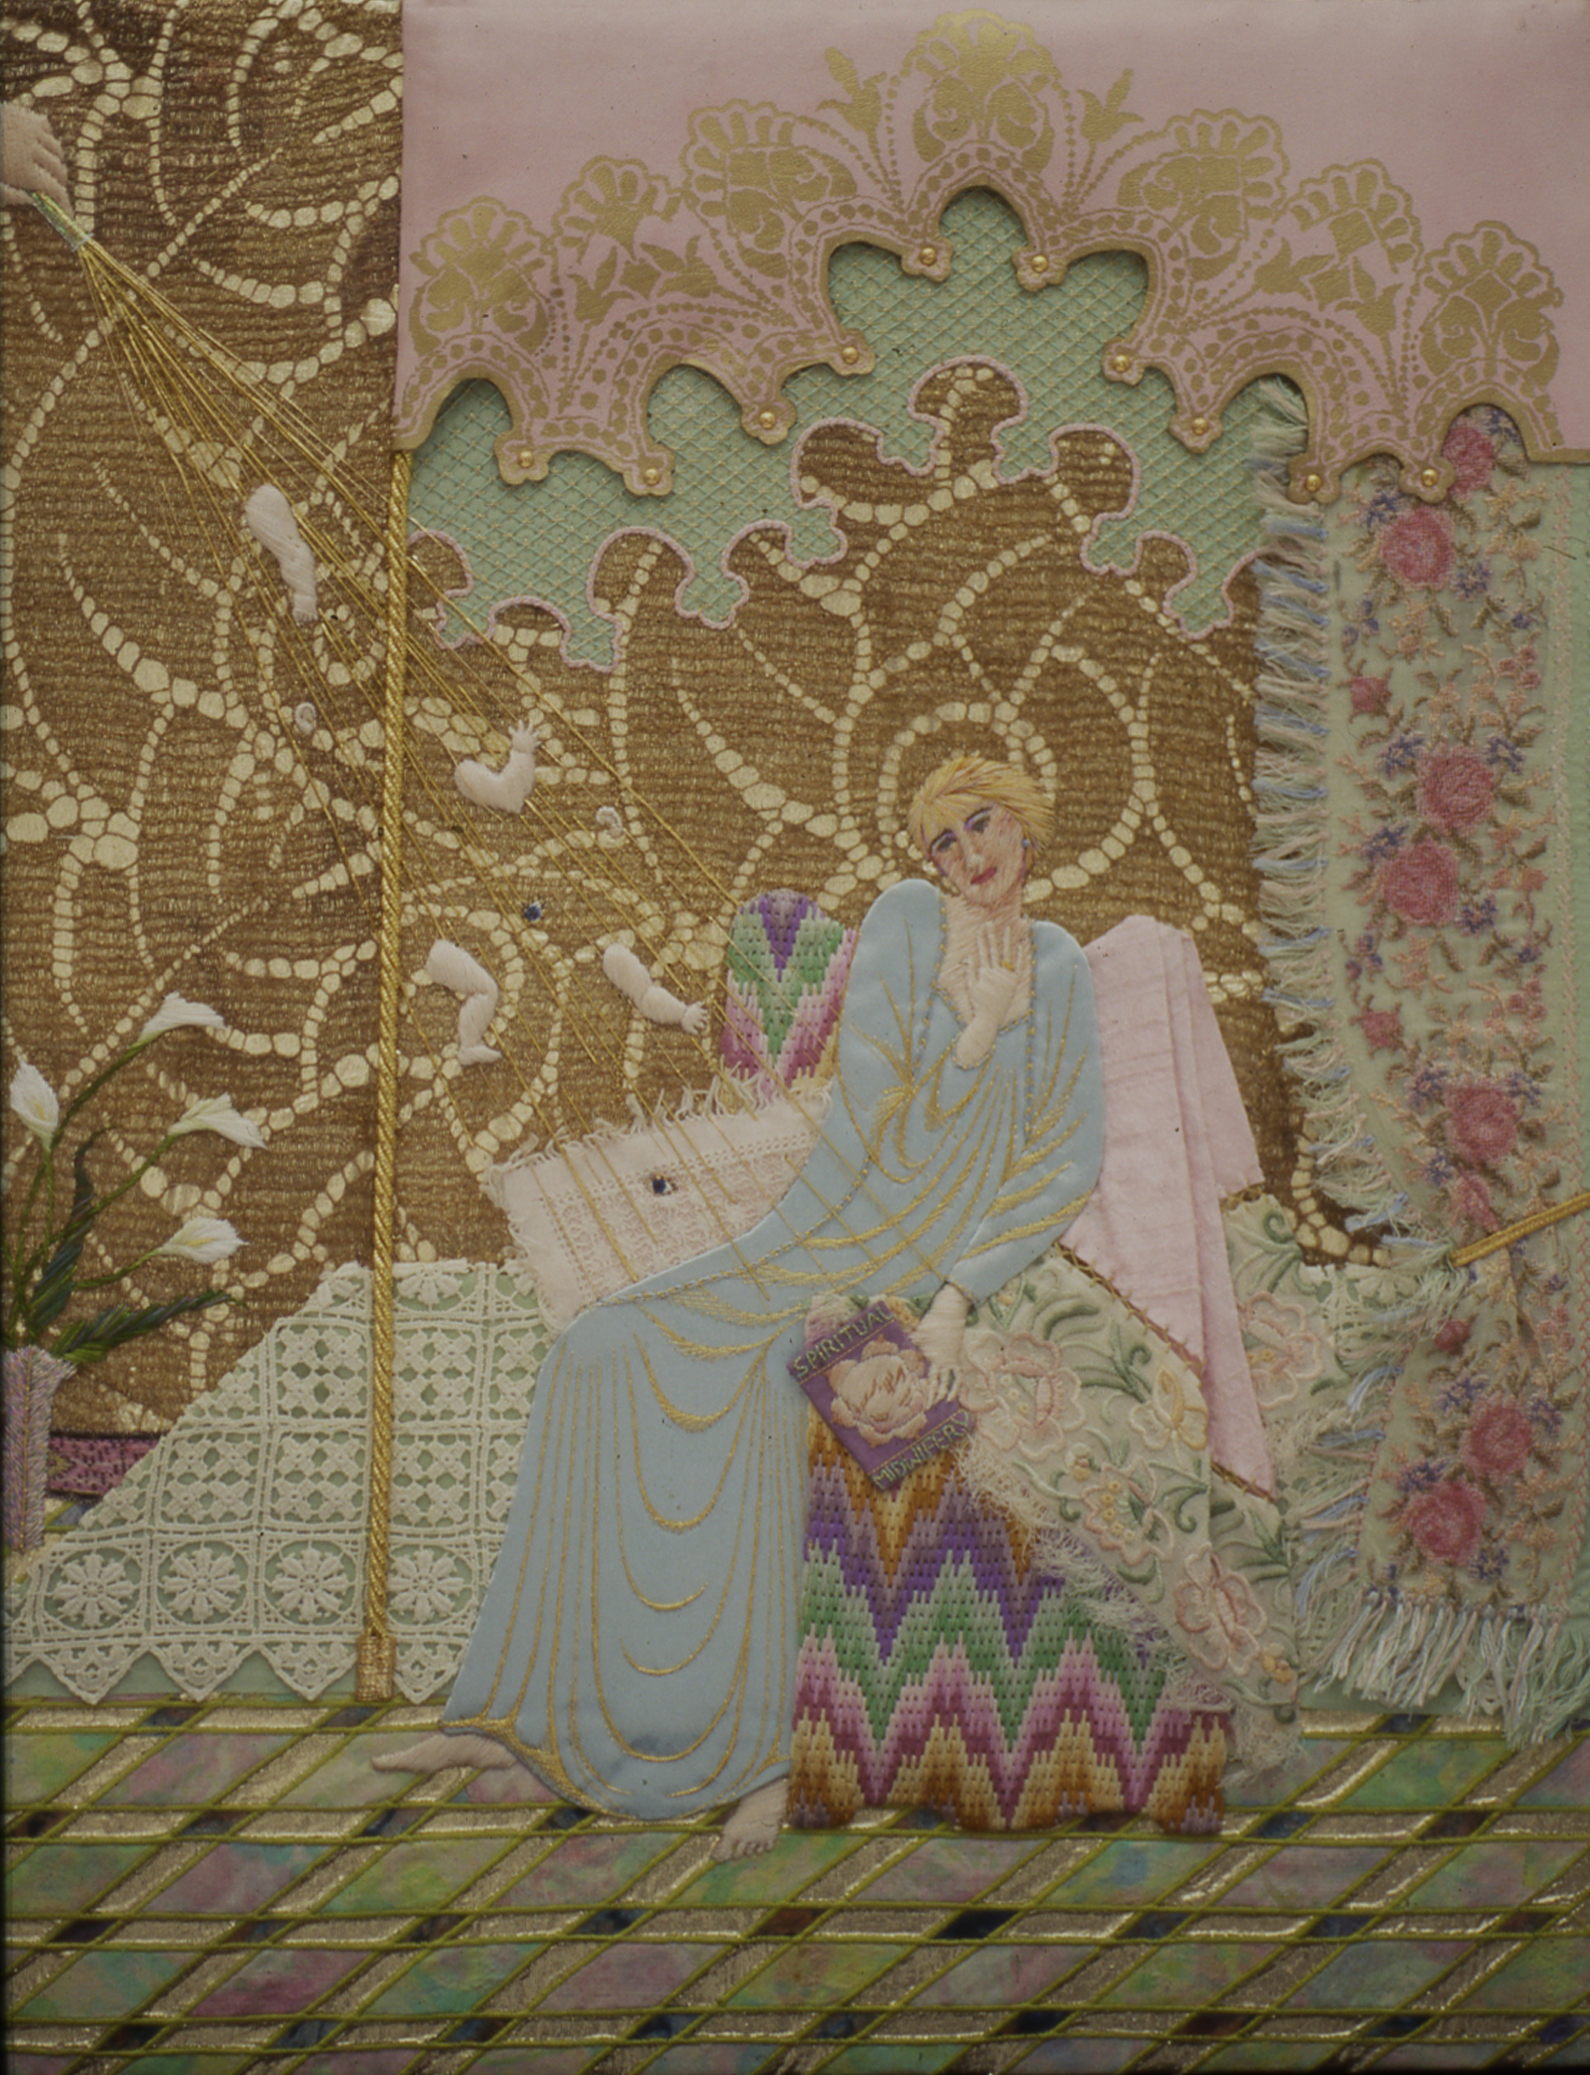
One my favourite paintings, Simone Martini’s Annunciation, it is in the Uffizi gallery in Florence and I first saw it when I was a student in the late 1960’s, it had a profound effect on me for its emotional quality and the sheer scale and beauty of its presence. I used this wonderful blue, gold and red painting as the basis of the embroidery I eventually made. Actually the virgin looks not unlike Lizzie on the day of the lunch, sort of queasy.
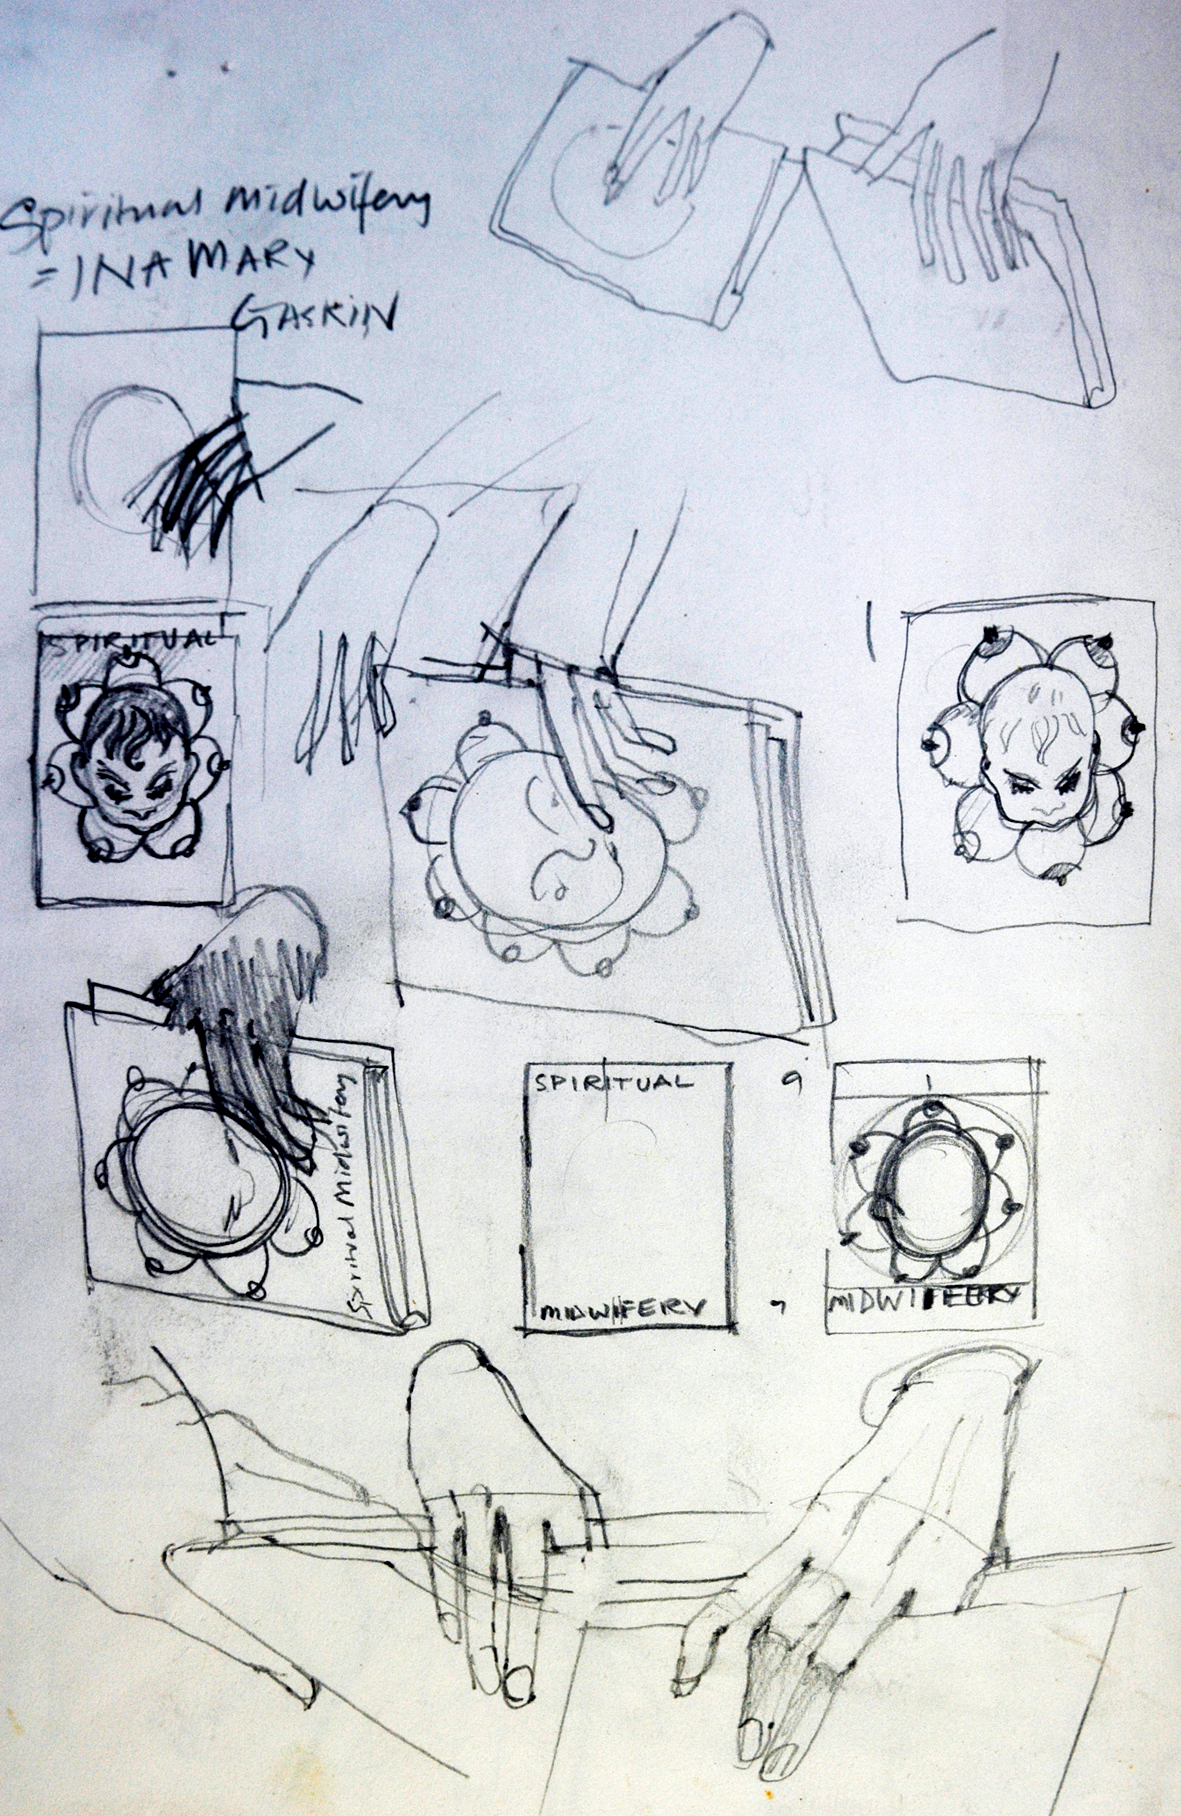
Anyway, back to the story – no sooner had I got used to the idea of rusks and milk when I had a book thrust into my hands and was instructed to read a particular page. The book was called “Spiritual Midwifery” by Mary Ina Gaskin (see just how useful rigorous research note taking can be) and it was a type of new- age manual for pregnancy. I most remember the mandalas of breasts with babies’ heads at the centres. I was beginning to feel a little queasy myself.
But the memorable sentence, which has stayed with me all these years, was stated by Lizzie when she informed me that if I looked up her particular week of pregnancy in the book I would see that she was “making eyes and ears”. At once I saw the embroidery, an annunciation but not with the usual rays of golden light emanating from a dove or a cloud to symbolise the insemination of the virgin with god’s spirit made flesh, but eyes and ears flowing from a test tube. I couldn’t wait to get home and start work.

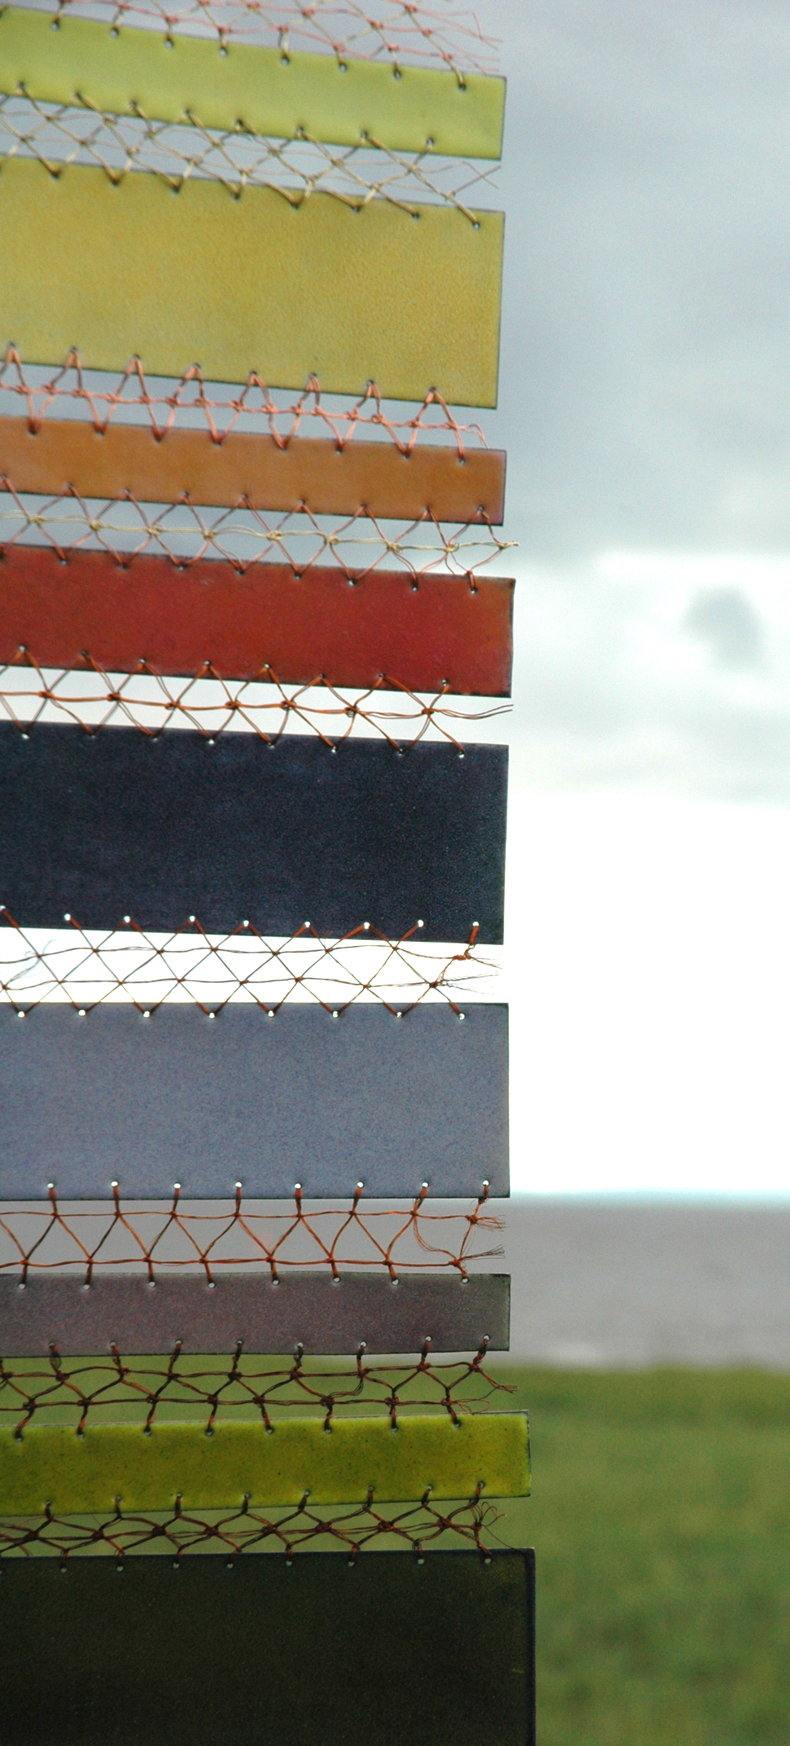
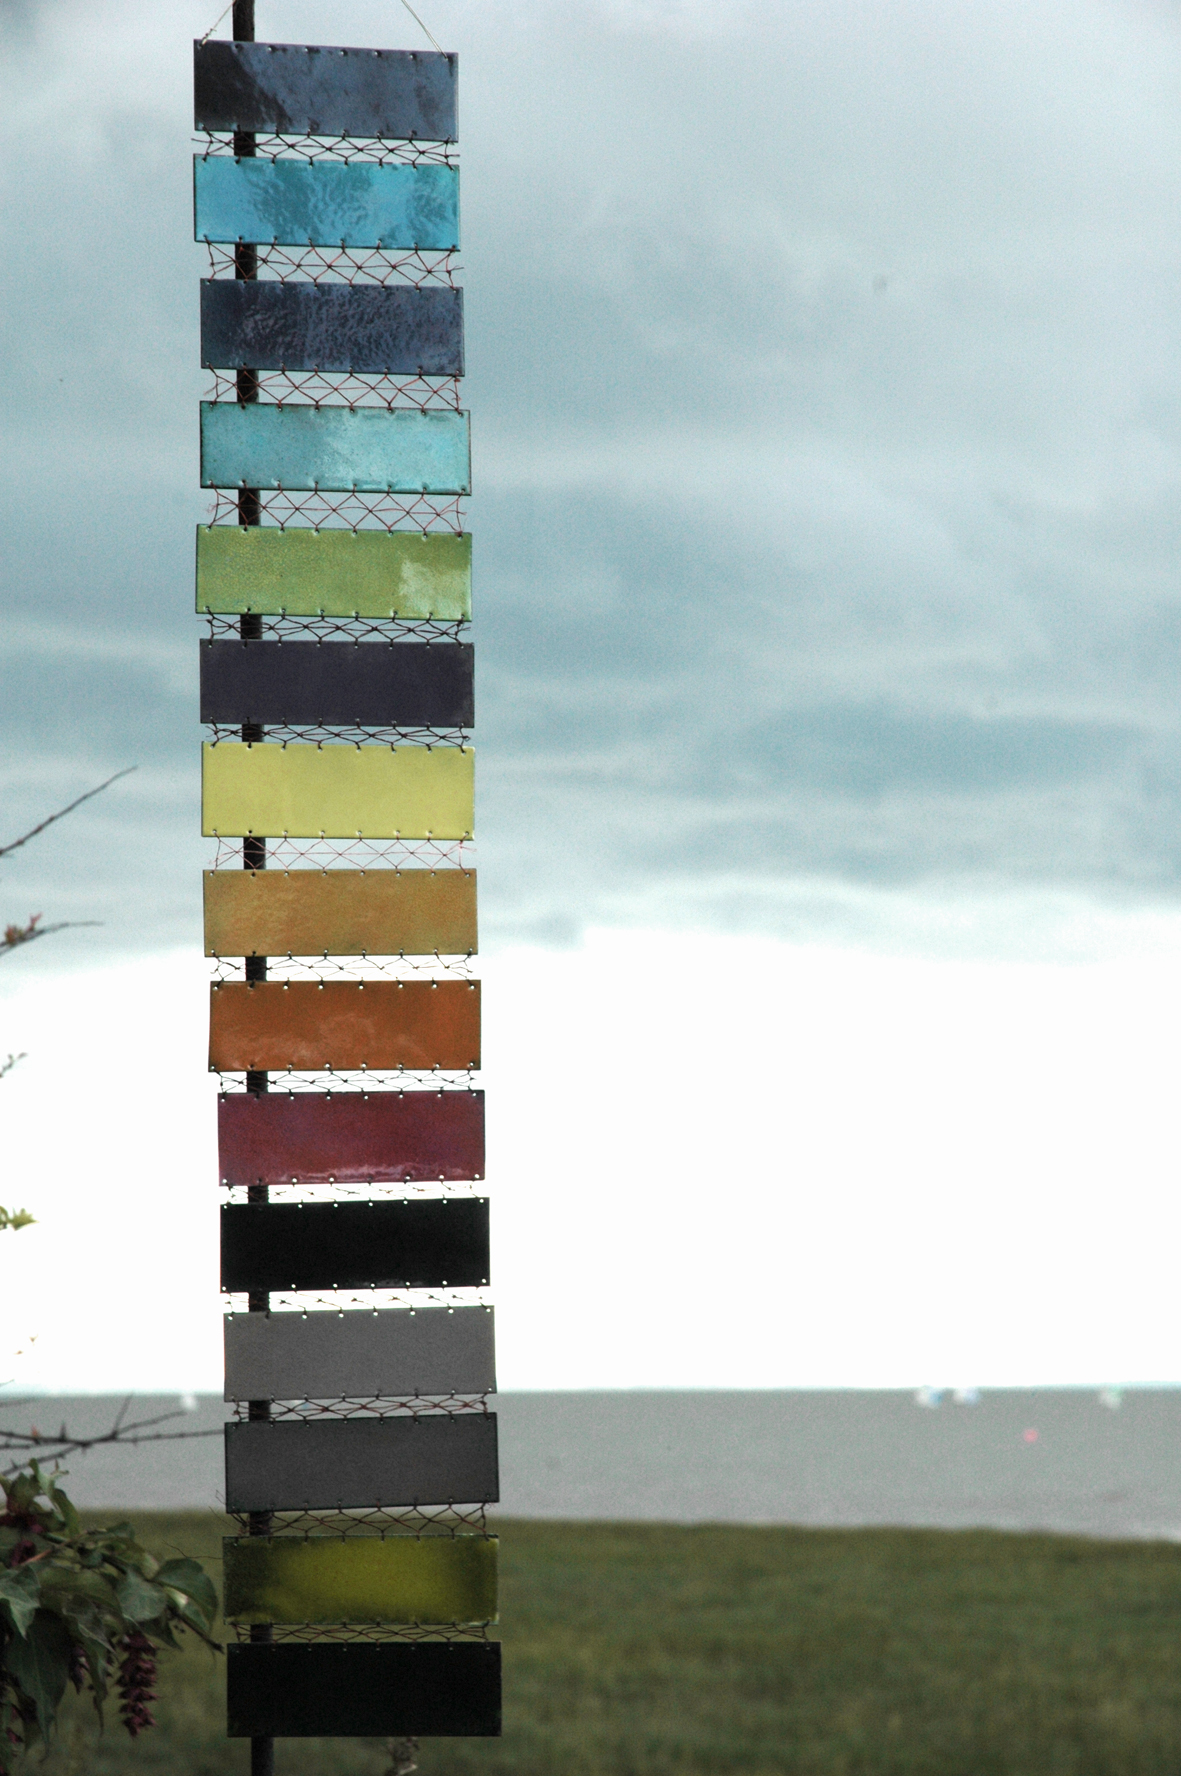
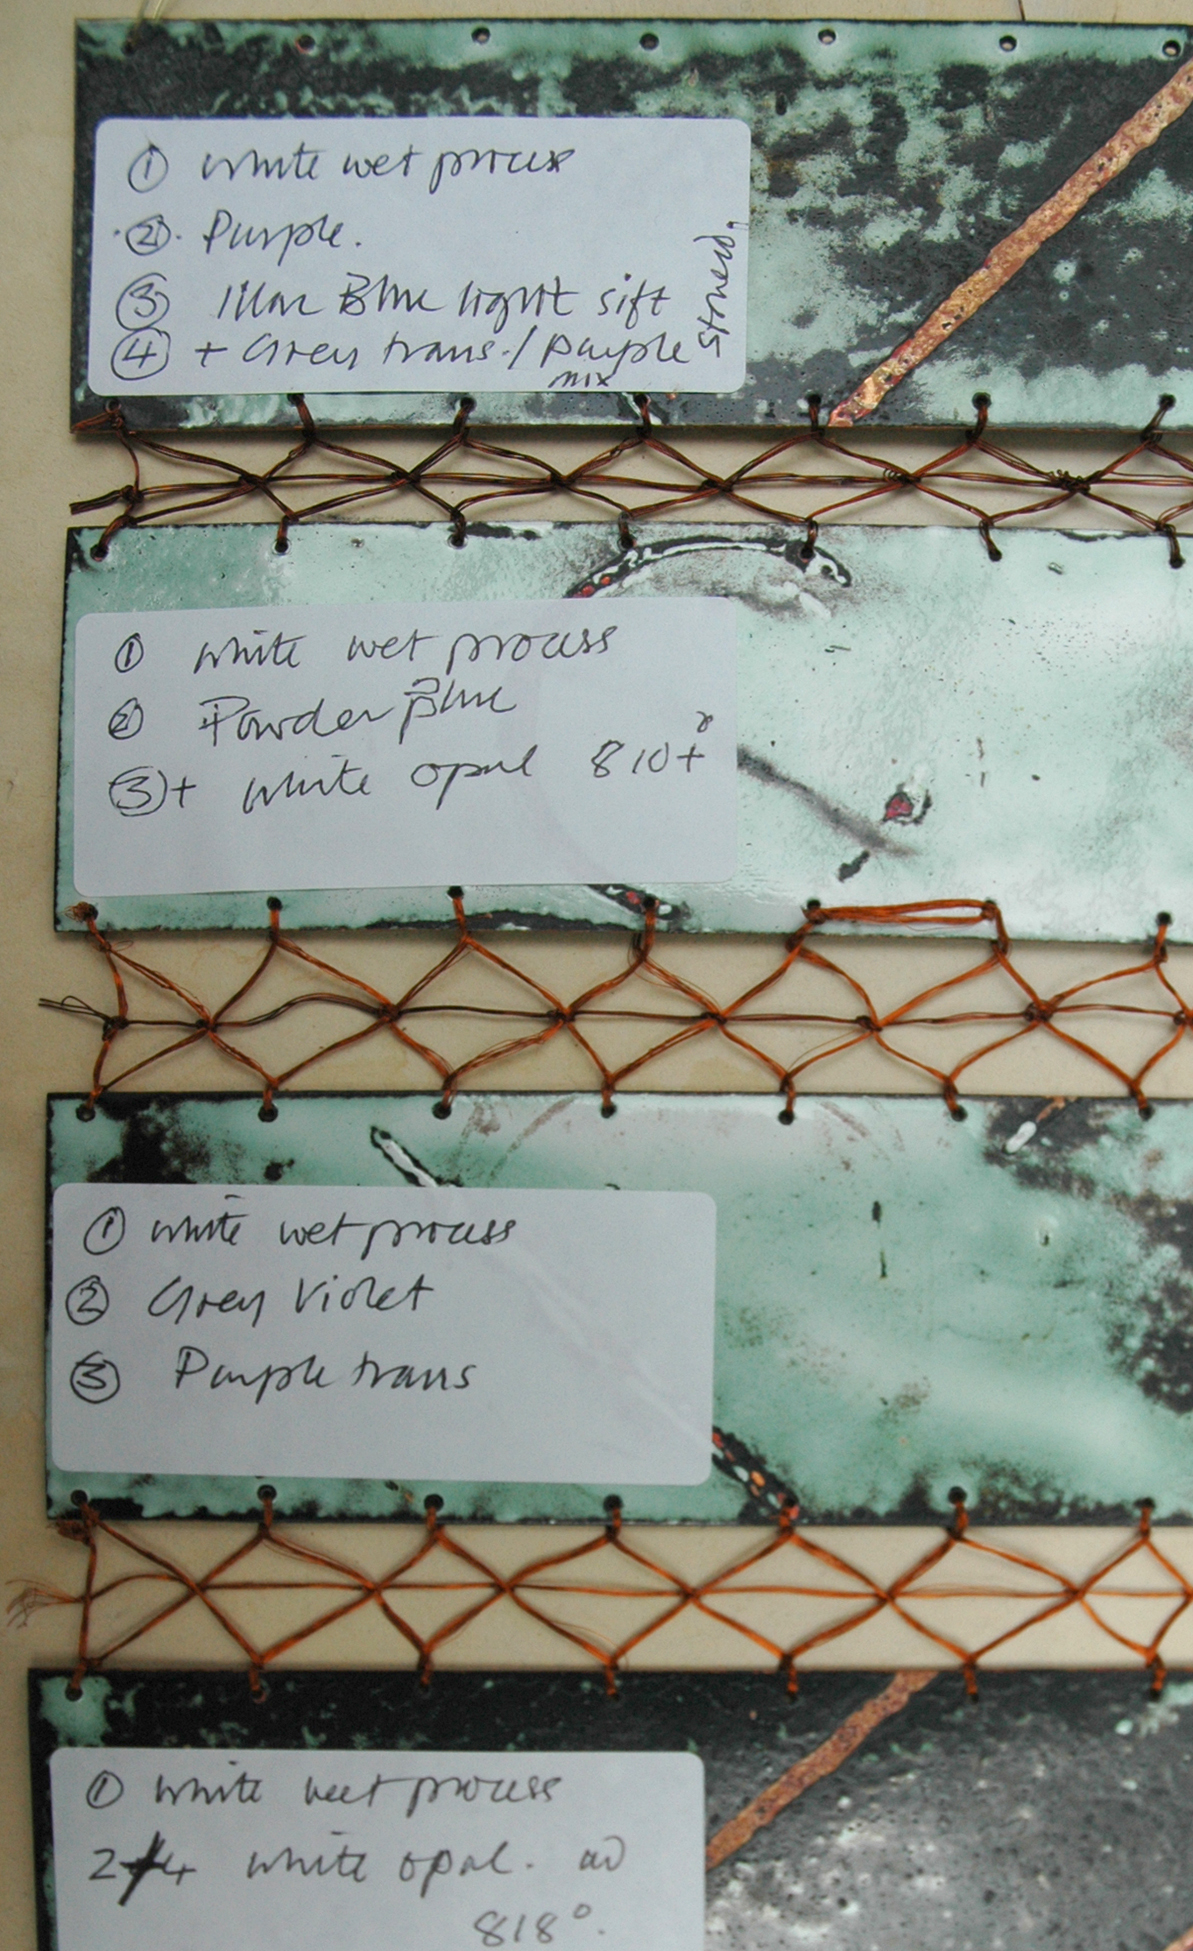
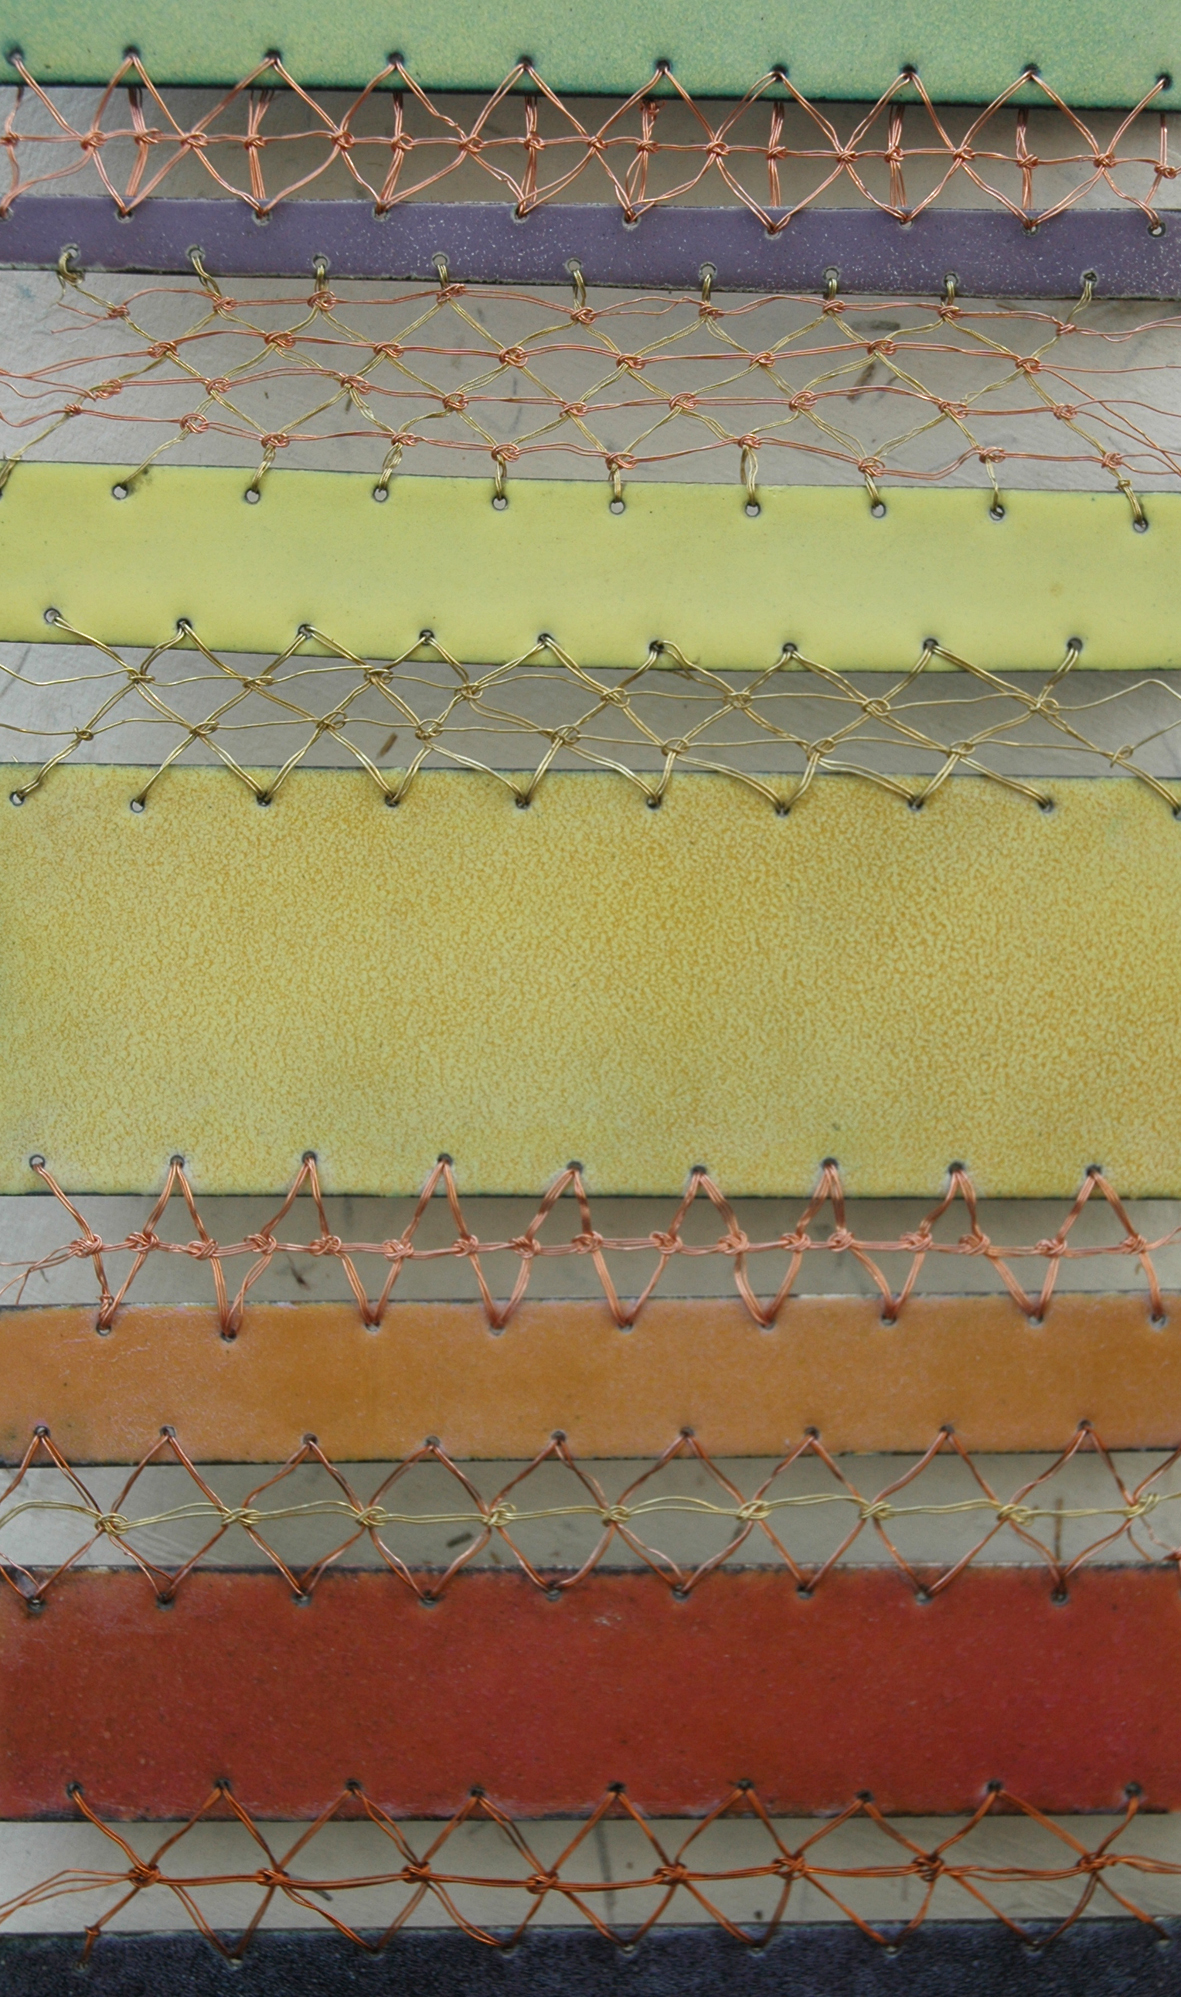
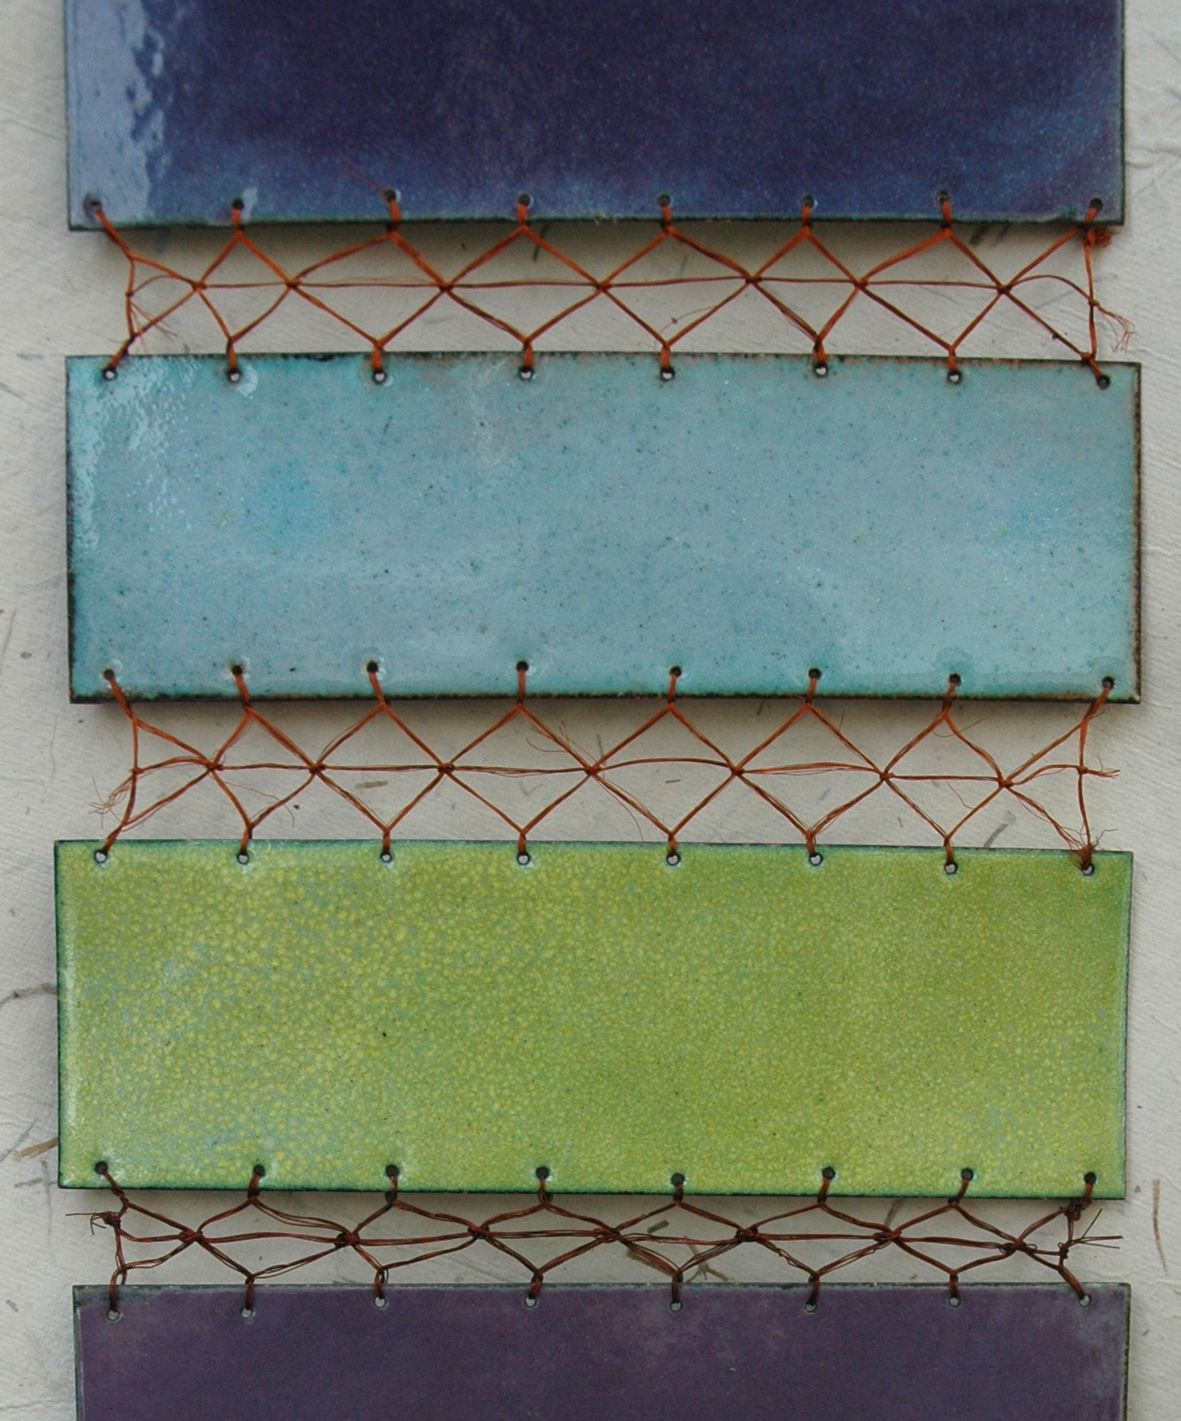
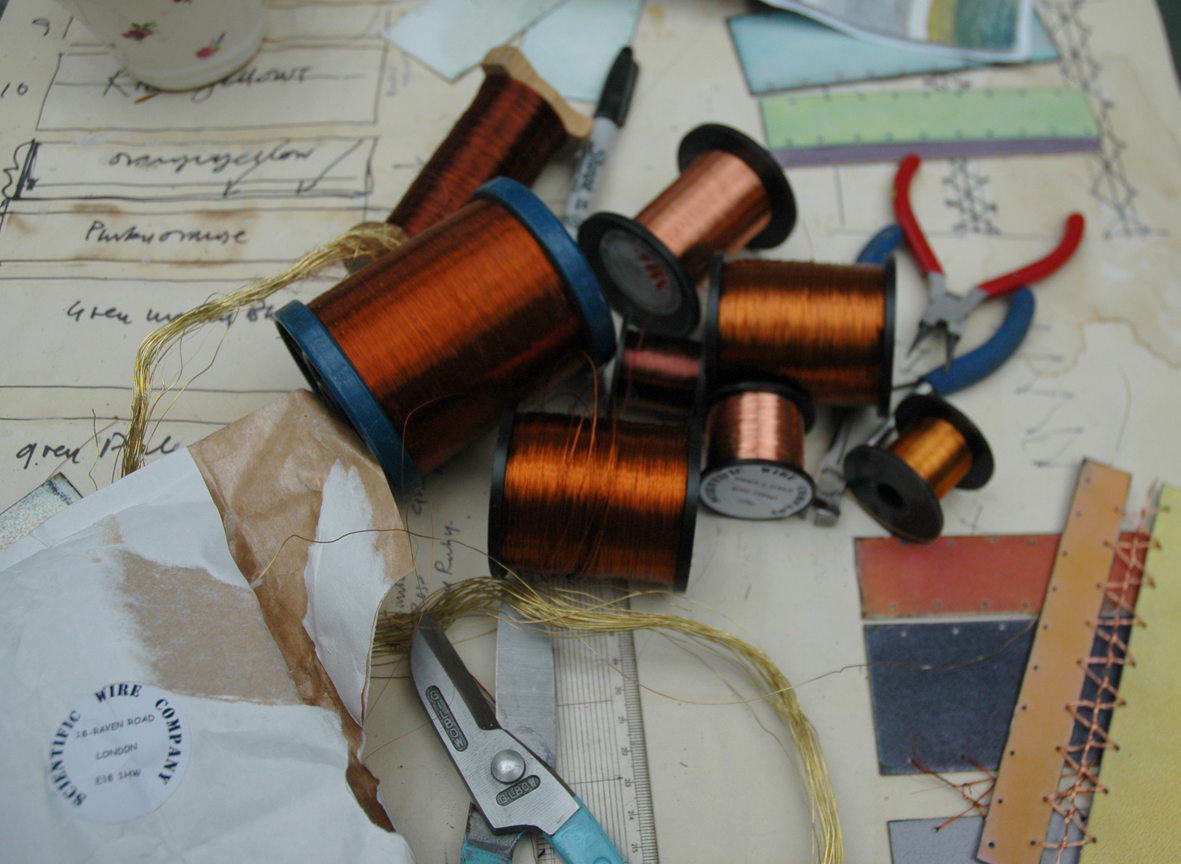
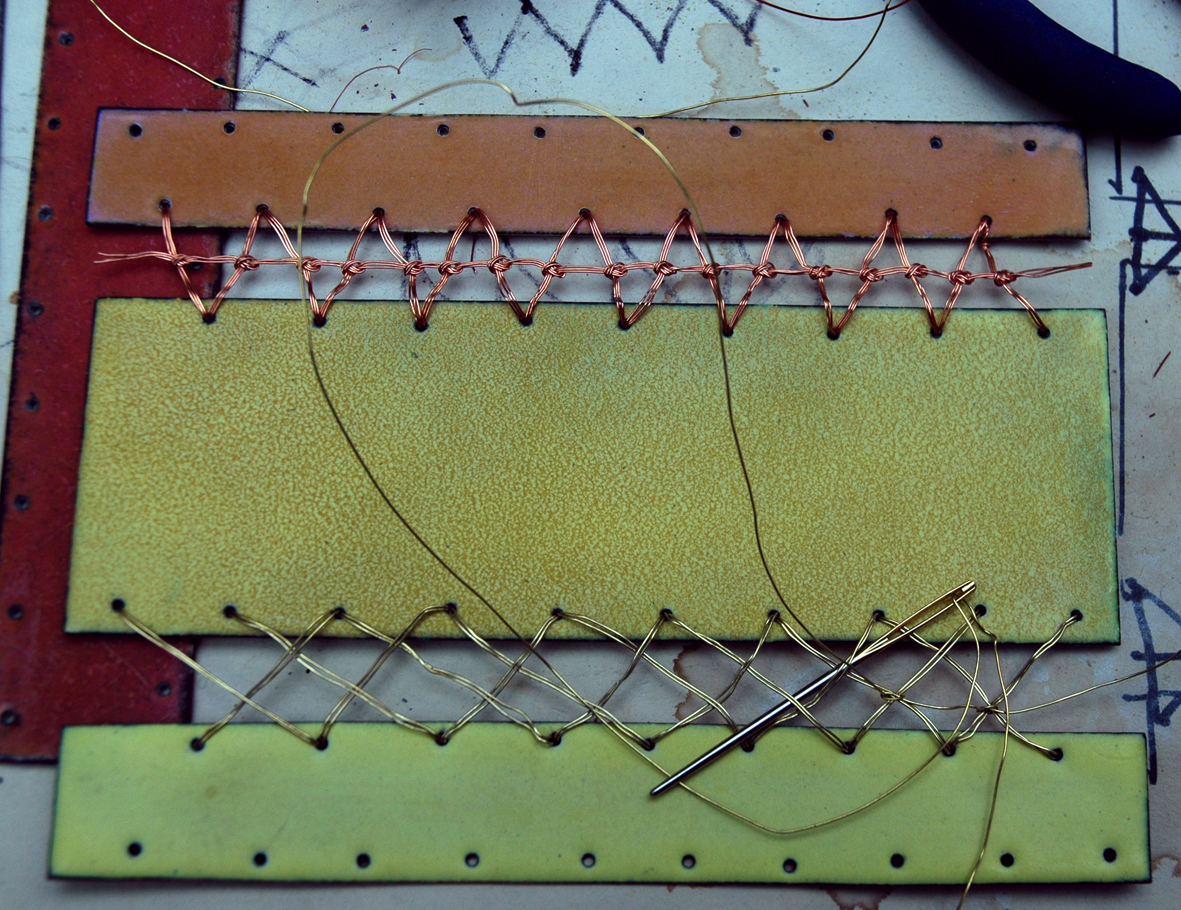
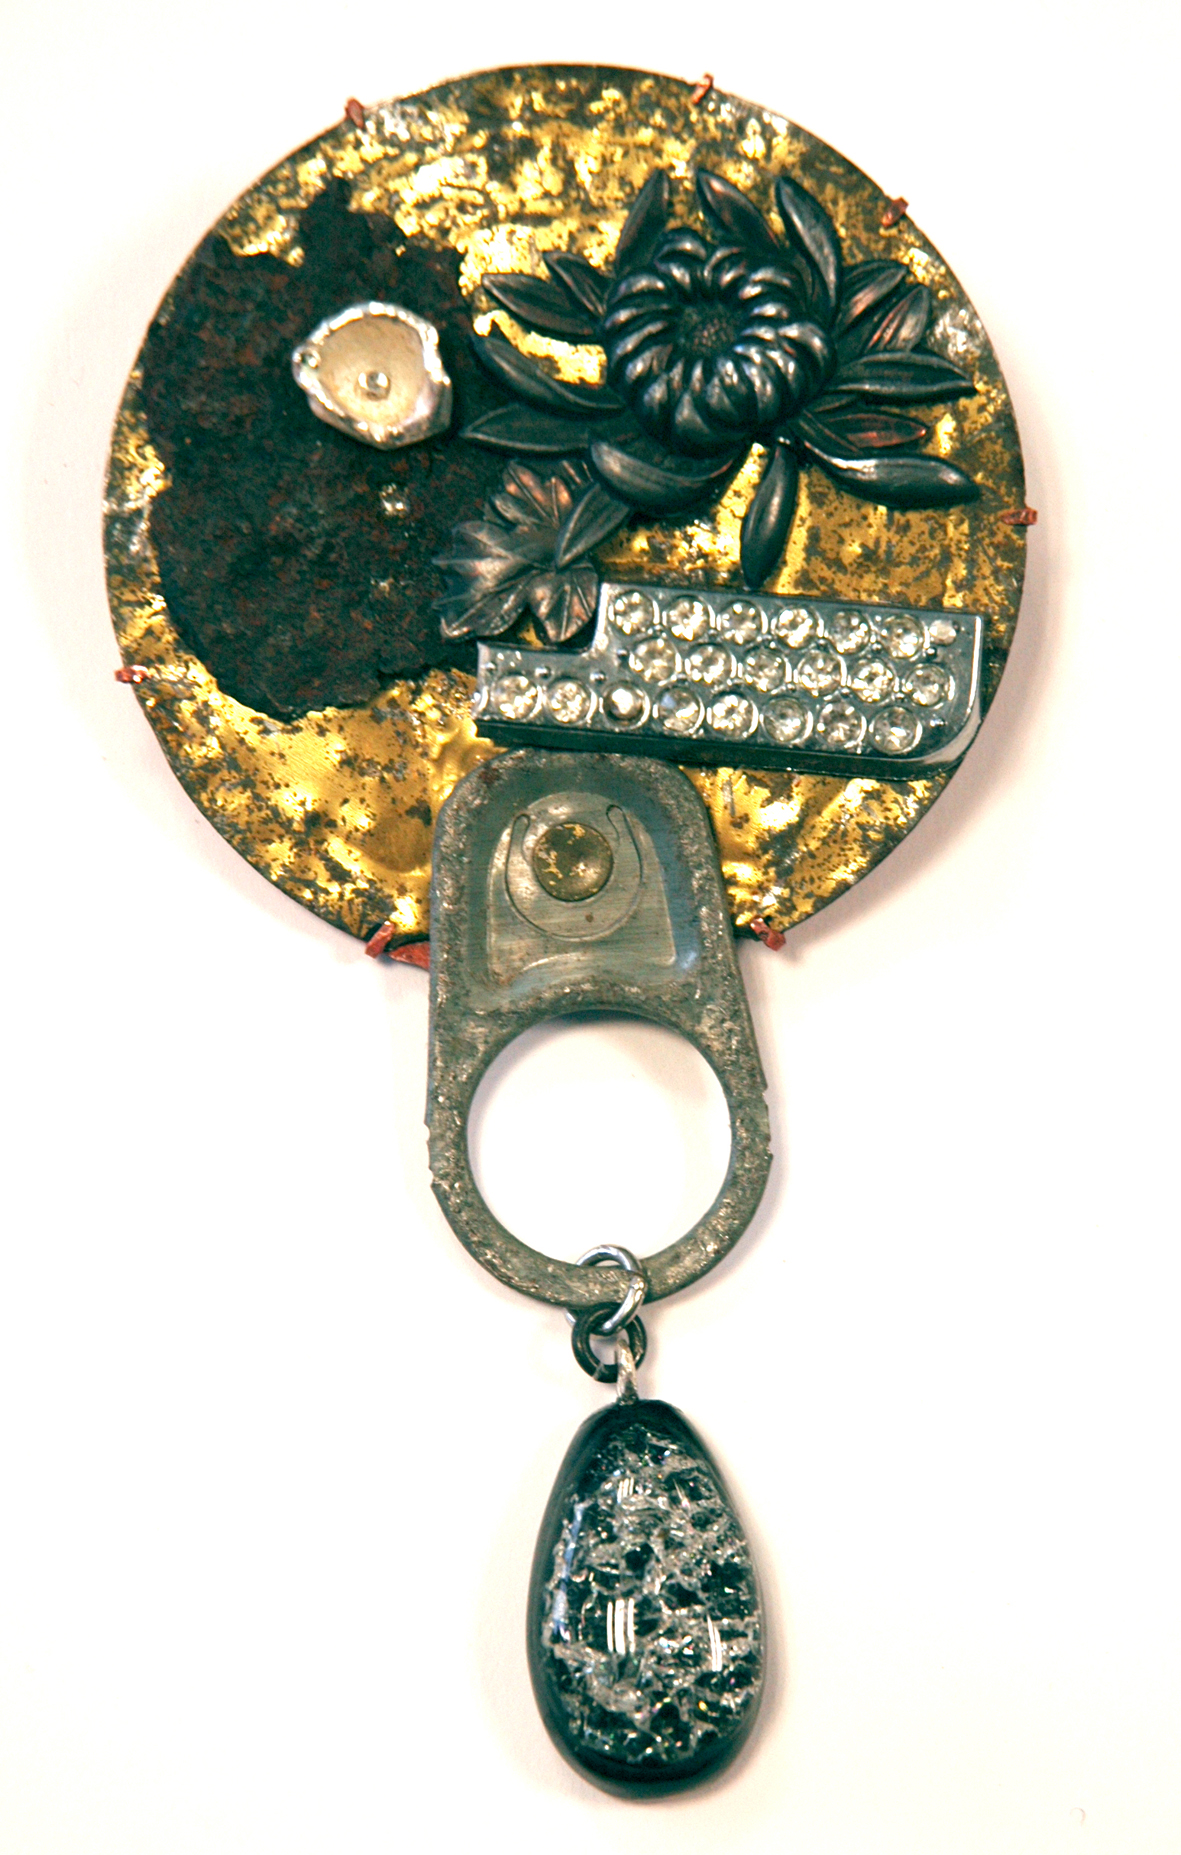
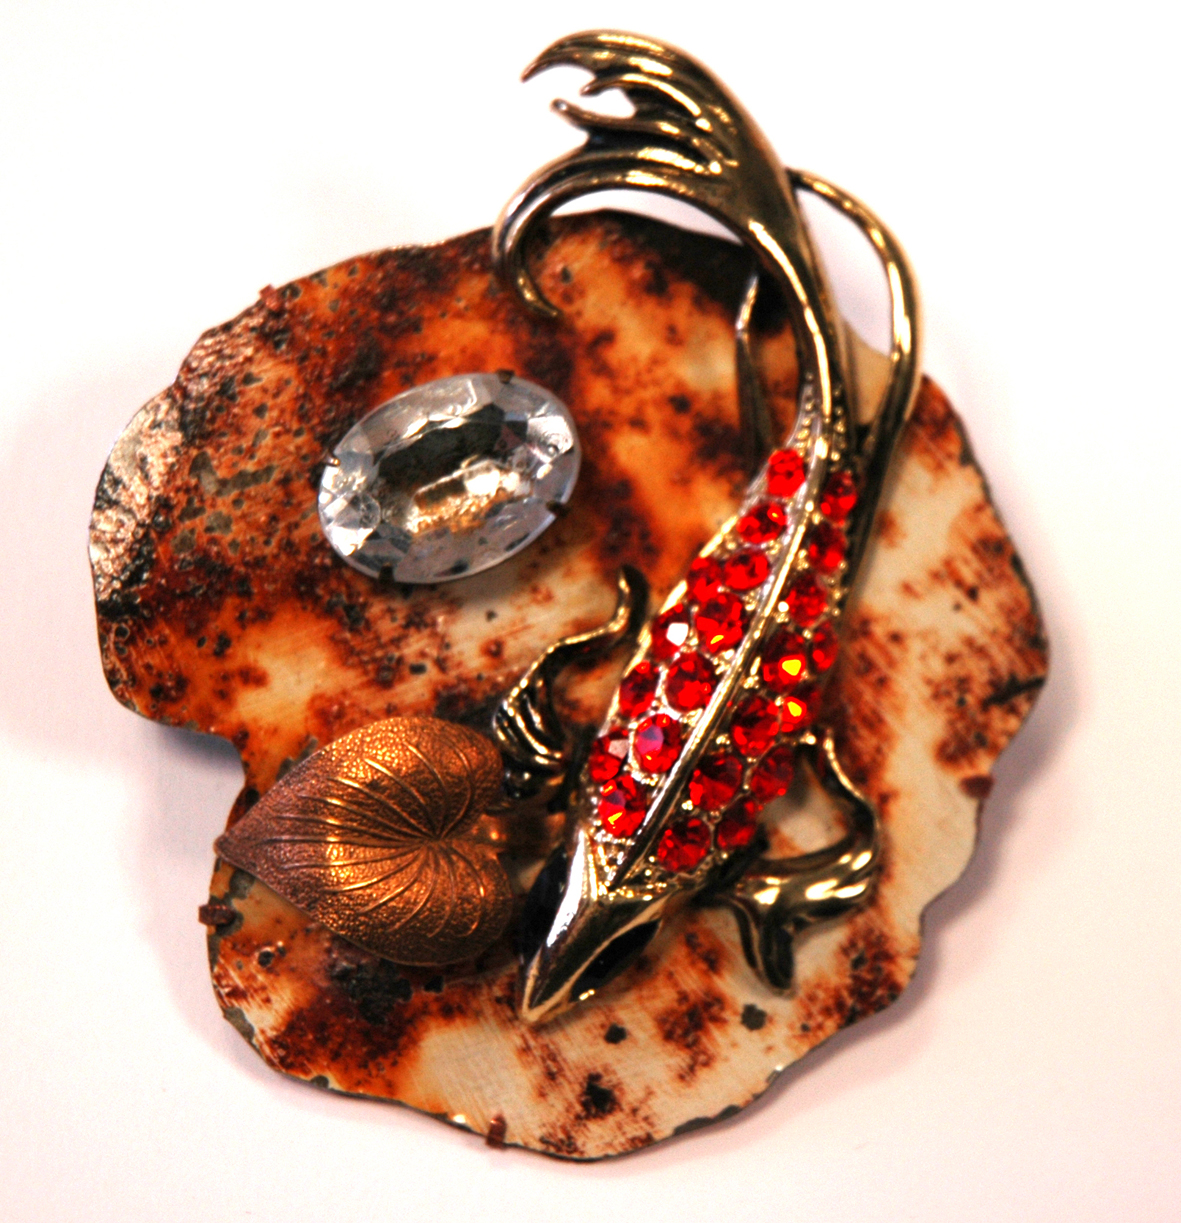
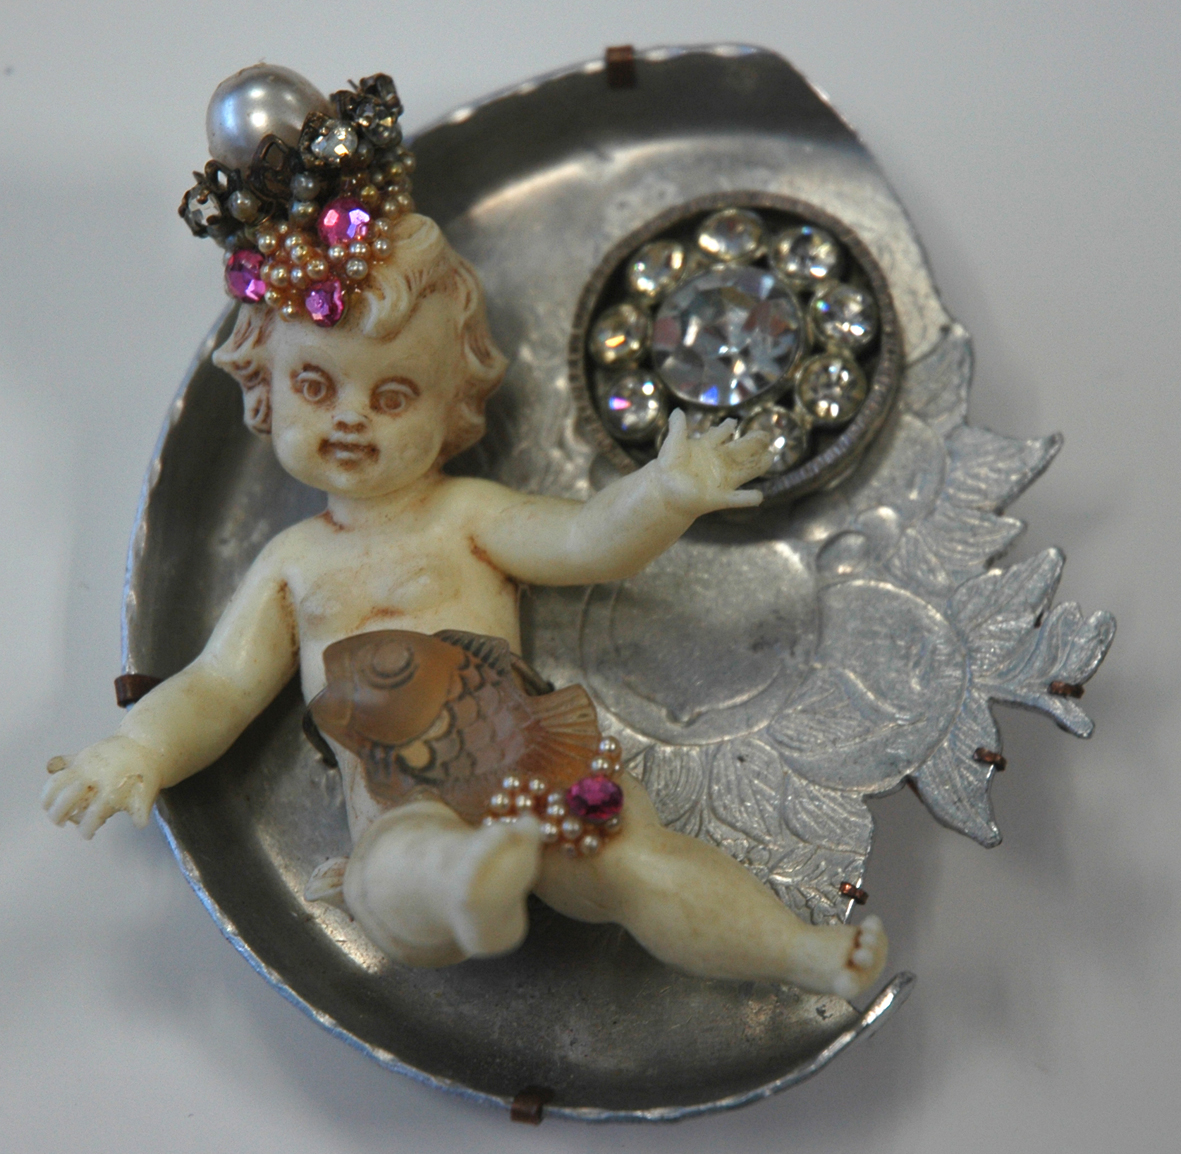
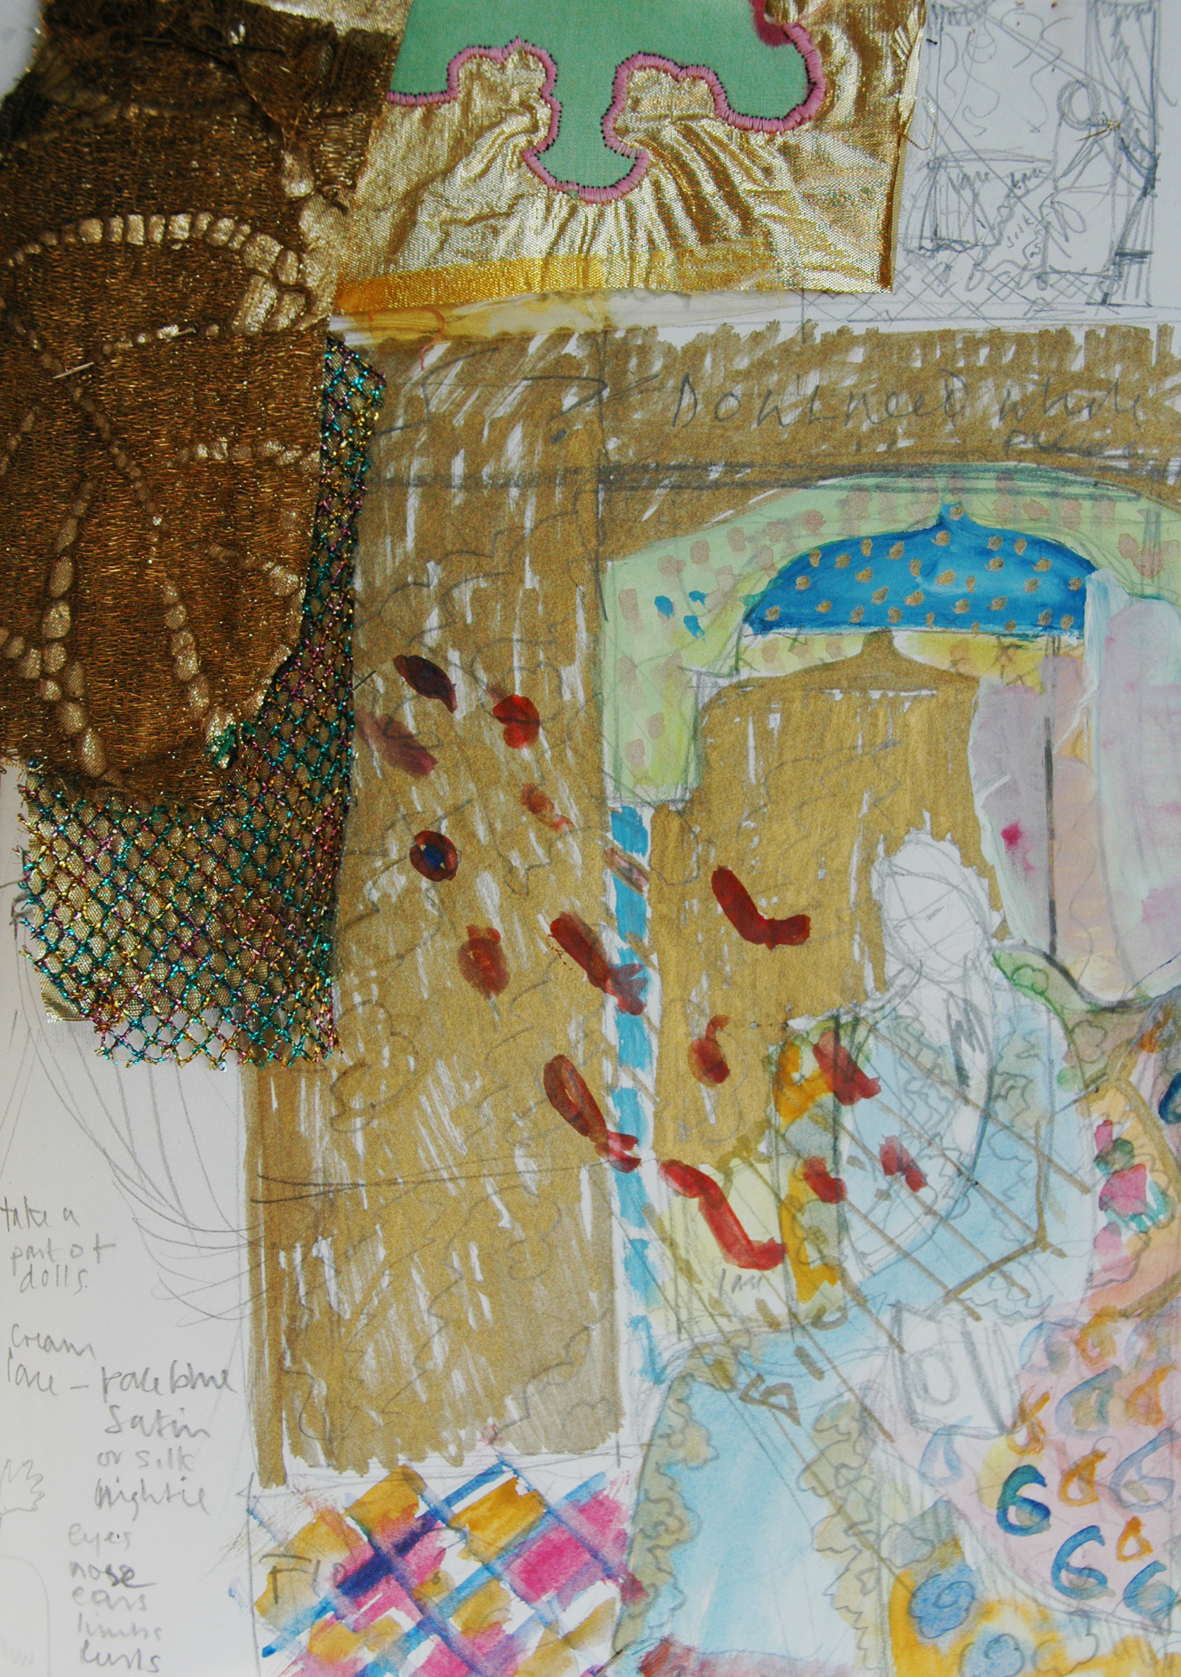
The following drawings and samples are of gold lurex, hand marbled silks, vintage embroideries, gold pigment silk screened leather all pieced together to make a sumptuous interior for a late 20th century version of the glamorous gold stamped and gilded original. Also the drawings and redrawing necessary to get the exact hand position to reveal the feelings of the mother – to be, the hands in the pre- renaissance religious paintings are always particularly expressive.
When she heard this story last night Lizzie had completely forgotten the lunch, the book and the embroidery and so had I until I saw “the baby”.
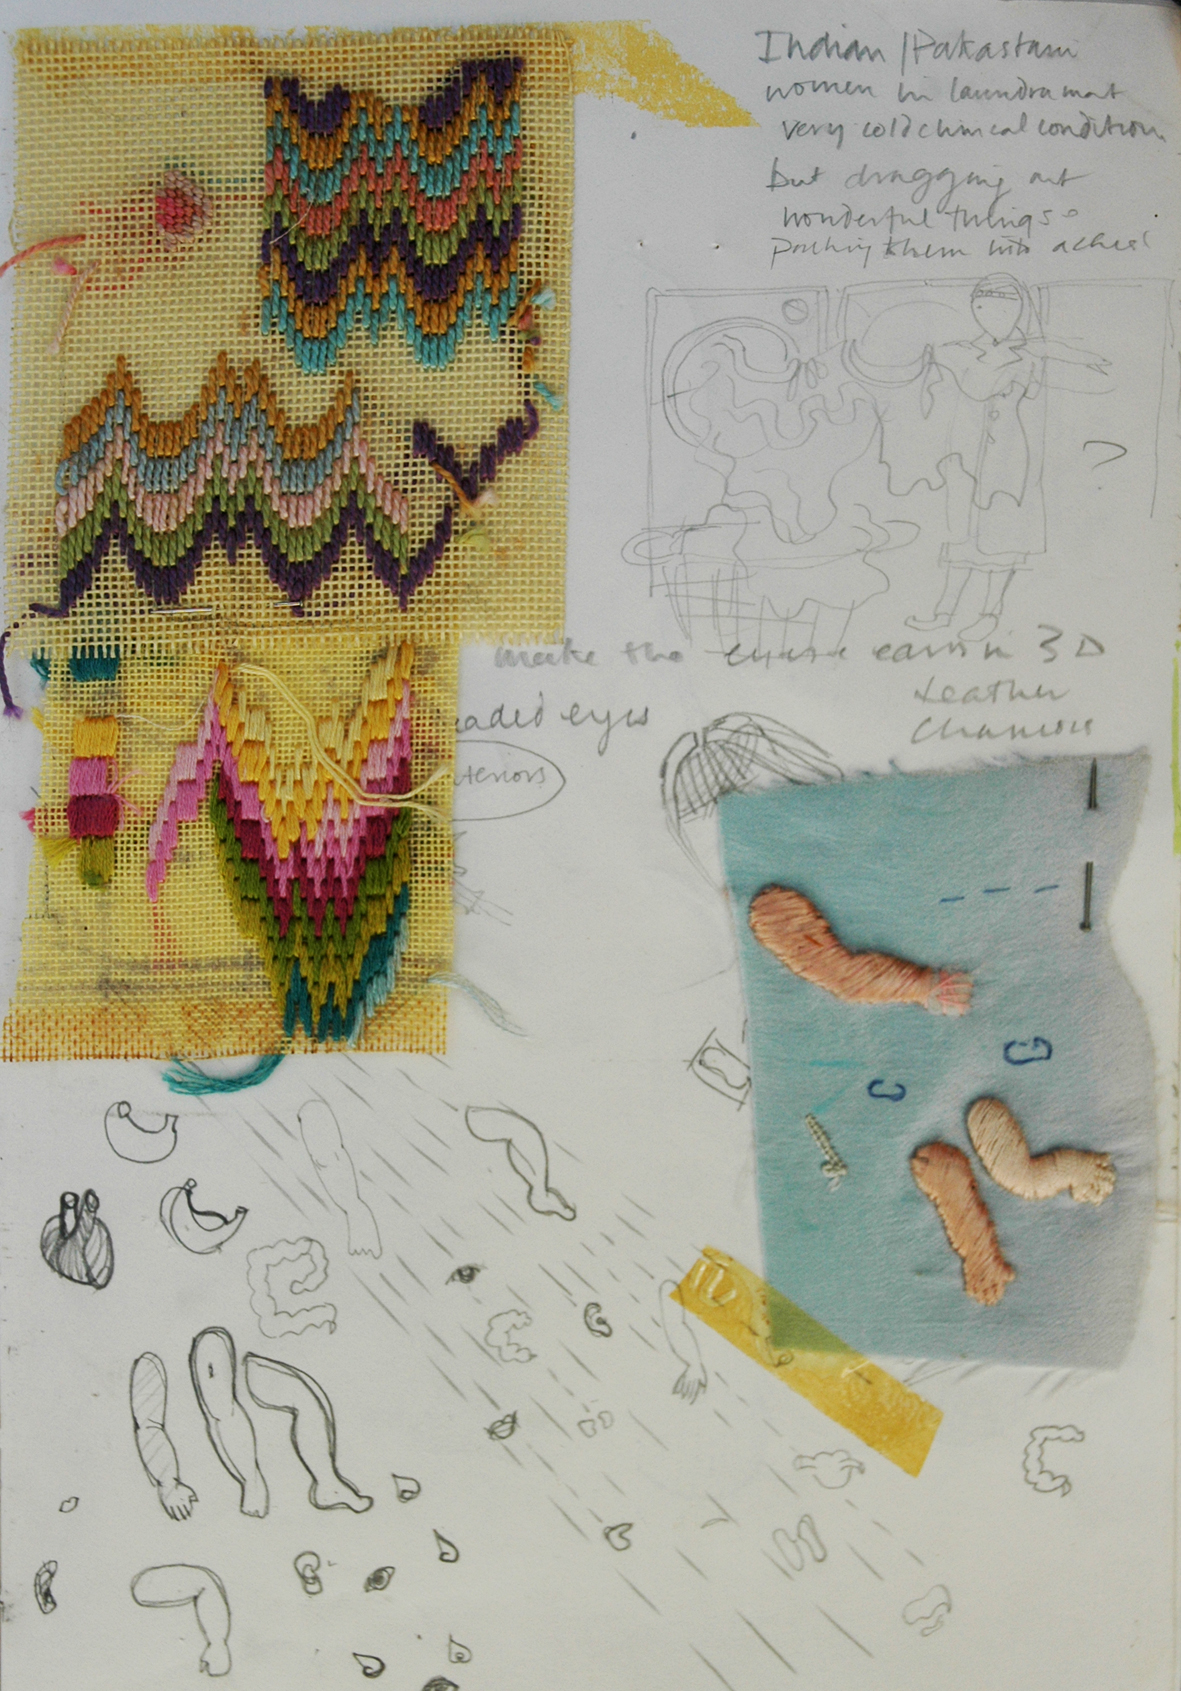
But now I look back on this very old work, what do I see? Hands and Eyes and Hearts and even a Dream Drawing about a Pakistani or Indian woman in a launderette……which brings me right up to date with all my current work.